RDS Pack
The RDS pack formats data from RDS.
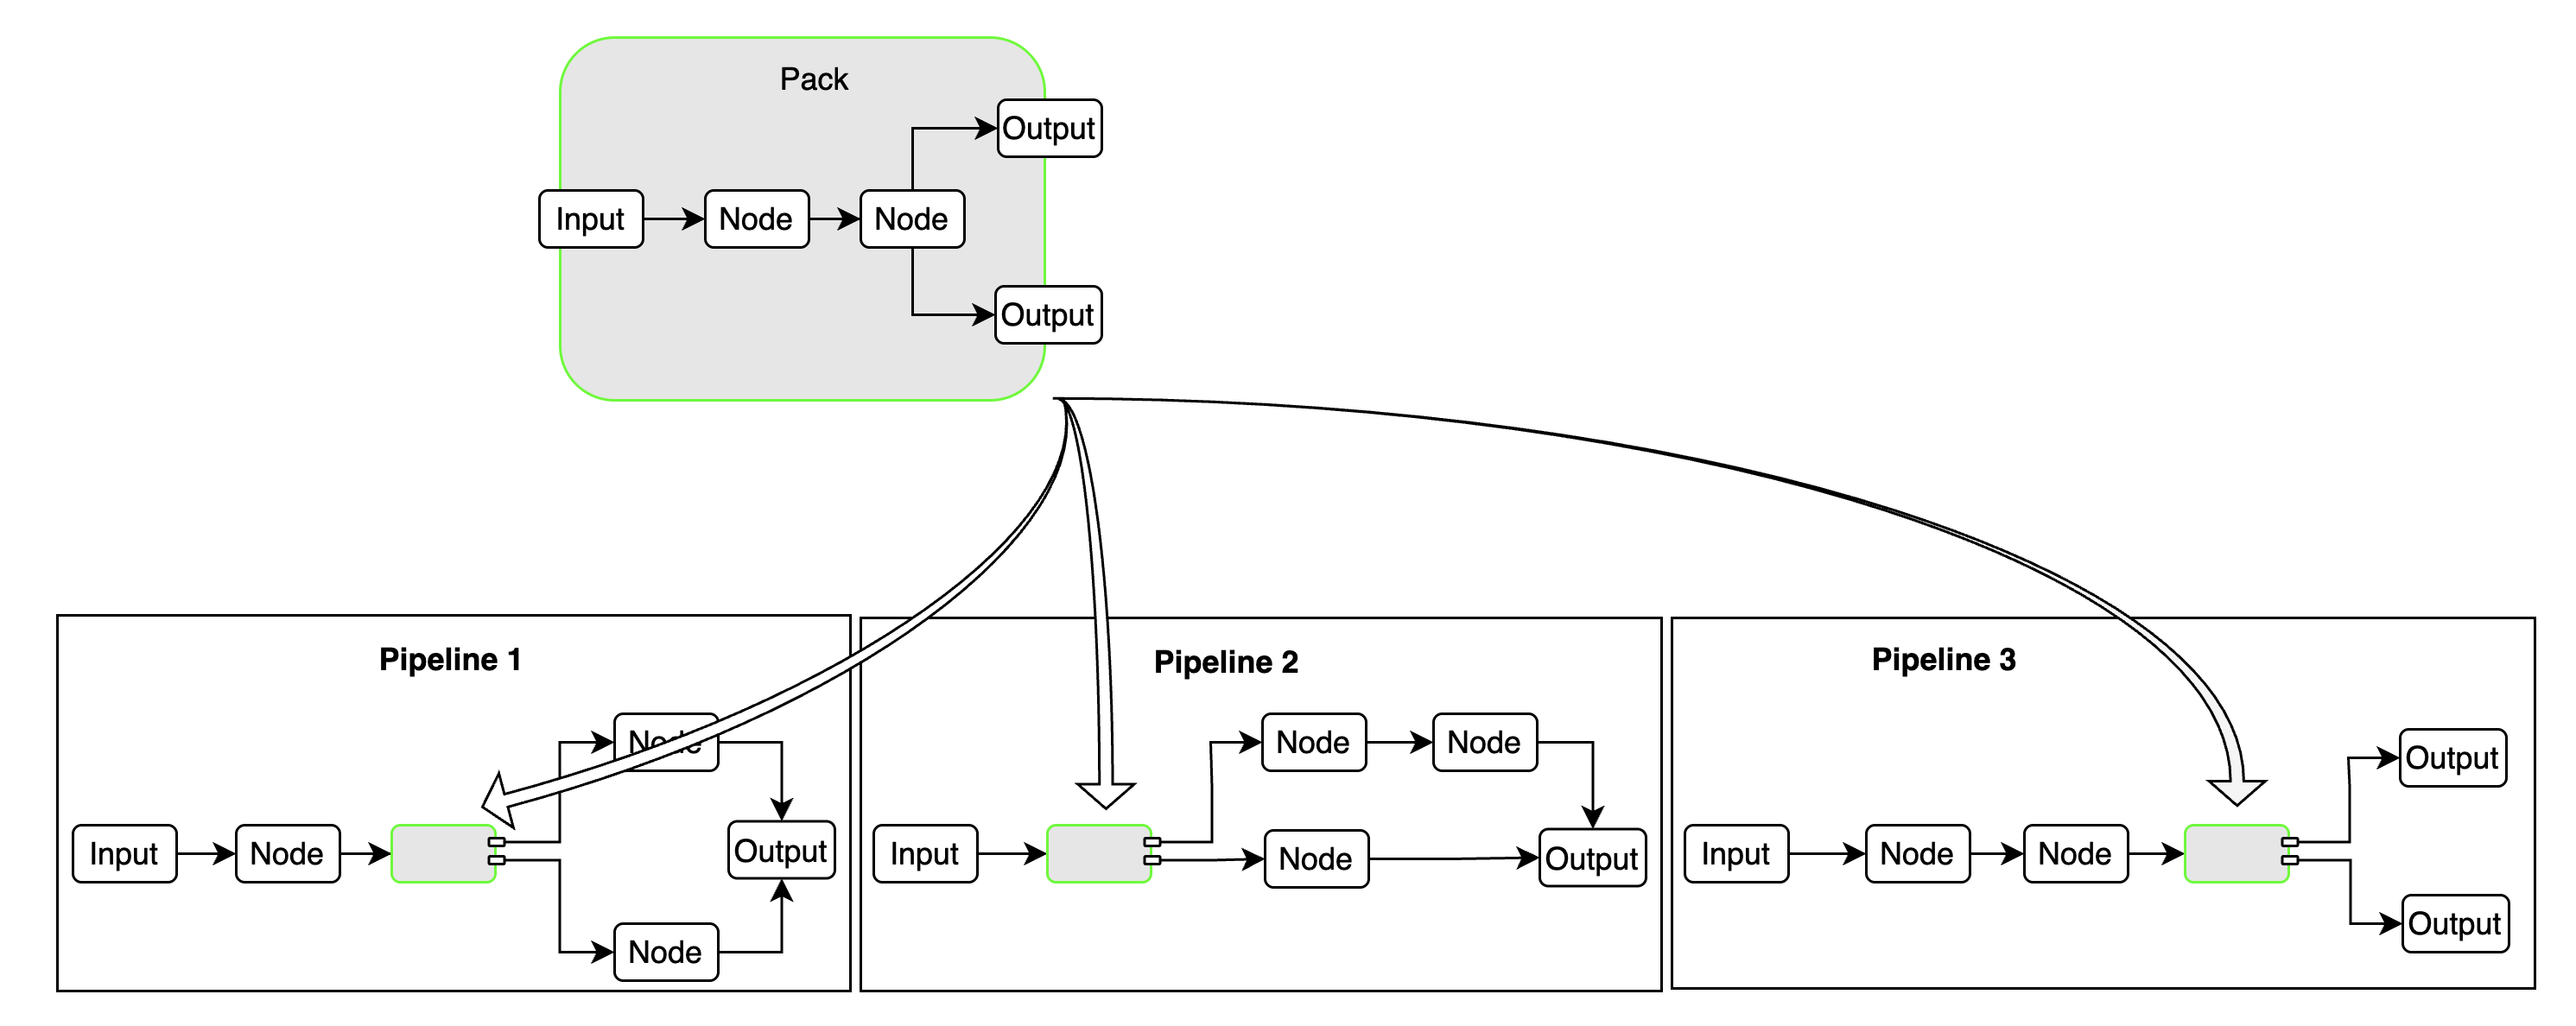
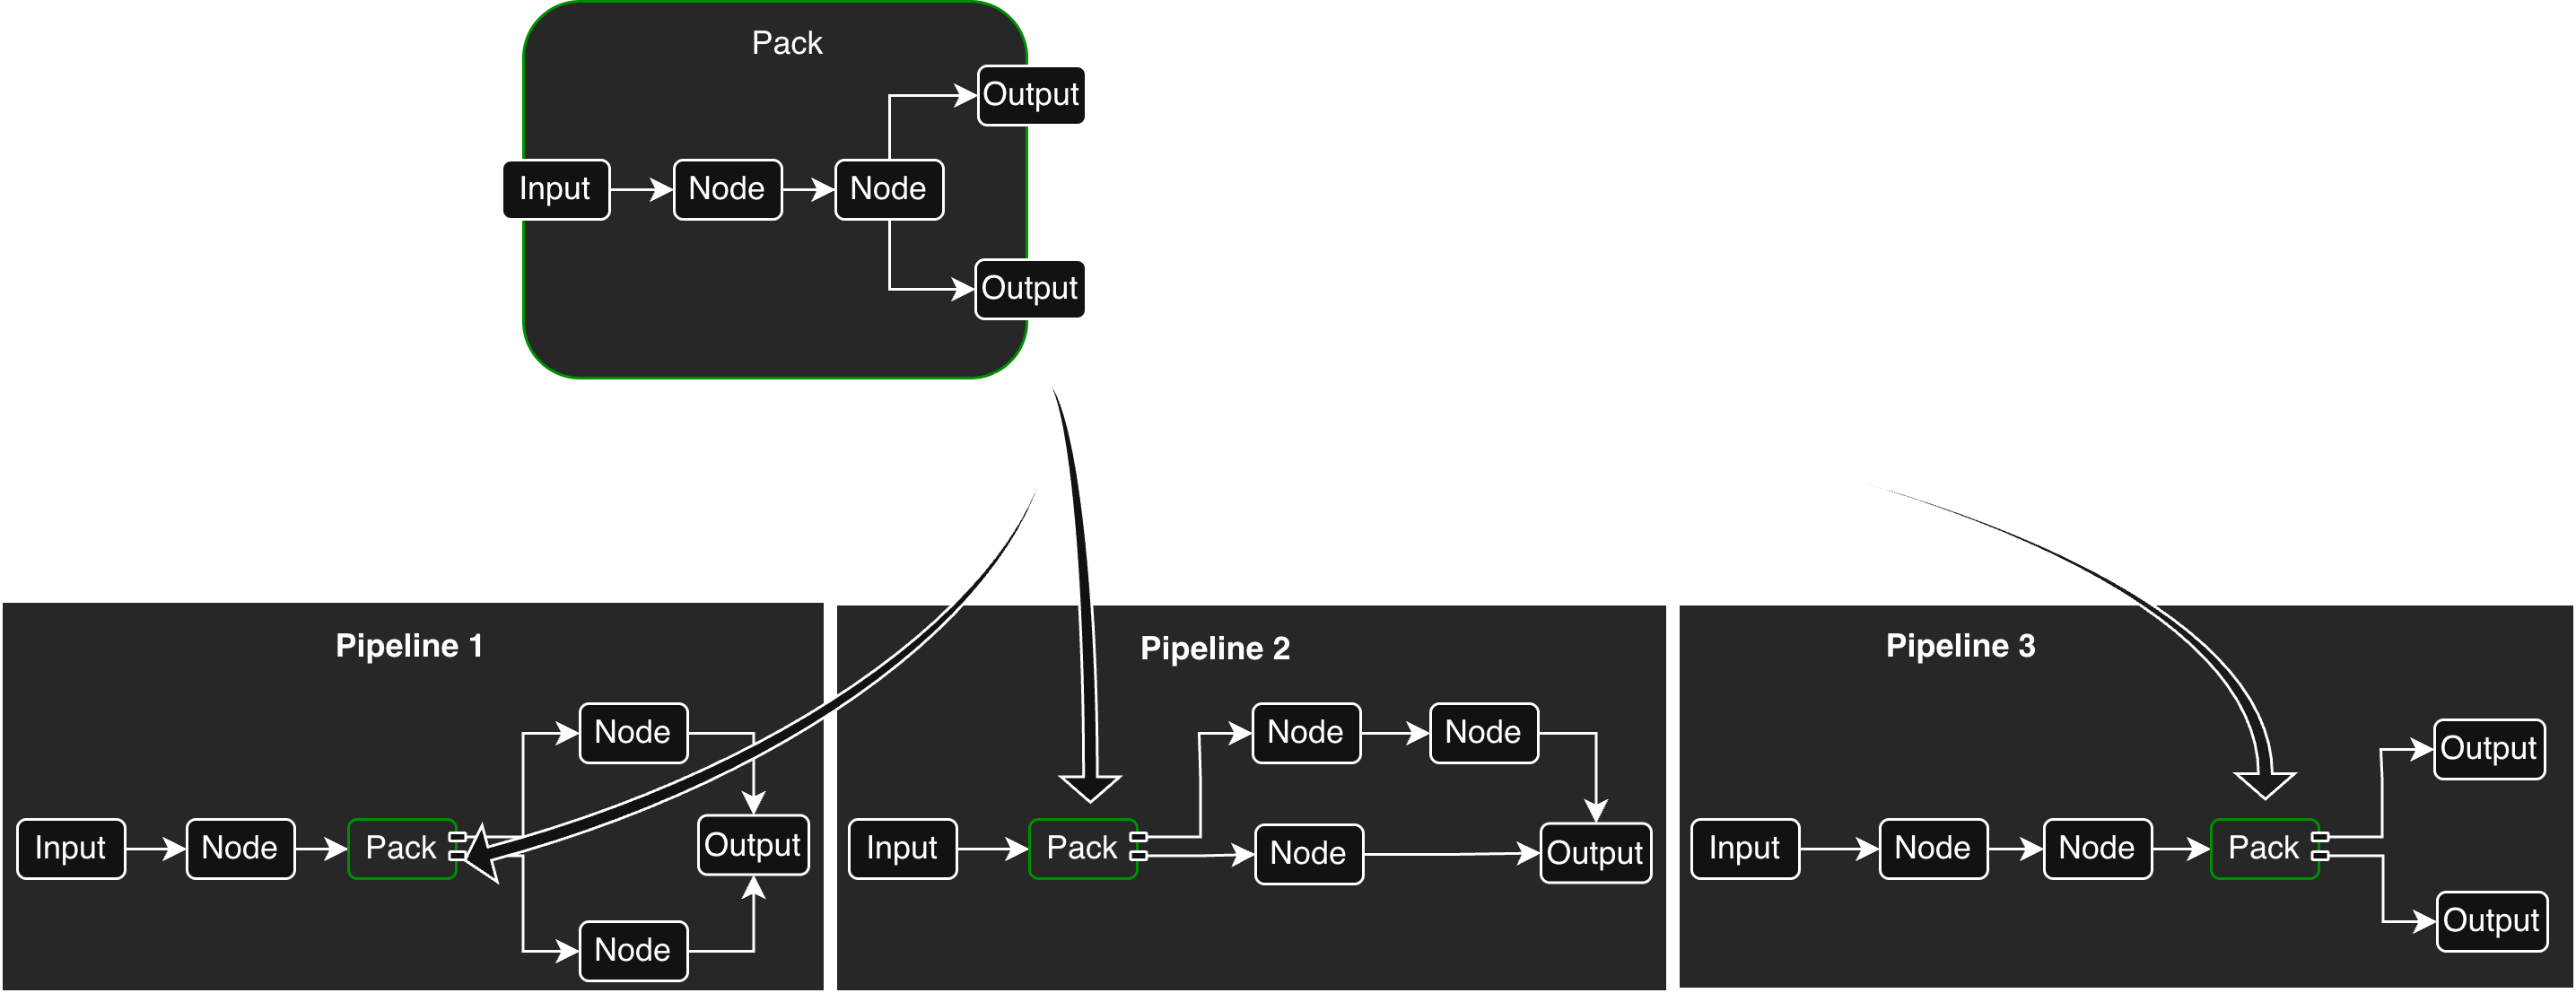
A pack is an aggregation of pipeline nodes that you can add to a pipeline as a single object. This is useful if you have a common node pattern that needs to be inserted into many pipelines. For example, suppose many of your pipelines require a specific field to be masked and a particular enrichment applied. You can create a pack containing the required Mask and Enrichment node configurations, and add that pack in all the pipelines that require that logic. This reduces the visual complexity of busy pipelines and it reduces configuration overhead.


There are two types of packs:
Learn how to create, manage, and deploy packs in your pipelines:
Showing 43 available packs
The RDS pack formats data from RDS.
This is a pack that allows for processing of Akamai JSON logs. It includes masking, parsing the …
This is a pack that processes ArgoCD logs by extracting, classifying, and clustering logs
This is a pack that allows for processing of Auth0 Logs. The pack includes parsing, looking up …
This is a pack that allows for processing of AWS Cloudtrail logs. The pack includes masking …
This is a CloudWatch Pack that processes logs forwarded from the Edge Delta CloudWatch Lambda …
This is a pack that allows for processing of AWS Kinesis logs. The pack includes unrolling the json, …
This is a Lambda Pack that processes logs forwarded from the Edge Delta Lambda Extension.
This is a pack that allows for processing of AWS VPC logs. The pack includes grokking, routing, …
This is a pack that allows for processing of Azure NSG Flow logs.
This is a pack that allows for processing of CEF logs.
This is a checkpoint pack that parses and aggregates Checkpoint logs.
This is a pack that allows for processing of Cisco ASA logs. This pack includes identifying the …
This is a pack that allows for processing of Cisco SFTD logs. This pack includes identifying the …
This is a pack for Cloudflare logs. It transforms the raw JSON logs by removing fields starting with …
This is a Common Media Client Data (CMCD) pack that processes log data to extract and report metrics …
This F5 Firewall pack allows parsing and structuring of syslog messages from F5 Networks ASM …
This is a Fortigate pack that processes logs by parsing, categorizing, and transforming them for …
This is a Gigamon pack that ingests and structures log data for easier interpretation, uses Gigamon …
This is a pack that allows for processing of Google Cloud Audit logs. This pack includes identifying …
This is a istio pack that ingests logs, extracts relevant data fields, and categorizes them based on …
This is Microsoft Office Activity pack that processes Office 365 Activity and Azure Events.
This is a Microsoft DNS Server pack that ingests and structures log data for easier interpretation
This is a Mimecast pack that does basic timestamp updating and routing for Mimecast SIEM JSON logs. …
This is a MySQL Error pack that ingests and structures log data for easier interpretation, routes …
This is a MySQL slow query pack that ingests logs, extracts key fields, and structures the data for …
This Netskope Alerts and Events pack allows structuring of Netskope Alerts and Events, and provides …
This is a Nginx pack that ingests logs, extracts key fields, and organizes data to facilitate …
Okta Pack extracts the timestamp from the log and replaces log timestamp. Based on the eventType, …
This Orca Security pack allows structuring of Orca Security Events, as well as adding some event …
This is a Palo Alto pack that structures data to enable extraction of Traffic and Threat logs and …
This is a redis pack that structures data to enable targeted analysis based on log levels and …
This pack processes syslog messages to reduce size and extract fields.
This Trend Micro pack processes on Trend Micro Apex Central events for transforming and optimizing …
This is a Windows Event pack that structures data to enable extraction of Windows Event logs and …
The ZScaler pack processes JSON, KVP, CSV, and TSV logs by routing them through specialized nodes …
This is a pack that allows dynamic flow control of messages based on a lookup table supporting …
This is a pack that allows dynamic sampling of messages based on a lookup table supporting …
This is a pack that allows for processing of large messages into the Edge Delta Pipeline. The pack …
This is a Datadog K8s pack that ensures compatibility of log data with a Datadog destination.
This is a New Relic Entities pack that enriches log data with entity-specific attributes that are …
This is a splunk rosetta stone pack that ensures compatibility of log data with a Splunk destination
This packs shows examples on different ways to use lookup processor.