Workflows Overview
9 minute read
Overview
Workflows provide a visual process editor for automating common SRE tasks. Instead of relying solely on chat-based orchestration where OnCall AI decides the flow, workflows let you define deterministic multi-step processes that execute automatically based on triggers, conditions, and actions.
Every organization includes default workflows that cover common patterns like pipeline liveness alerts, synthetic monitor failures, and daily health summaries. You can customize these or build your own from scratch.
Each workflow consists of connected nodes that define the automation logic. You can incorporate AI teammates to analyze data, use conditional branching to route processing, transform data between steps, and execute actions like sending notifications. Workflows can operate with or without AI teammates, giving you flexibility to build purely deterministic automations or blend AI reasoning with structured processes.
Why use workflows
Workflows introduce determinism into agentic flows. While chat-based interactions let OnCall AI dynamically orchestrate responses, workflows provide predictable, repeatable automation paths. Use workflows when you need:
- Predictable execution: The same trigger always follows the same path through your defined nodes
- Chained actions: Execute multiple steps in sequence without manual intervention
- Optional AI enhancement: Add AI reasoning at specific points while keeping the overall flow deterministic
- Cross-platform automation: Trigger actions in external systems based on Edge Delta events
Consider a typical SRE incident response without workflows: a monitor fires, an engineer checks the dashboard, searches logs, reviews recent deployments in GitHub, creates a Slack channel, invites the right responders, and posts the initial context, all manually. Workflows automate this entire sequence so it executes the same way every time, freeing engineers to focus on resolution instead of coordination.
Example use cases
Common workflow patterns include:
- Alert enrichment: Monitor fires an alert, workflow pulls relevant context, enriches the alert body, and sends a detailed notification to Slack or email
- Event forwarding: A GitHub PR is created, workflow immediately notifies a Slack channel (no AI required)
- AI-assisted triage: An alert triggers the workflow, a teammate summarizes the issue, and the summary is posted to your incident channel
- Incident lifecycle management: Create status messages in Slack, update threads as the situation evolves, and close incidents cleanly when resolved
Accessing workflows
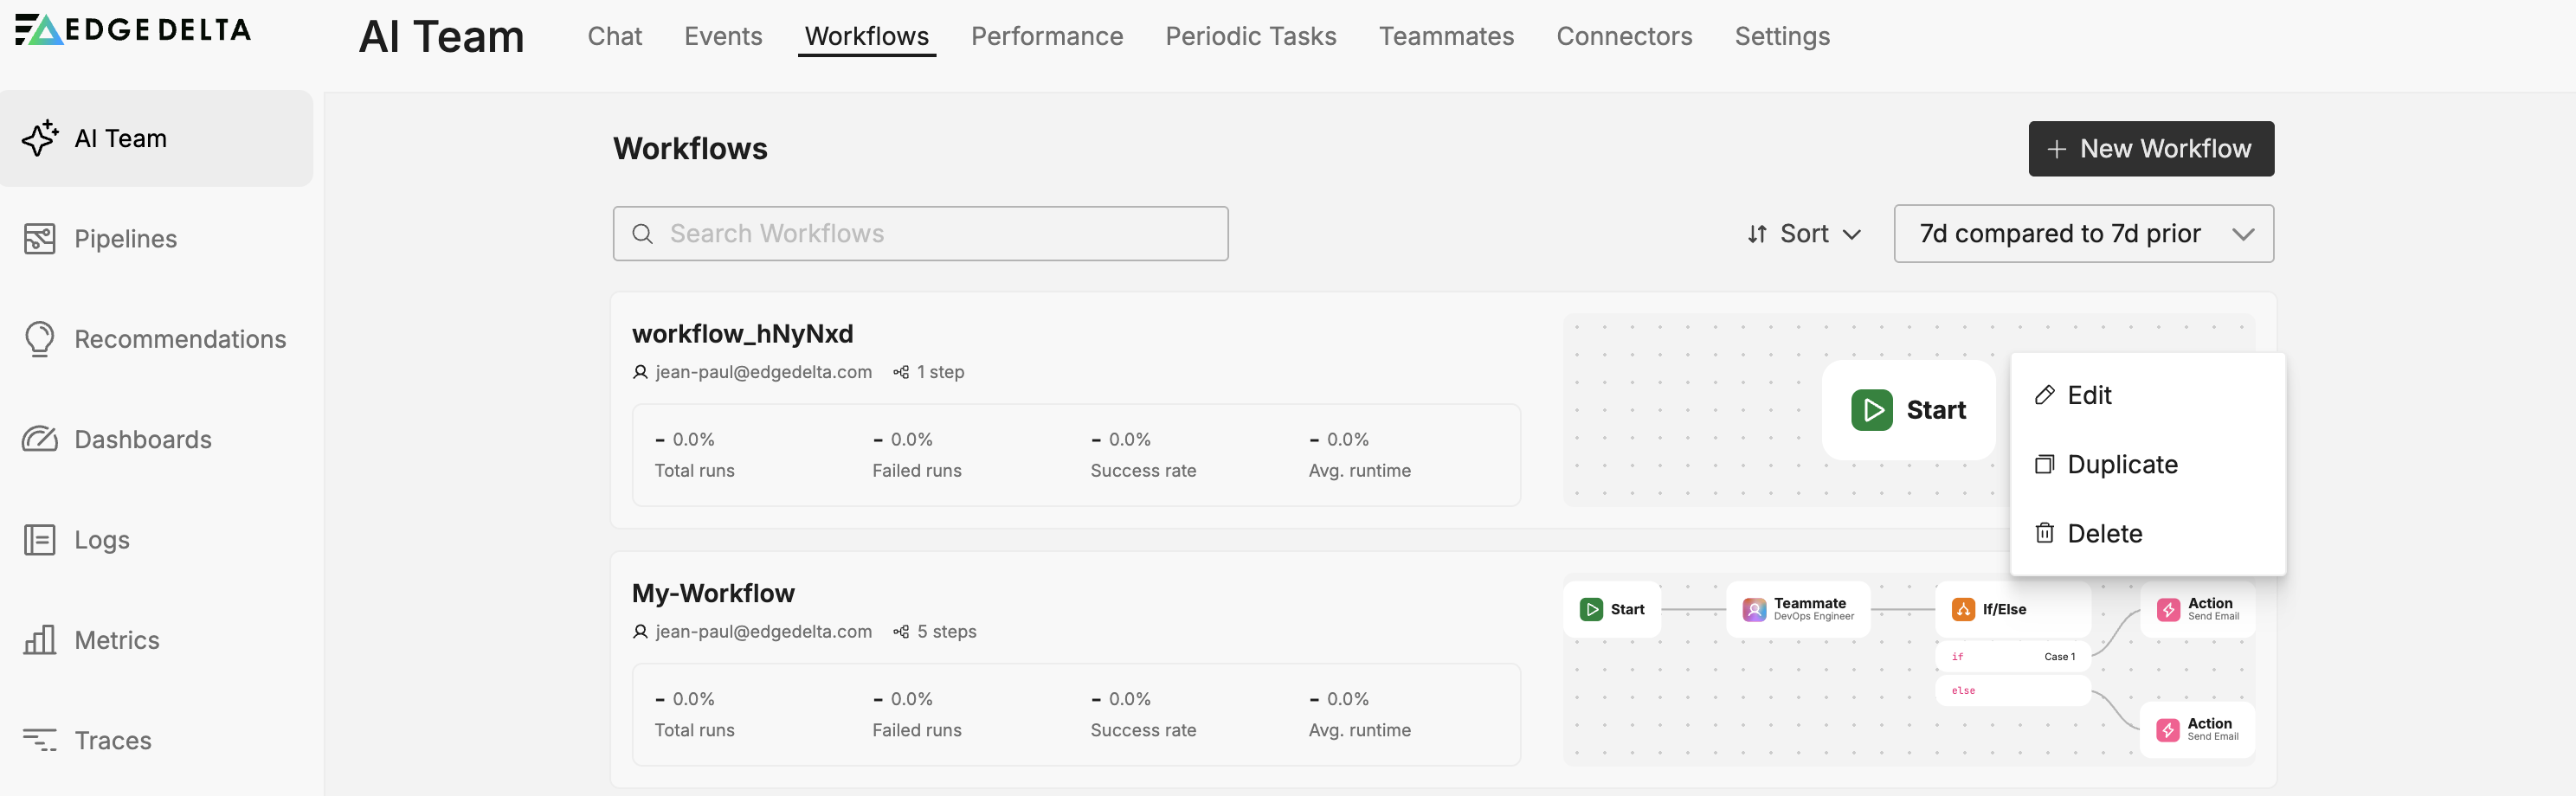
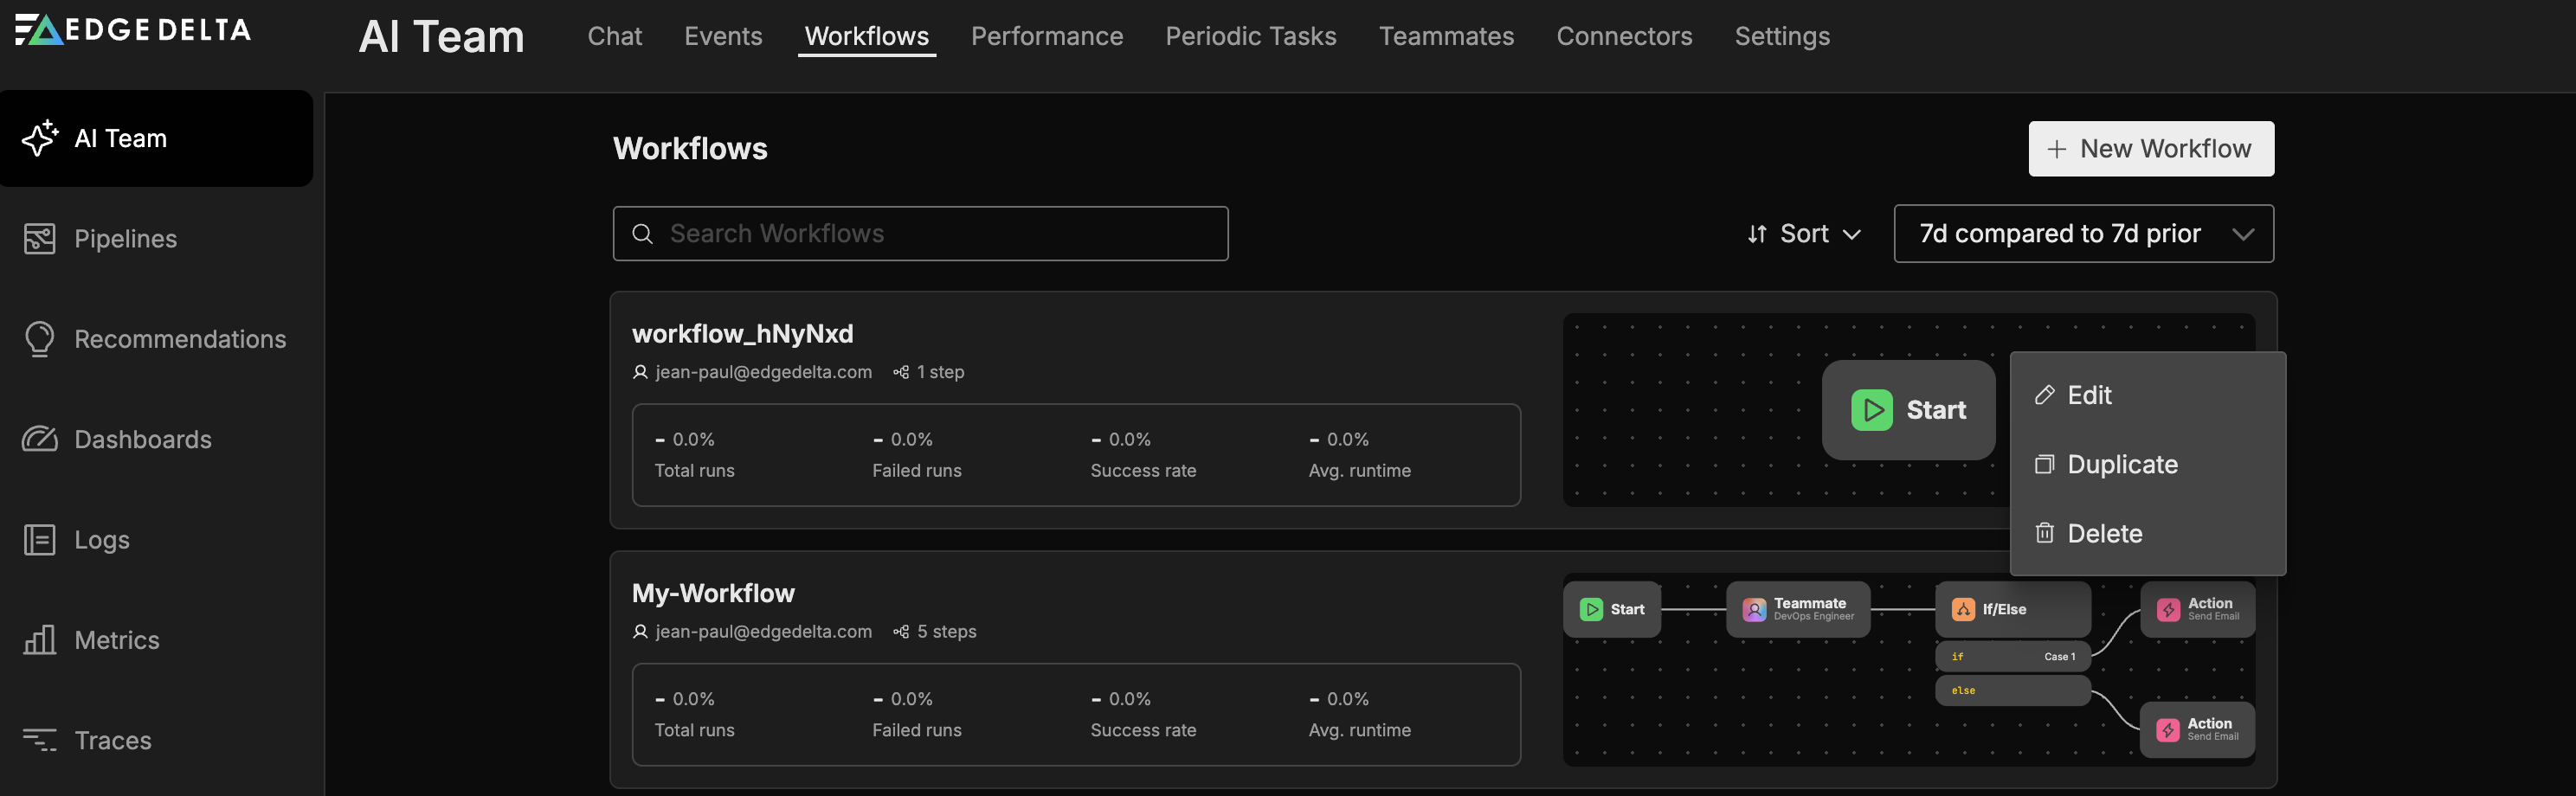
Navigate to AI Team and select the Workflows tab. Each workflow appears as a tile showing:
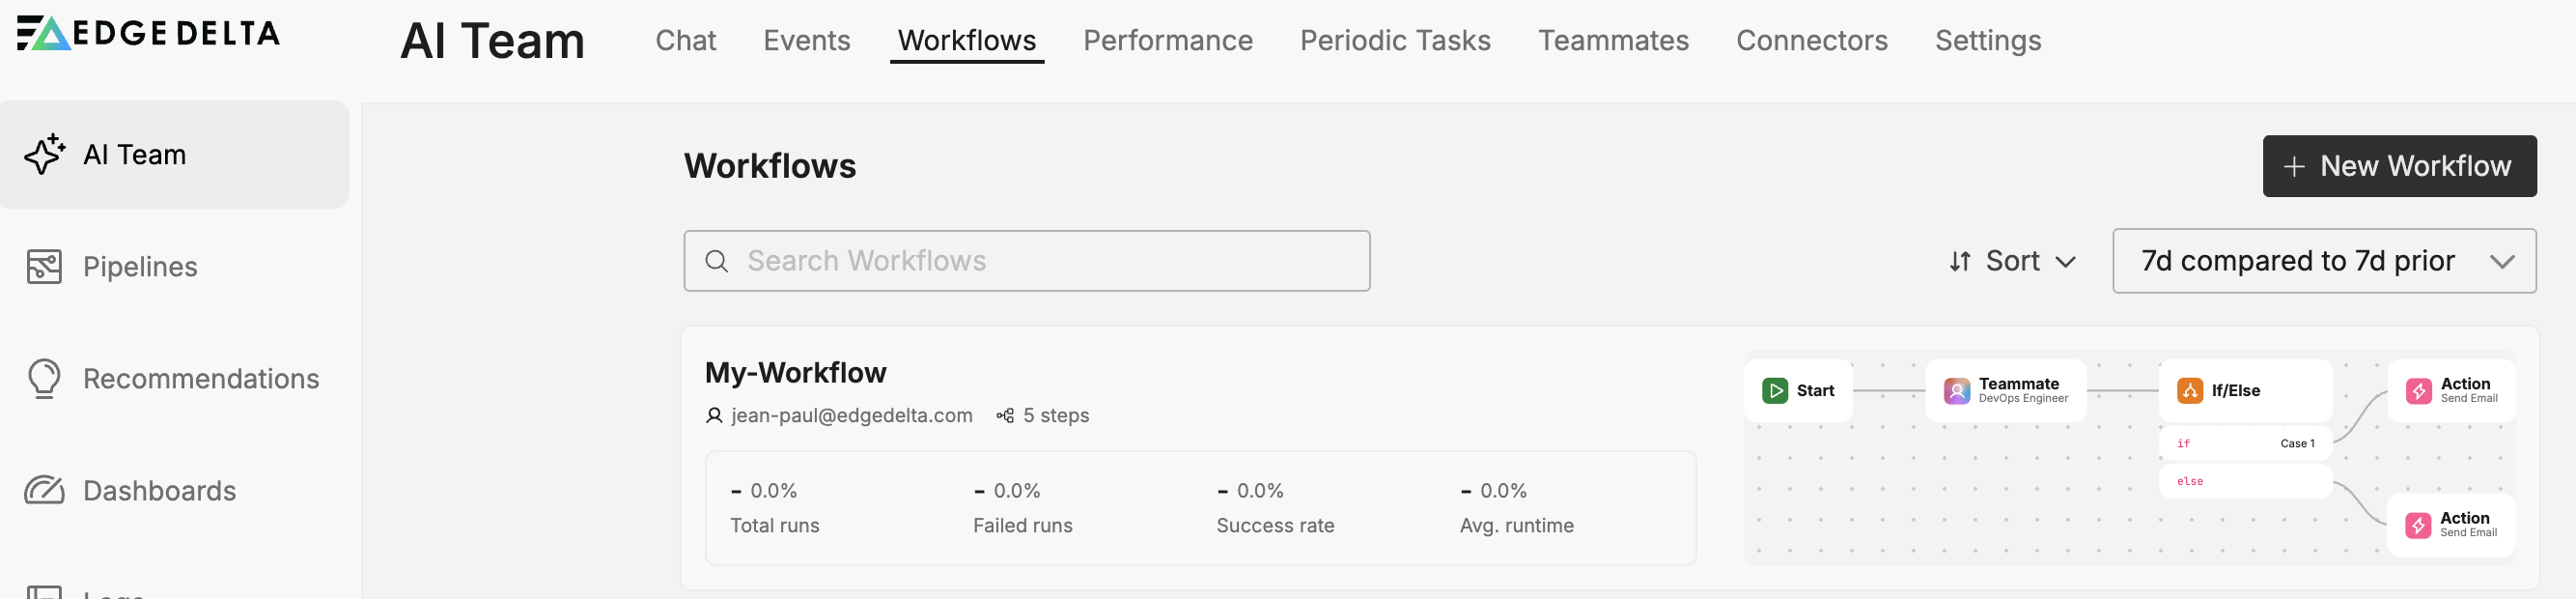
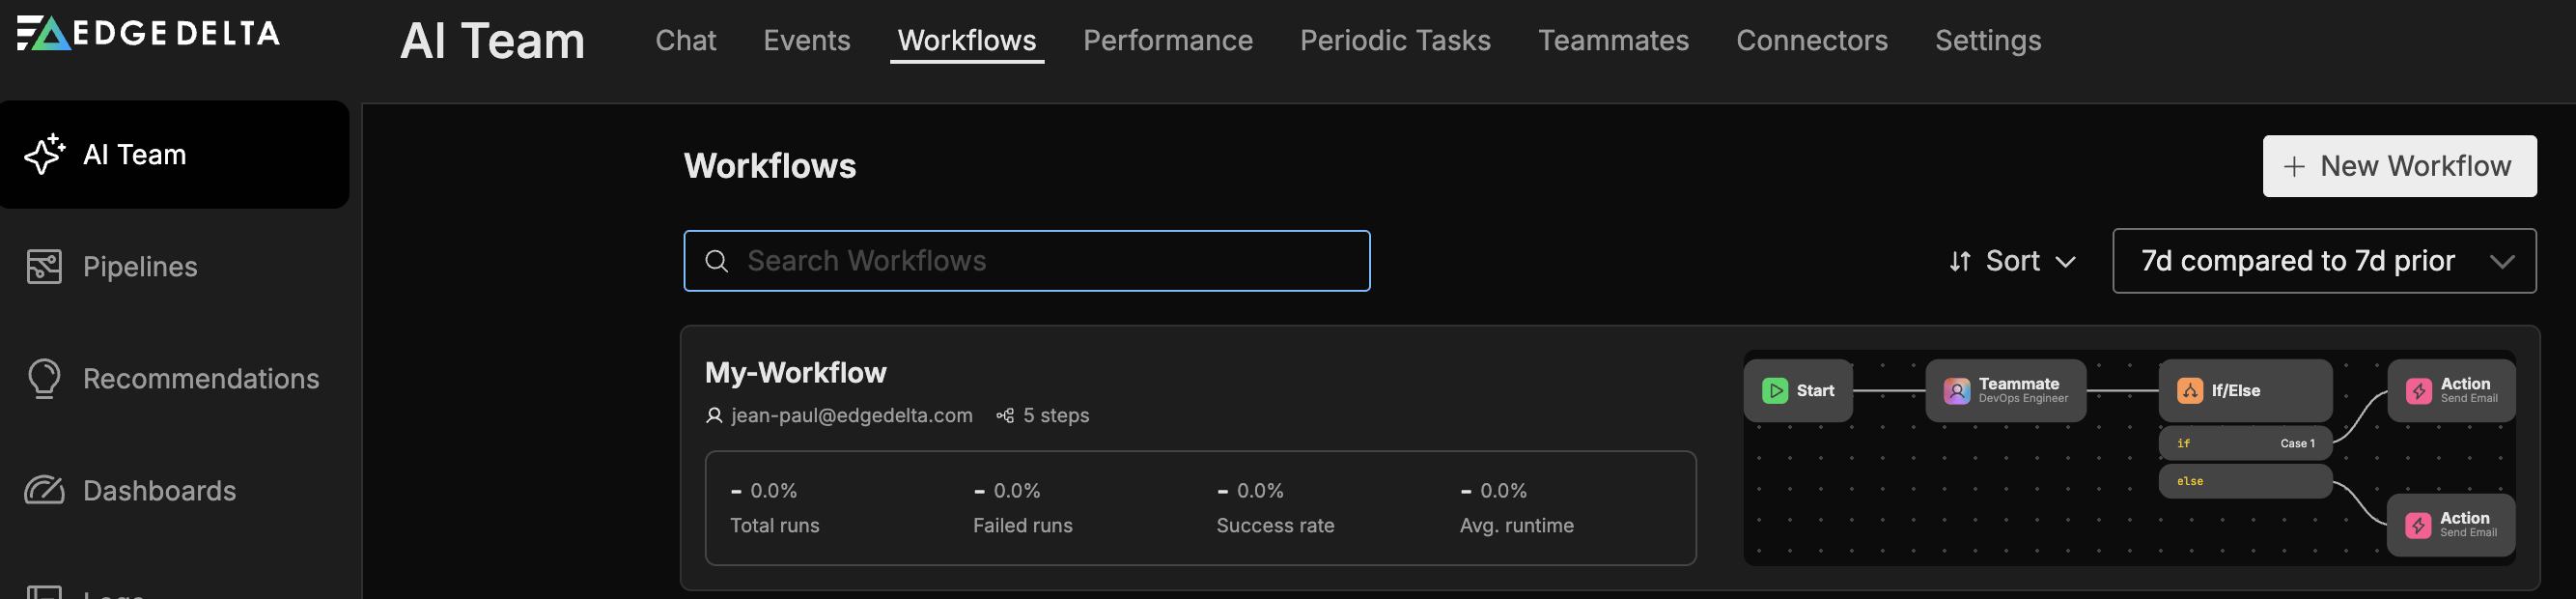
- Name: The workflow name
- Steps: Number of nodes in the workflow
- Total Runs: Number of executions
- Failed Runs: Number of failed executions
- Success Rate: Percentage of successful runs
- Avg Runtime: Mean execution duration
- Preview: A visual preview of the workflow’s node layout
- Author: Who created the workflow
Creating a workflow
To create a new workflow:
- Click New Workflow
- A blank workflow canvas opens with a default Start node
- Click the edit icon next to the workflow name to rename it
- Configure the Start node and add additional nodes as needed
- Connect nodes to define the process flow
- Save the workflow
The workflow editor validates your configuration in real time and displays errors if any nodes have missing or invalid settings.
The workflow editor toolbar includes three buttons:
- Save: Save your workflow changes
- Runs: Open the run history panel (see Monitoring workflow runs)
- Run Manual: Trigger the workflow manually for testing or ad-hoc execution
Monitoring workflow runs
Click Runs in the workflow editor toolbar to open the run history panel. The panel provides visibility into every workflow execution.
Overview metrics
The top of the panel displays aggregate metrics:
- Completed: Total successful executions
- Error: Total failed executions
- In Progress: Currently running executions
- Avg Runtime: Mean execution duration across all runs
Run history
Below the overview, the run history lists individual executions. Each entry shows the run source (manual, monitor, connector, or schedule), who triggered it, the total duration, and the number of steps executed.
Run detail
While a workflow executes, the canvas highlights active nodes in real time so you can see data traveling through the workflow.
Click a run to inspect it step by step. Each node in the workflow displays:
- Duration: How long the node took to execute
- Input: The JSON data the node received, including the trigger payload and any output accumulated from upstream nodes
- Output: The JSON data the node produced, which becomes available to downstream nodes
For Teammate nodes, the detail view also lists Tool calls, which show each tool the teammate invoked during its investigation, including the integration name, tool name, timestamp, and query parameters.
Debugging failed runs
When a run fails, the run history entry shows an error status. Click the run to identify which node failed, review the input it received, and read the error message. Common causes include misconfigured action fields, unreachable external services, and conditions that prevented execution from continuing.
Workflow nodes
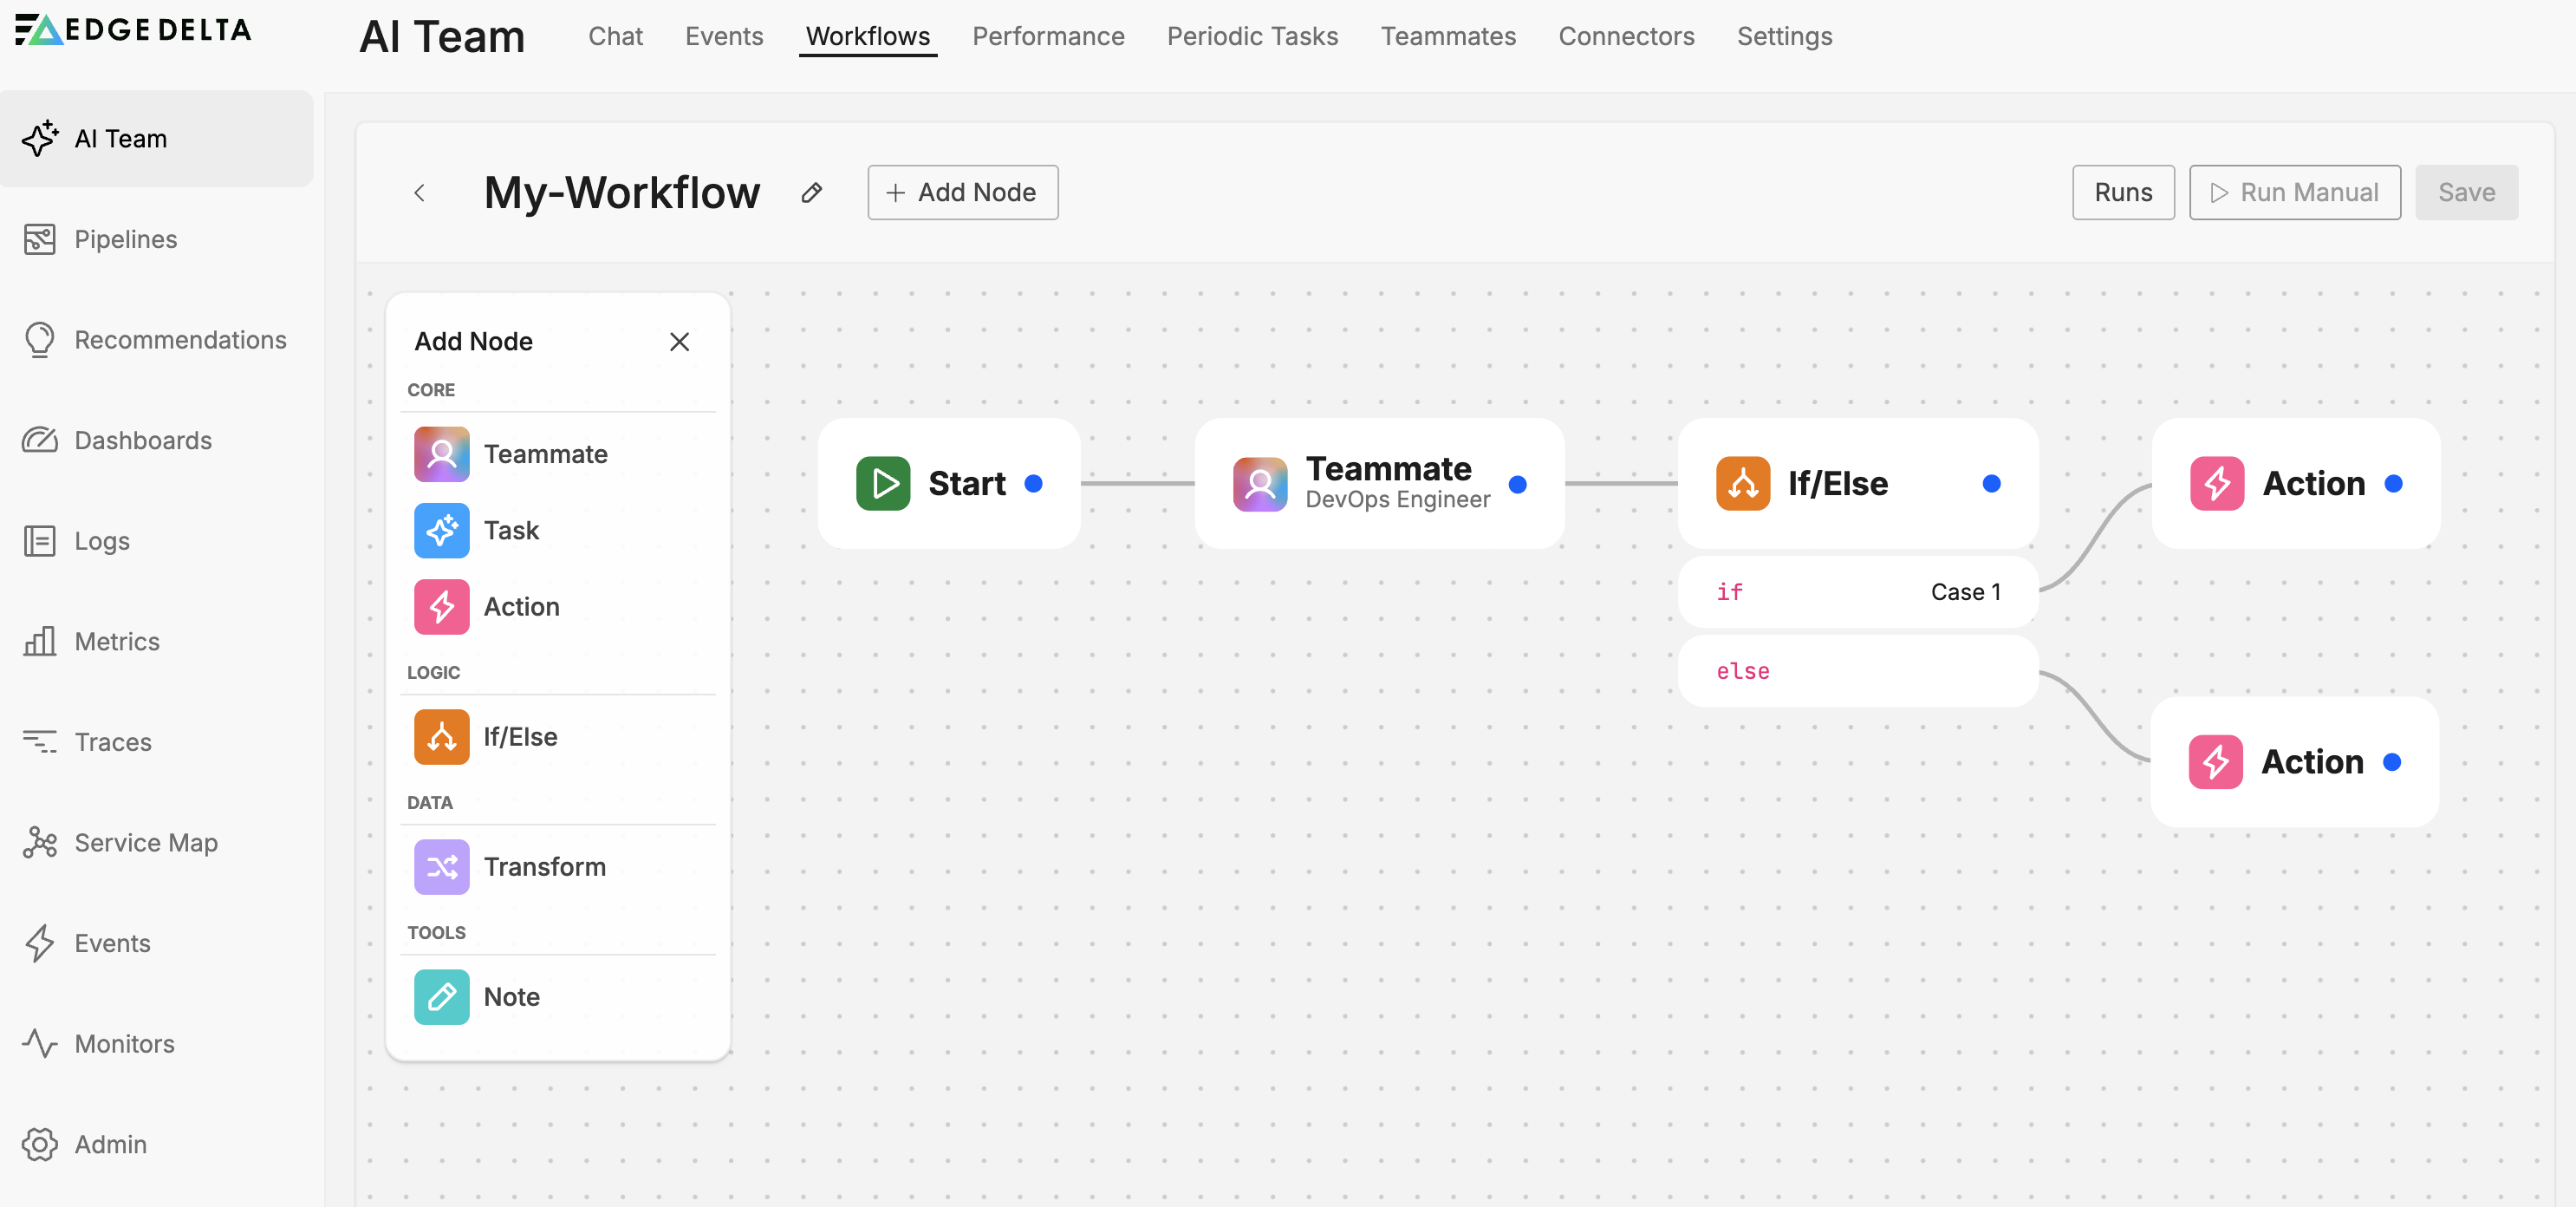
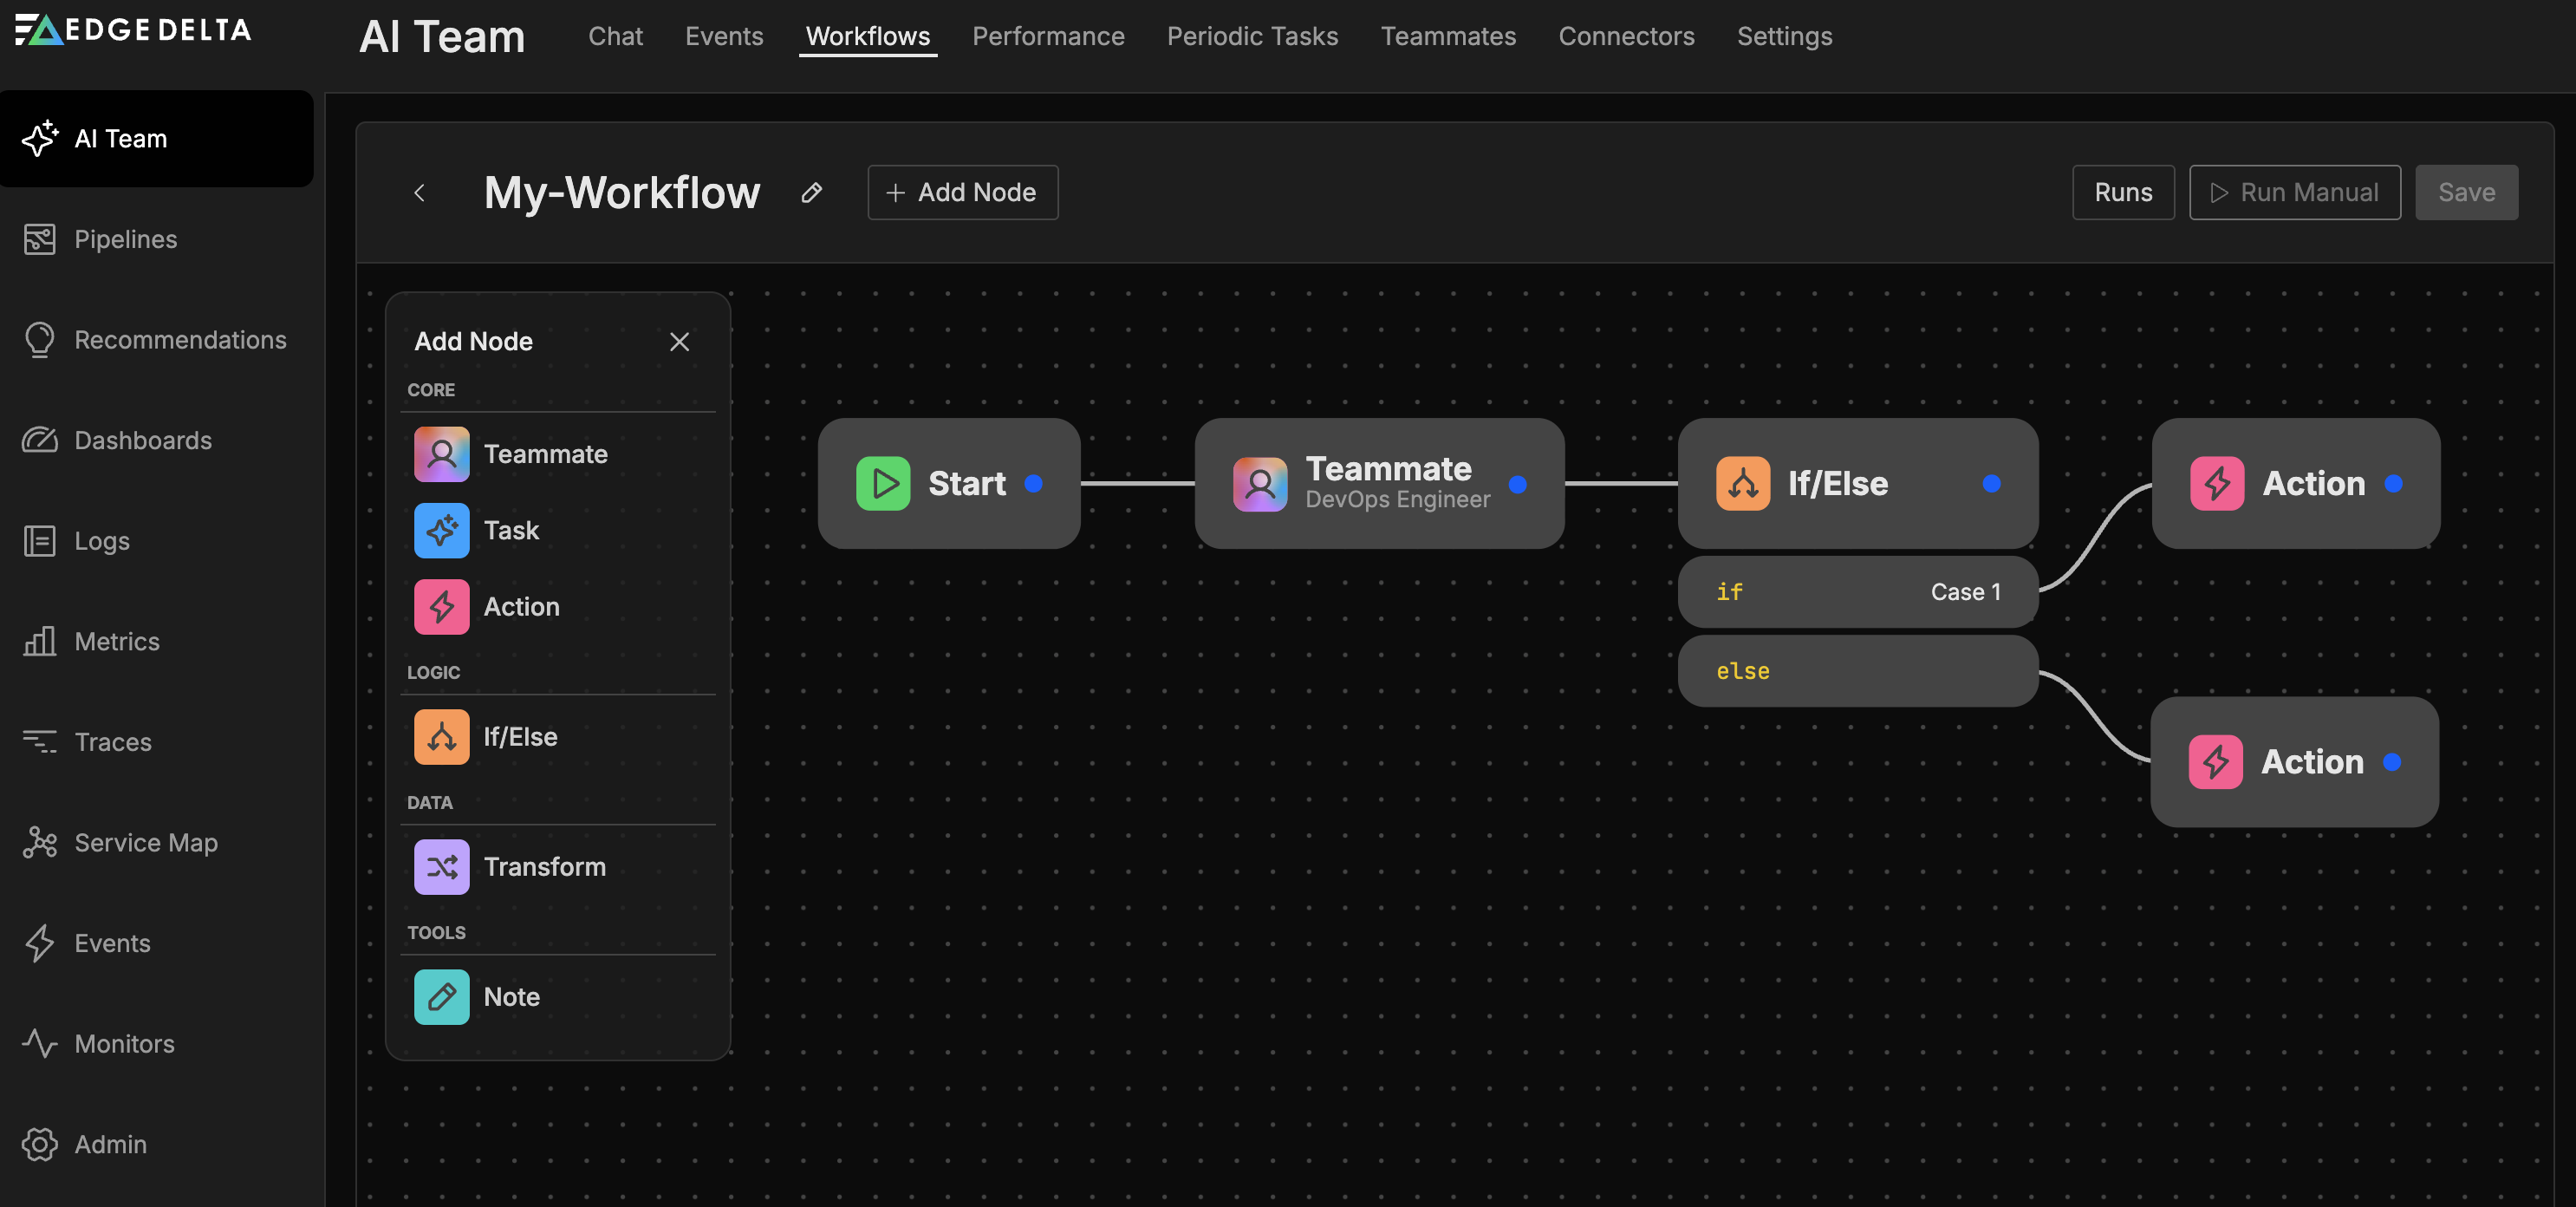
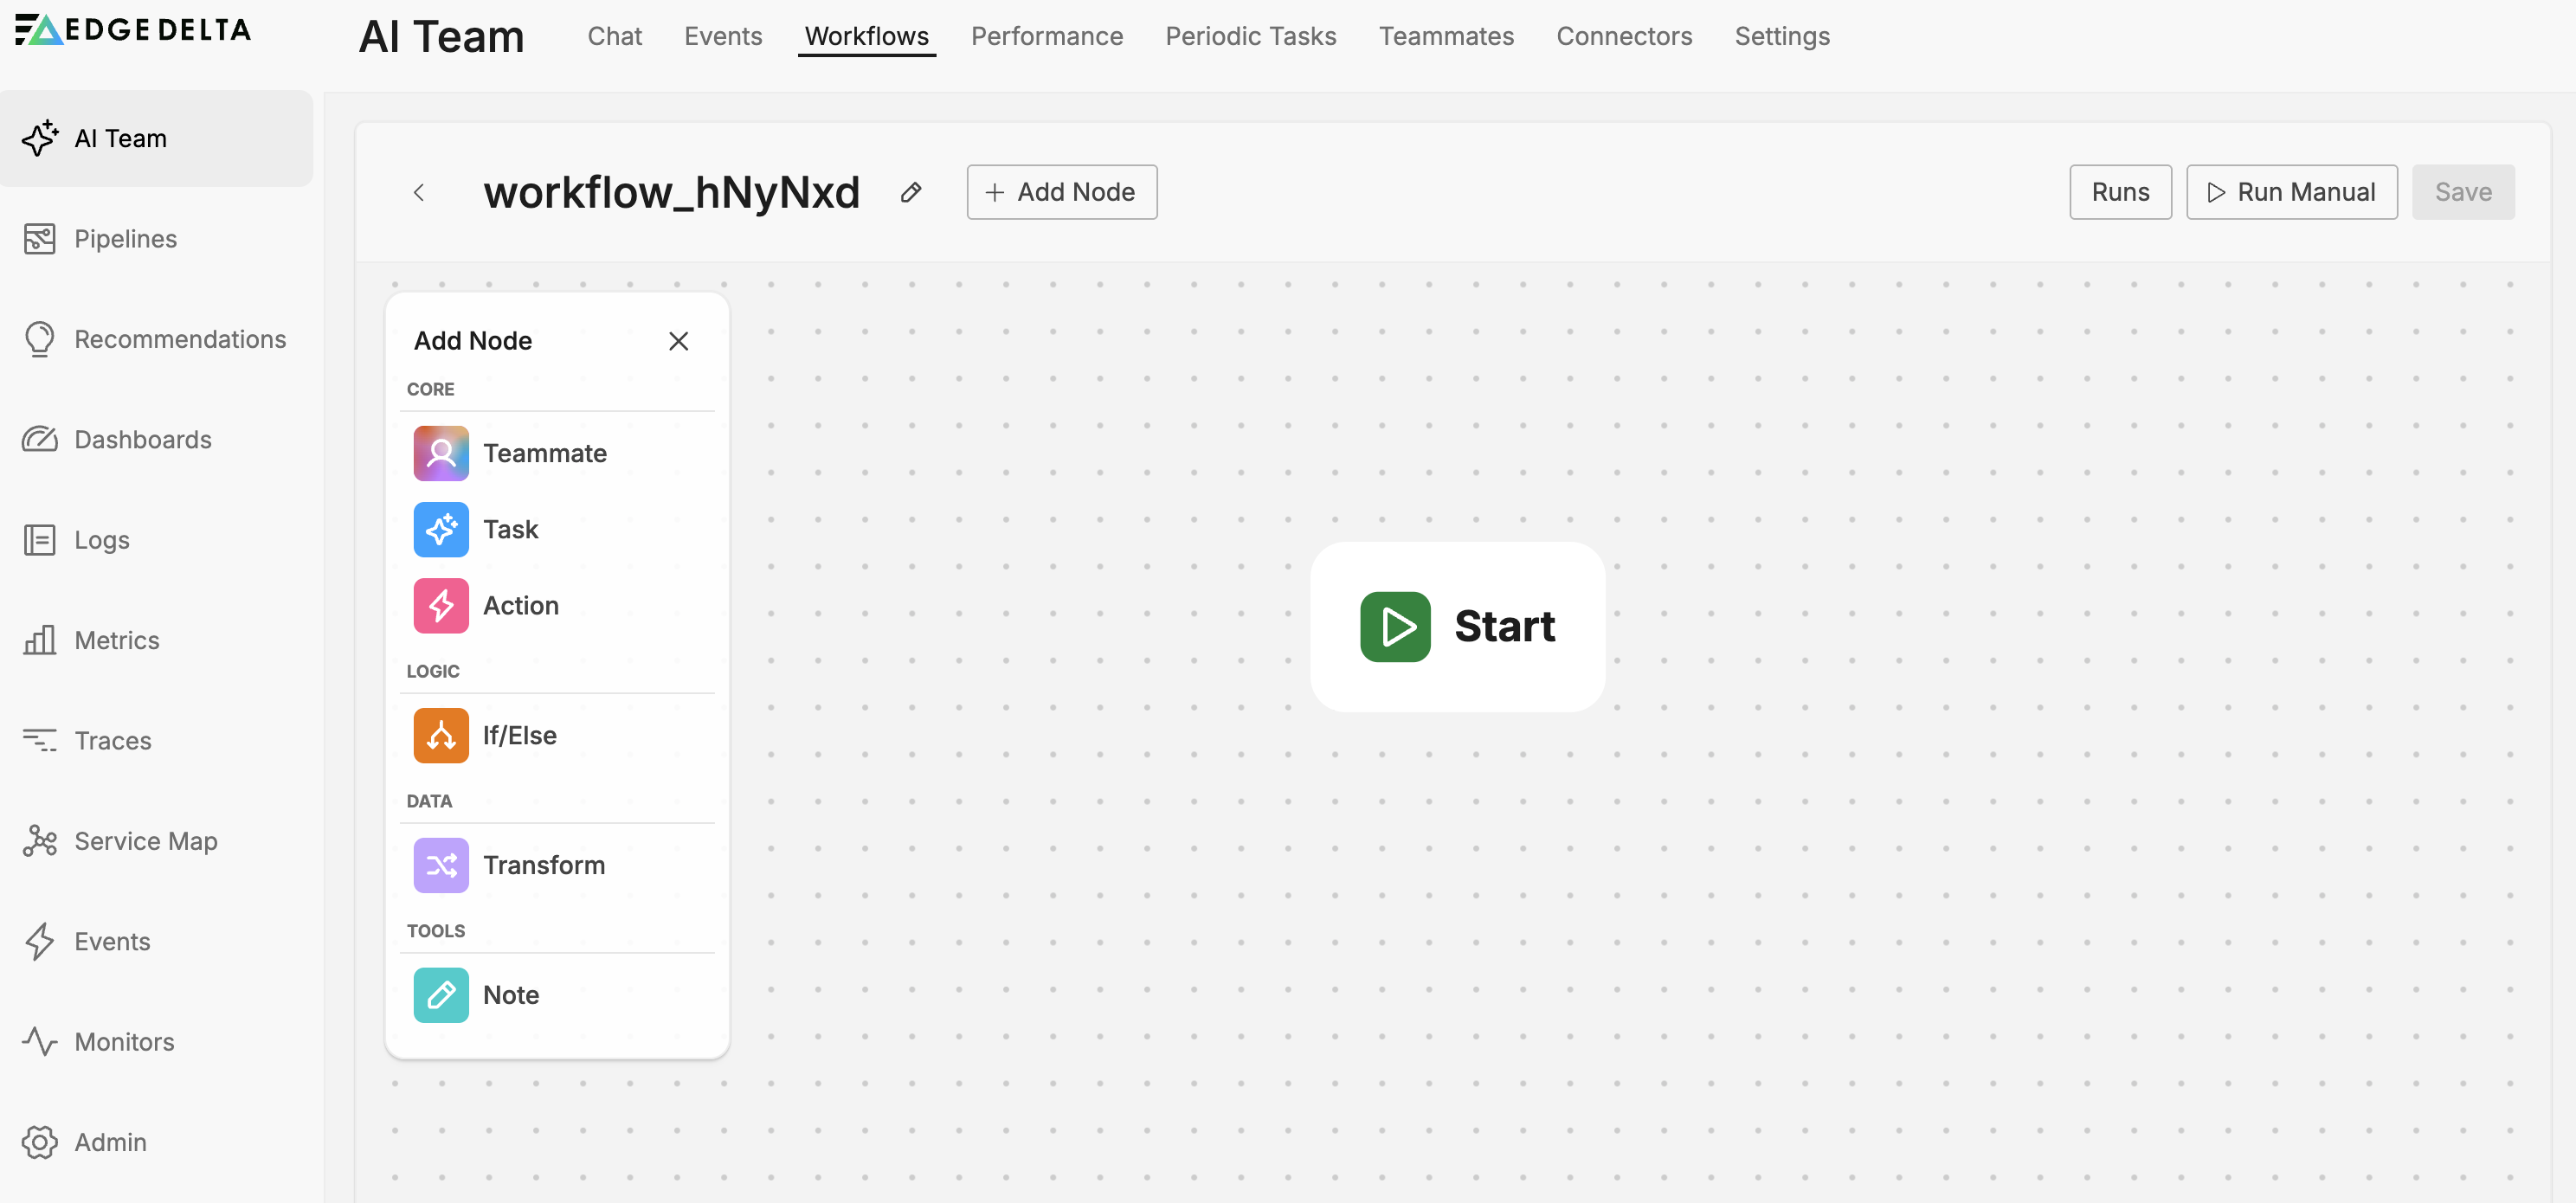
Workflows use a palette of nodes that you connect to build automation logic. Click Add Node to open the node palette.
| Node | Purpose |
|---|---|
| Start Node | Entry point that defines when the workflow runs (monitors, connectors, or schedule) |
| Teammate Node | Invokes an AI teammate with access to tools and connectors |
| Task Node | Lightweight AI processing for simple prompt-response tasks |
| If/Else Node | Conditional branching based on JavaScript expressions |
| Transform Node | Modifies and reshapes data using JavaScript |
| Action Node | Executes operations like notifications and issue creation |
| Note Node | Adds documentation to the workflow canvas |
See each node’s documentation for detailed configuration options and examples. For end-to-end examples showing how these nodes work together, see Workflow Patterns.
Connecting nodes
Nodes have input and output ports that appear when you hover over them. To build your workflow:
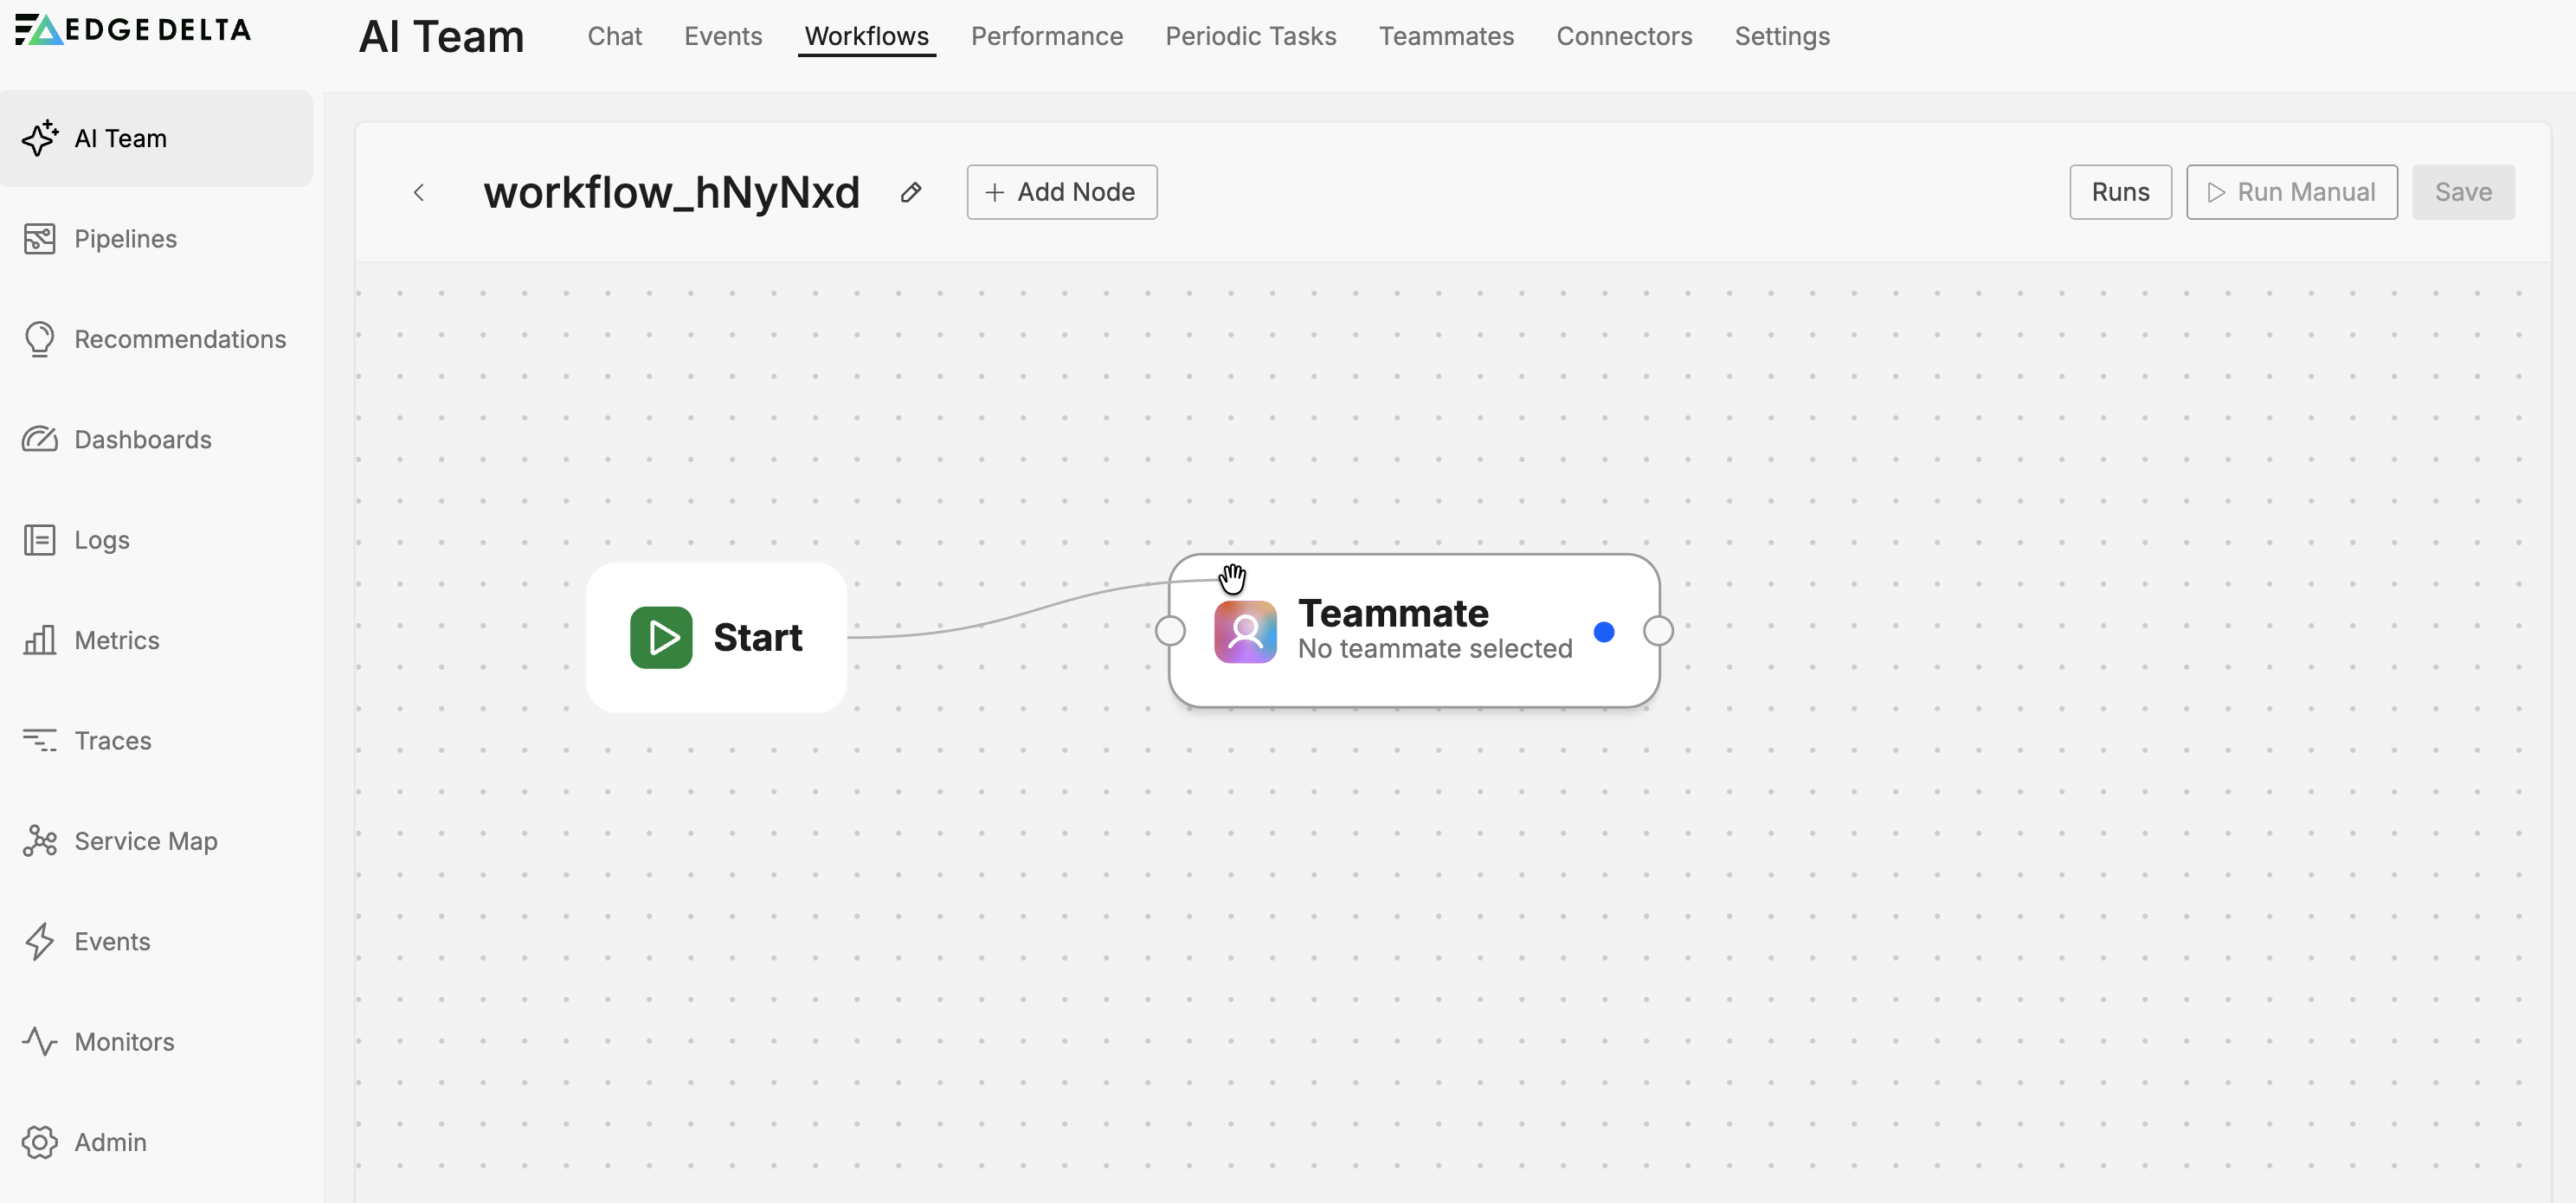
- Hover over a node to reveal its ports
- Drag from an output port to an input port (or vice versa)
- Release to create the connection
Connection rules:
- Each connection links one output to one input
- Standard nodes have one input and one output port
- The If/Else node has one input port and multiple output ports (one per condition)
- The Note node has no ports
- The Start node has only an output port (it is the entry point)
To modify an existing connection, drag a new connection between the intended source and destination. The new connection replaces the old one.
Using variables
Variables allow you to pass data between nodes in your workflow. When a node produces output, that data becomes available as a variable for downstream nodes to reference.
Accessing variables
In text fields that support variables:
- Type
{{to open the variable suggestions dropdown - Select from the available variables
- The variable reference is inserted at your cursor position
Hover over an inserted variable to see a tooltip with its actual value from the last workflow run. This helps you verify that variable references resolve to the expected data.
Note: You must run the workflow at least once or connect nodes with outputs to see available variables. Until nodes produce output, the variable list remains empty.
How data accumulates
Data accumulates as it flows through the workflow. The trigger payload from the Start node is available as data. Each subsequent node that produces output appends its results, so downstream nodes can reference outputs from any upstream node, not just the immediately preceding one. The variable suggestions dropdown organizes these outputs by source node.
Variable sources
Variables can come from:
- Start node: Data from the trigger event (monitor alert data, connector event payload)
- Teammate nodes: AI-generated responses and analysis
- Task nodes: AI task outputs
- Transform nodes: Transformed data fields
- Action nodes: Results stored in the Result Field option
Result fields
Many action nodes include a Result Field option in their advanced settings. When configured, the action’s output is stored in that field and becomes available as a variable for downstream nodes.
For example, a Get PagerDuty On-call User action can store the on-call user’s details in a result field. A downstream Send Slack Message action can then reference that variable to mention the on-call user directly.
Chaining actions
Actions can be connected in sequence to build complex automation workflows. Each action’s output can inform subsequent actions, enabling dynamic behavior based on retrieved data.
Example: On-call notification workflow
This pattern fetches the current on-call user and notifies them directly:
- Get PagerDuty On-call User - Retrieves the on-call user and stores their details in a result field named
oncall_user - Get Teams User - Looks up the Teams user matching the on-call user’s email, stores result in
teams_user - Send Teams Message - Sends a message mentioning the looked-up user using the
teams_uservariable
Example: Incident documentation workflow
This pattern creates an incident record and updates it with diagnostic information:
- Create Jira Issue - Creates an incident ticket, stores the issue key in
jira_issue - Teammate node - AI analyzes the alert and generates a summary
- Add Jira Comment - Adds the AI-generated summary to the issue using the
jira_issuekey
Design considerations
When chaining actions:
- Configure Result Field for any action whose output you need to reference later
- Use Transform nodes to reshape data between actions if needed
- Use If/Else nodes to conditionally execute different action chains based on retrieved data
- Test workflows with sample data to verify variable references resolve correctly
Managing workflows
Edit a workflow
- Click the kebab menu (three dots) for the workflow
- Select Edit
- Make your changes in the workflow editor
- Save the workflow
Duplicate a workflow
Create a copy of an existing workflow as a starting point:
- Click the kebab menu for the workflow
- Select Duplicate
- Rename and modify the copy as needed
Delete a workflow
- Click the kebab menu for the workflow
- Select Delete
- Confirm the deletion
Best practices
Design effective workflows with these guidelines:
- Start simple: Build workflows with a few nodes first, then add complexity as you validate behavior.
- Use meaningful names: Give workflows and nodes descriptive names that explain their purpose.
- Add documentation: Use Note nodes to explain complex logic or business rules.
- Choose output formats wisely: Use JSON output when downstream nodes need to parse specific values; use Text output when feeding into another AI node. See Workflow Patterns for examples.
- Test conditions: Verify If/Else conditions with sample data before deploying to production.
Troubleshooting
Workflow not triggering
Check the following:
- The workflow Status toggle is enabled
- The Start node is configured with valid trigger settings
- For monitor triggers, verify the monitor is active and firing
- For connector triggers, confirm the connector is receiving events
Unexpected branching behavior
Review your If/Else conditions:
- Verify the JavaScript syntax is correct
- Check that the condition references valid object paths (for example,
item.alert.is_critical) - Test conditions with sample data to confirm they evaluate as expected
Action not executing
Verify the Action node configuration:
- All required fields are populated
- Target addresses or endpoints are valid
- The workflow reaches the Action node (check upstream conditions)
Related resources
- Workflow Patterns - End-to-end examples for incident automation, deploy verification, and health checks
- AI Team Overview - Understand how workflows fit into the broader AI Team ecosystem
- Creating and Managing Teammates - Configure teammates to use in workflow nodes
- Default Workflows - Pre-built workflows provisioned for every organization
- Connectors - Enable data access for workflow triggers