Manage Edge Delta Groups
Managing Groups in the Edge Delta web application.
2 minute read
Overview
Click Admin and select the My Organization tab, then select the Groups tab to manage your current organization’s groups permissions.family
Permission Groups
By default, there are three permission groups:
- Admin: Write access to all resources.
- Analyst: Read-only access to all resources.
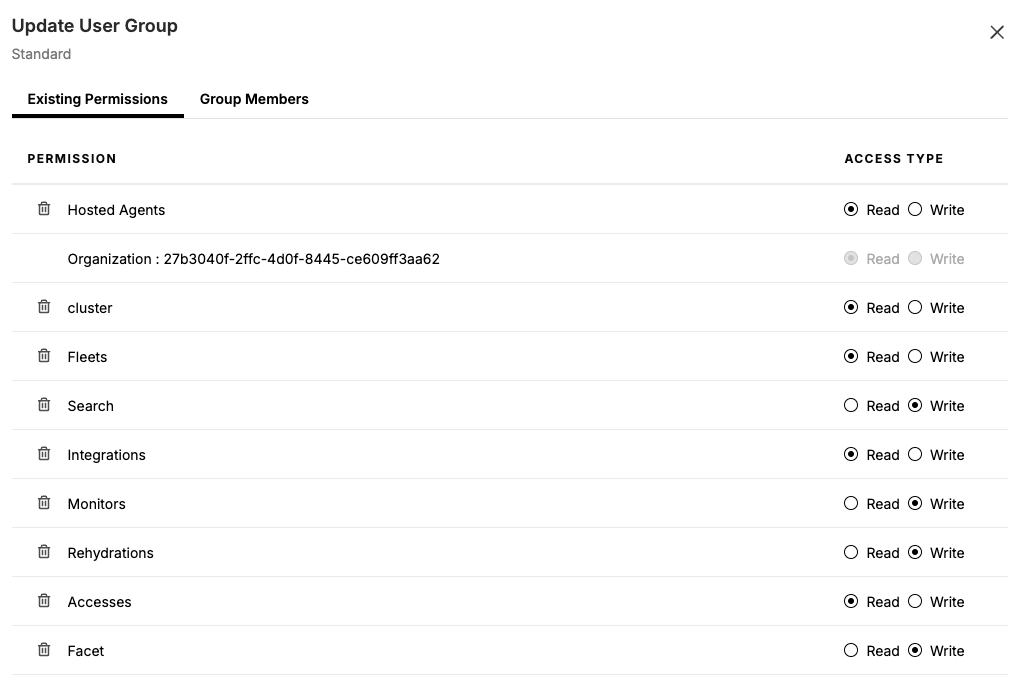
- Standard: Read-only access to most resources, with Write access to Facets, Rehydrations, Monitors, and Search.
Create a Group
You can create a user group with specific permissions.
- Click Admin and select the My Organization tab.
- Click Groups.
- Click Create User Group.
- Enter a descriptive name for the group.
- Click Create User Group.
- Click the icon in the Actions column for the newly created user group, click Edit user group.
- Click Add New Permissions.
- Under Select A Resource Type, click the drop-down menu, and then select the desired access type.
- Under Select Resources, select All Current and Future.
- For Access Type, select Read or Write. Read gives users the ability to view resource information, such as obtain a list of existing integrations. Write gives users the ability to create, edit, and remove resources, such as create a new integration or delete an existing monitor.
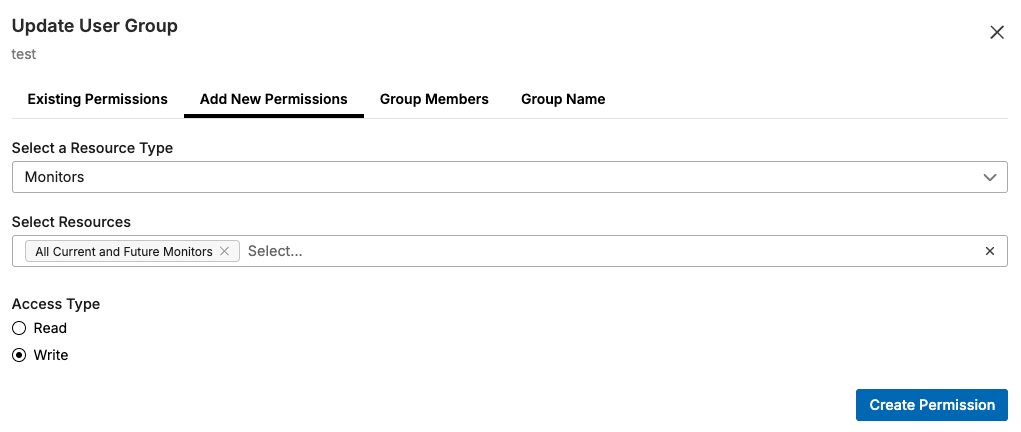
- Click Create Permission to add the permission to the group.
- (Optional) You can add multiple permissions to a group. Repeat steps 8 - 11.
- (Optional) To add existing users to this permission group, click Group Members, then select an existing user.
- Click Group Name then click Save.
Add a User to a Group
- Click Admin and select the My Organization tab.
- Click Groups.
- Click the icon in the Actions column for the appropriate group, click Edit User Group.
- Click Group Members.
- Select the user.
- Click Group Name then click Save.