Integrating Ping Identity SAML with Edge Delta
5 minute read
Overview
You can integrate Ping Identity SAML with Edge Delta. You create an application configuration in Ping Identity, add a group of users, and provide Edge Delta with the generated IDP Metadata URL. Edge Delta uses the URL to communicate with the identity provider.
Edge Delta supports both identity provider (IDP) and service provider (SP) initiated login workflows. The IDP workflow logs in a user from the IDP dashboard, whereas the SP workflow logs a user in from the Edge Delta login page.
1. Create an Application
- Log onto the Ping Identity dashboard with an administrator account.
- Click Connections - Applications.
- Click Applications +.
- For Application Name, enter
Edge Delta. - For Application Type, select SAML Application.
- Click Configure.
- Select Import From URL, enter
https://api.edgedelta.com/saml/metadata, and click Import.
- The ACL URLs and Entity ID fields will populate automatically.
- Click Save.
- Select the Configuration tab and click the pencil to edit.
- In the Subject NameID Format drop-down menu, select
urn:oasis:names:tc:SAML:1.1:nameid-format:emailAddress. - Specify the target application URL as
https://app.edgedelta.com/samlif the IDP initiated login flow is going to be used. - Ensure that the field values are as follows, then click Save.
- Import URL:
https://api.edgedelta.com/saml/metadata - ACS URLS:
https://api.edgedelta.com/saml/acs - ENTITY ID:
https://api.edgedelta.com/saml/metadata - TARGET APPLICATION URL:
https://app.edgedelta.com/saml
- Select the Attribute Mapping tab and click the pencil to edit.
- In the Attribute Mapping table, click + Add, and create the following entry:
- Select the
emailAttribute. - Select
Email Addressfor PingOne Mappings. - Select the Required checkbox.
- Optionally, add the
groupsAttribute andGroup NamesPingOne Mapping and make it required if group attributes are required in the assertion response. - Click Save.
2. Create Users
Click Identities - Users and create any users that will need to access Edge Delta if they don’t already exist.
3. Create Groups
Configure attribute mapping if group attributes are required in the assertion response, for example, to enable JIT permissions provisioning:
- Select Groups and create an Edge Delta group.
- Add the required users to the Edge Delta group.
- Edit the group access policy and click + to enable access for the group to the Edge Delta application.
4. Enable the Application
- Click Connections - Applications.
- Enable the Edge Delta application with the sliding button.
- Select the Edge Delta application.
- Click the Configuration tab.
- Locate and copy the IDP Metadata URL. You will need this information in a later step. The metadata includes URLs of endpoints, supported bindings, identifiers and public keys
5. Sync the Ping Application with the Edge Delta App
- Log on to the Edge Delta App with an administrator account.
- Click Admin and select the My Organization tab.
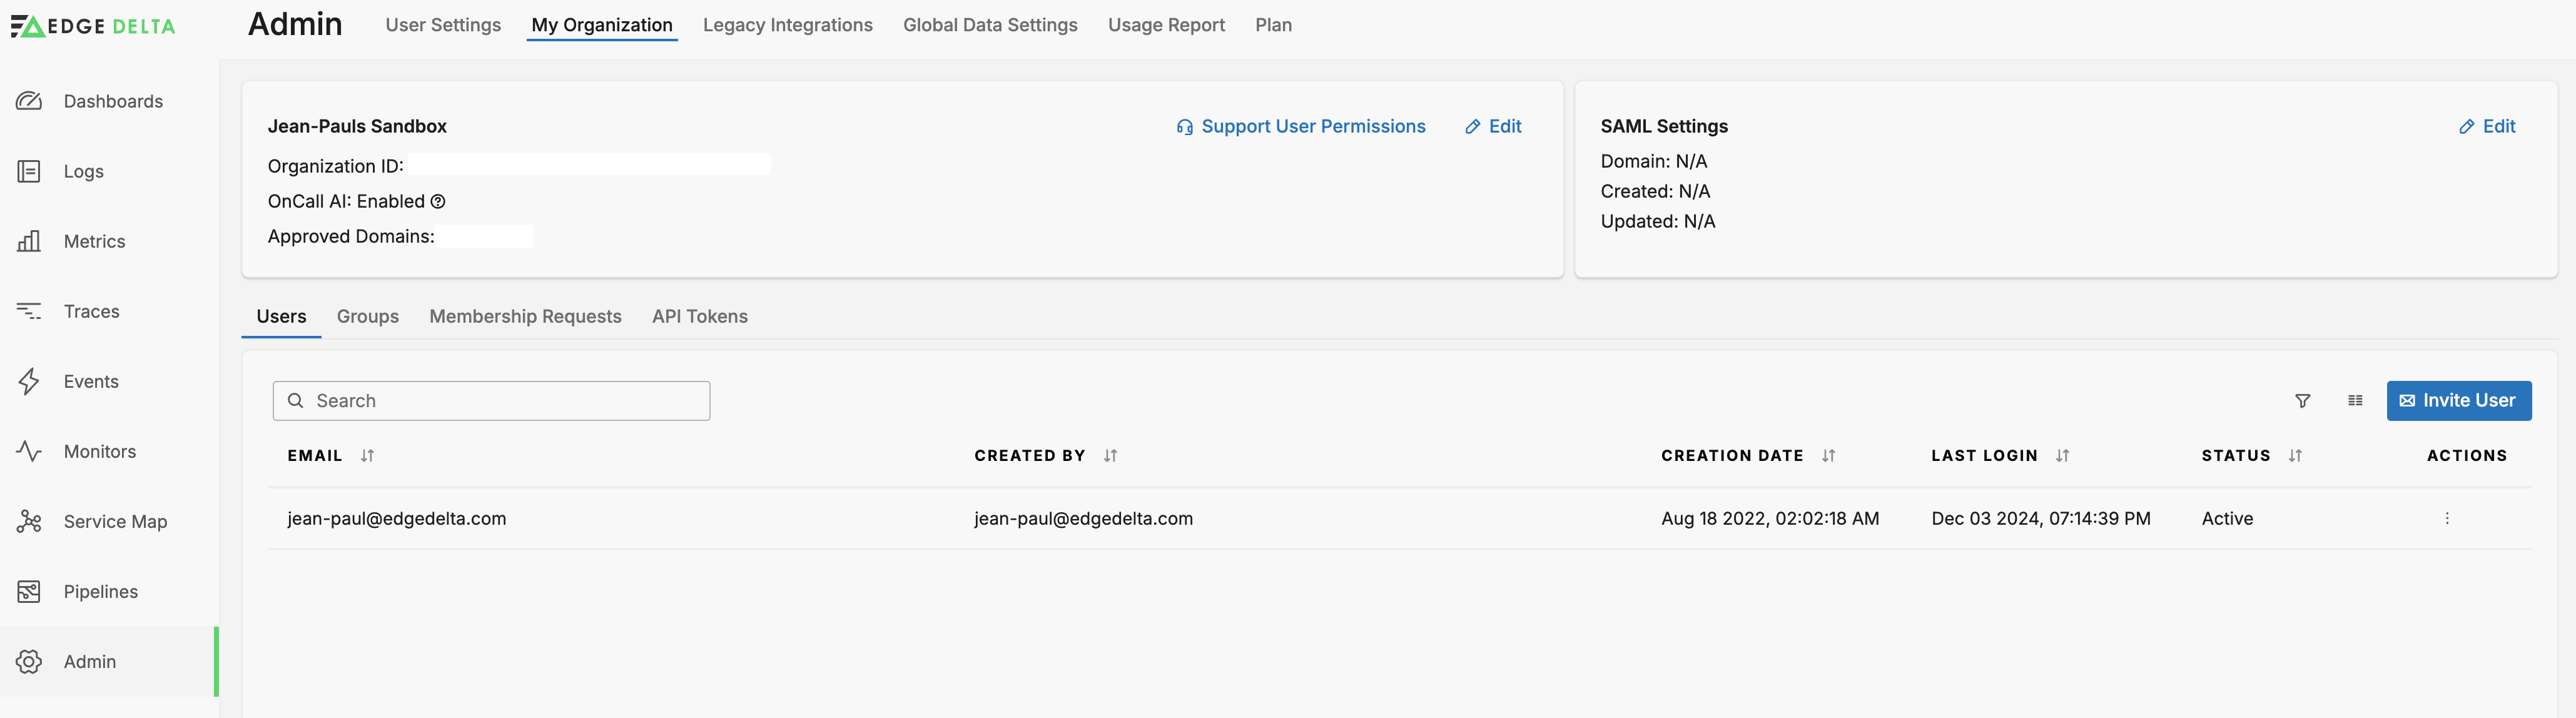
- In the Organization section, click Edit.
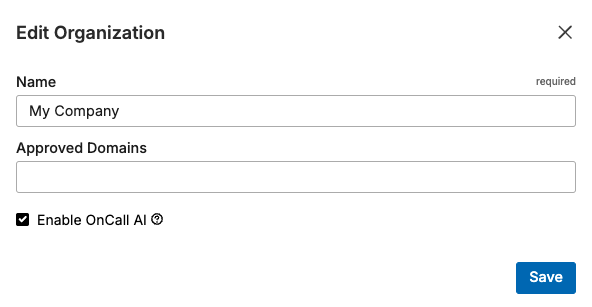
- In the Approved Domains field, enter the domains of the email addresses authorized to join the organization. You specify a domain and press Enter before entering the next domain.
- Click Save.
- In the SAML Settings section, click Edit.
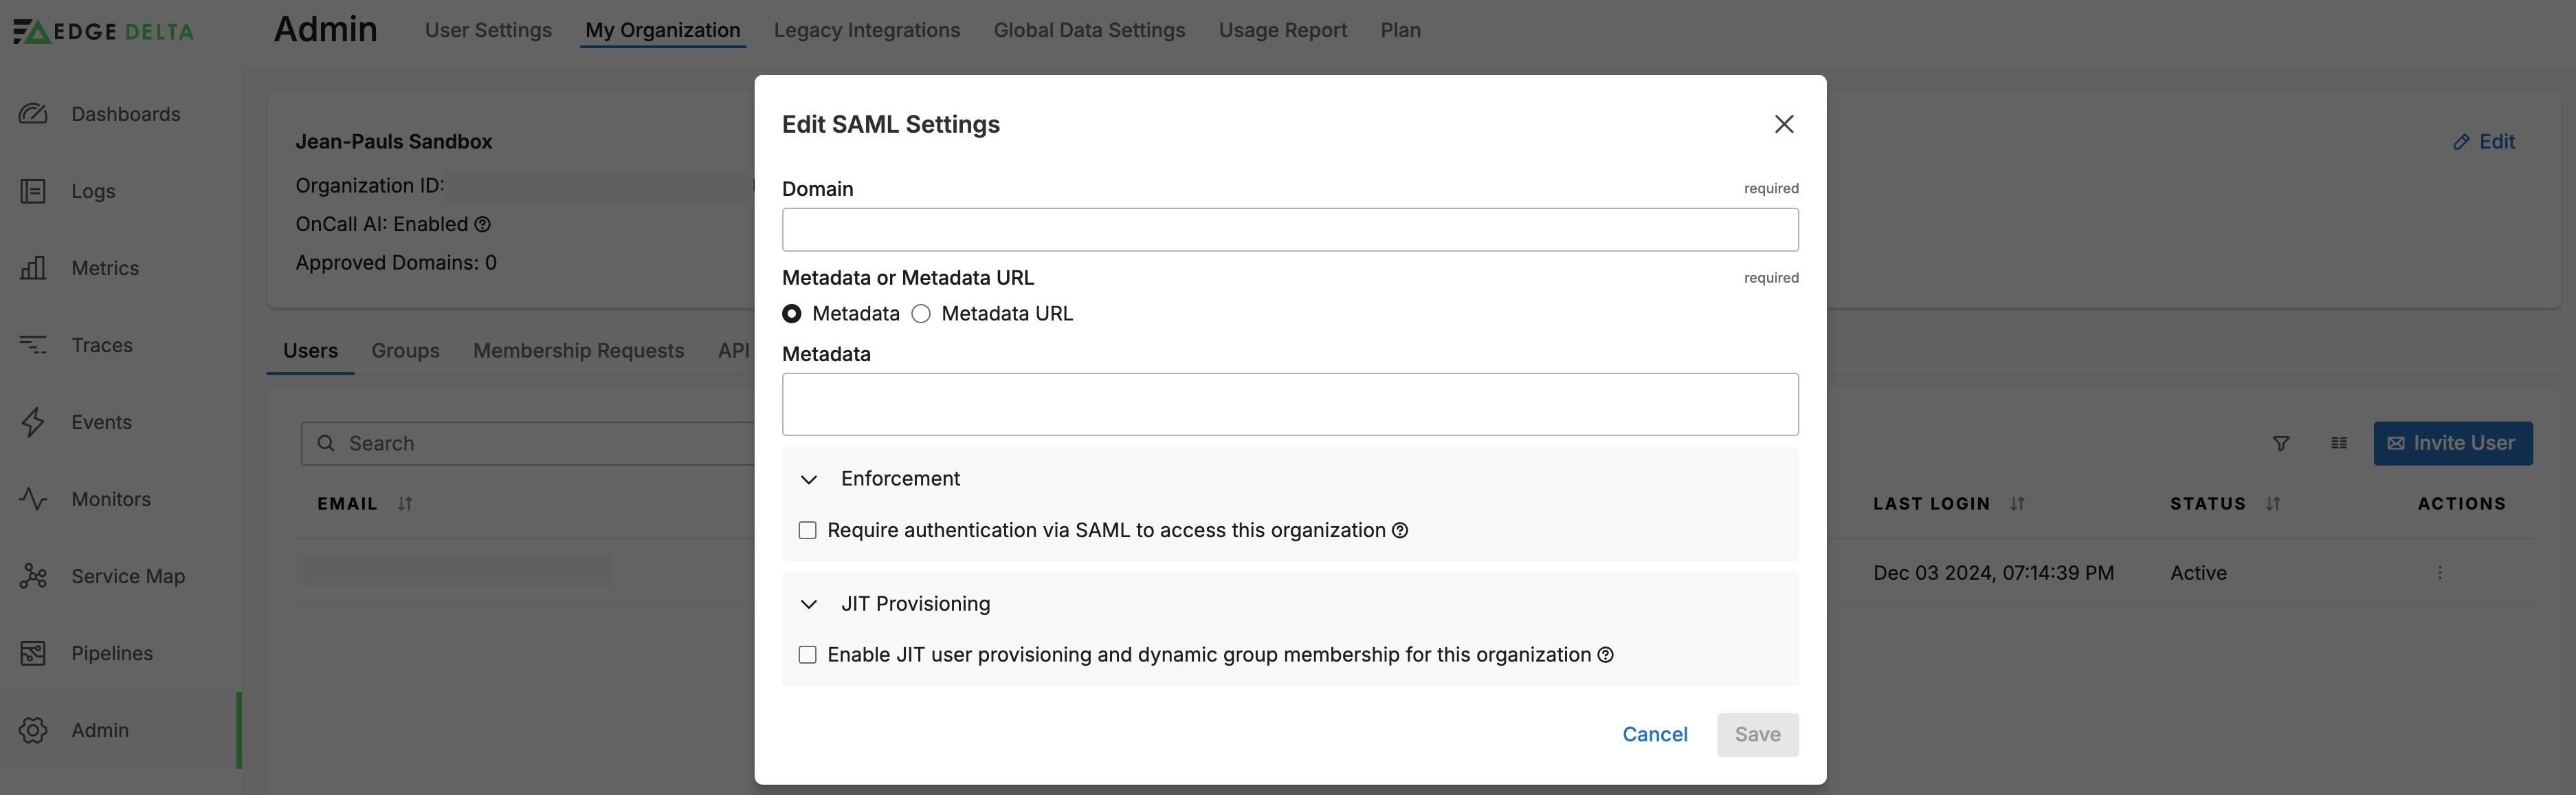
- If you are using a Service Provider Initiated login workflow, you must enter the domain of the email addresses of authorized users from step 4. You can enter a comma separated list of different domains.
- Select Metadata URL, and then paste the IDP Metadata URL you copied earlier.
- For Metadata URL Verification, select Enabled.
- Optionally, select Enforcement - Require Authentication Via SAML To Access This Organization. This disables the ability to log in to Edge Delta with a user name and password for normal users. They must use the IDP to log in. However, Edge Delta admin account holders can still log in with their username and password on the Edge Delta login page.
- Optionally, select JIT Provisioning - Enable JIT User Provisioning And Dynamic Group Membership For This Organization. Enter a Group Attribute Mapping Field and a Default Group. The field name is
groupsby default but it is configurable. It should match the SAML attribute name sent by IDP. - Click Save.
Just in Time (JIT) provisioning determines the group configured for the user in the IDP based on the Group Attribute Mapping Field and it assigns users to an existing Edge Delta permissions group with the same name.
<saml:Attribute
   NameFormat="urn:oasis:names:tc:SAML:2.0:attrname-format:basic"
   Name="groups">
   <saml:AttributeValue
      xmlns:xsi="http://www.w3.org/2001/XMLSchema-instance"
      xsi:type="xs:string">custom_admin
   </saml:AttributeValue>
   <saml:AttributeValue
      xmlns:xsi="http://www.w3.org/2001/XMLSchema-instance"
      xsi:type="xs:string">custom_super_admin
   </saml:AttributeValue>
</saml:Attribute>
In this example of an IDP’s SAML group assertion, the groups values are custom_admin and super_custom_admin. The user will be added to an Edge Delta group called custom_admin if it exists in Edge Delta and it will also be added to the super_custom_admin group if it exists. When there is more than one group, the user will have the most permissive permissions of the groups they belong to.
If no IDP group is detected, or if the asserted group does not match an existing Edge Delta group, the user is added to the default group. When the user logs out, they are removed from the Edge Delta group.
Security Considerations
Replay Attack Prevention: Edge Delta uses a 90-second time window to prevent replay attacks. If authentication is not completed within this timeframe, a 403 Forbidden response will be returned, and you will need to restart the authentication flow.
Removing Admin Permissions
To remove regular permissions from a user when JIT is enabled, simply remove them from the permissions group in your IDP. However, to remove admin permissions from a user, you must remove them using the IDP and also remove them from the Admin group in Edge Delta. This helps prevent accidental account lockout. To remove an admin user:
- Remove admin permissions from the user in the IDP (if JIT is enabled.)
- In the Edge Delta app, click Admin - My Organization.
- Click Groups.
- Click the Actions column button in the Admin row and select Edit User Group.
- Click Group Members.
- Click the Delete button on the user you want to remove from the Admin group.