Integrating Azure AD SAML with Edge Delta
5 minute read
Overview
You can set up an Azure AD SAML integration with Edge Delta. The Azure AD SAML Toolkit is used to integrate with Azure AD over SAML. Afterwards, your users will be able to access Edge Delta via a single sign-on process. Edge Delta supports both identity provider (IDP) and service provider (SP) initiated login workflows. The IDP workflow logs in a user from the IDP dashboard, whereas the SP workflow logs a user in from the Edge Delta login page.
1. Add the Azure AD SAML Toolkit
- Access the Azure portal, then on the navigation pane, select Azure Active Directory.
- Navigate to Enterprise Applications, and then select All Applications.
- To add new application, select New application.
- In the Add from the gallery section, type Azure AD SAML Toolkit in the search box.
- Select Azure AD SAML Toolkit, and then add the app and name it Edge Delta or similar. You may need to wait a few seconds for the app to be added to your tenant.
2. Configure the Azure AD SAML Toolkit
- In the Azure portal, on the Azure AD SAML Toolkit application integration page, locate the Manage section, and then select single sign-on.
- On the Select a single sign-on method page, select SAML.
- On the Set up single sign-on with SAML page, click the edit/pen icon for Basic SAML Configuration.
- Enter the following values in the corresponding fields:
As another option, you can download then upload the Edge Delta SAML service. To download, visit https://api.edgedelta.com/saml/metadata.
- Identifier (Entity ID):
https://api.edgedelta.com/saml/metadata - Reply URL (Assertion Consumer Service URL):
https://api.edgedelta.com/saml/acs - Sign on URL:
https://api.edgedelta.com/saml/acs - Relay State (Optional):
https://app.edgedelta.com/saml - Logout Url (Optional):
https://api.edgedelta.com/logout
- Next to Federation Metadata XML, click Download, and then save the file. You will need this file in a later step.
3. Assign Users for SAML
Before a user can utilize single sign-on access, you must assign the user to the Azure AD SAML.
- In the Azure portal, select Enterprise Applications, and then select All applications.
- In the applications list, select Azure AD SAML Toolkit.
- In the app’s overview page, locate the Manage section, and then select Users and groups.
- Select Add, and then in the Add Assignment box, select Users and groups.
4. Configure the Edge Delta App
- Log on to the Edge Delta App with an administrator account.
- Click Admin and select the My Organization tab.
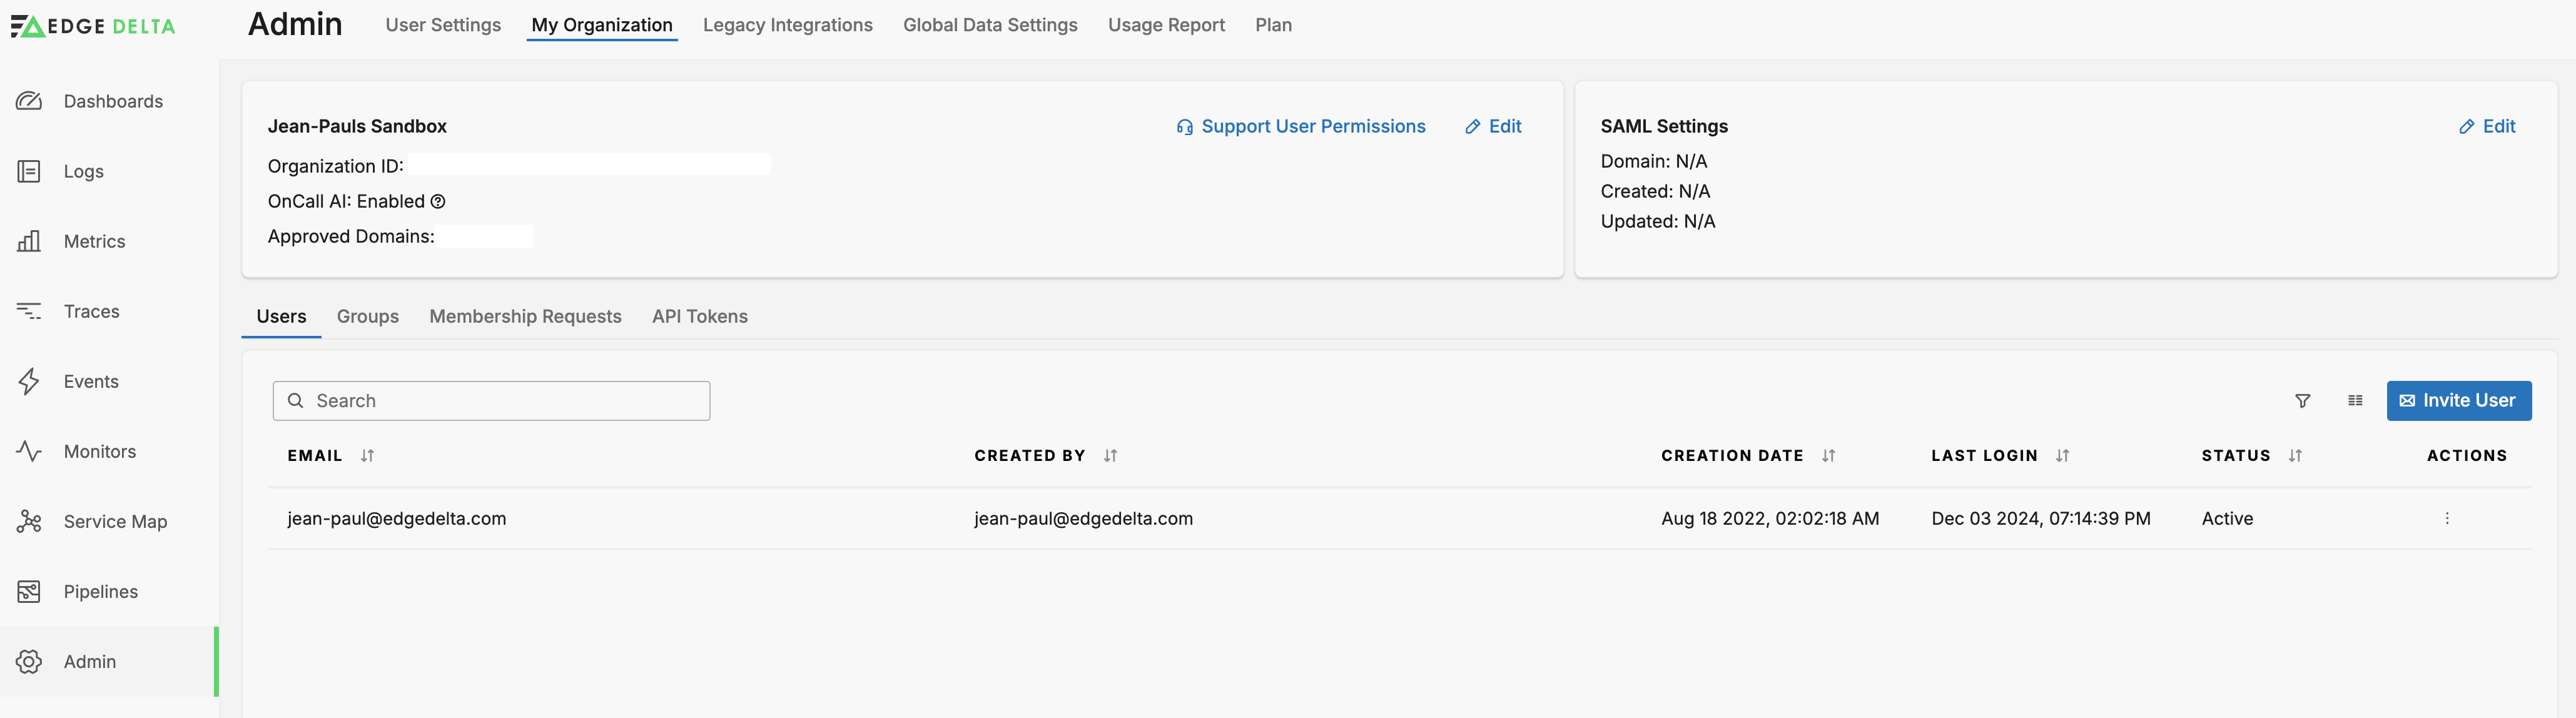
- In the Organization section, click Edit.
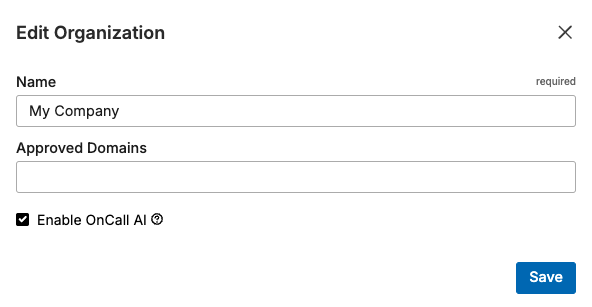
- In the Approved Domains field, enter the domains of the email addresses authorized to join the organization. You specify a domain and press Enter before entering the next domain.
- Click Save.
- In the SAML Settings section, click Edit.
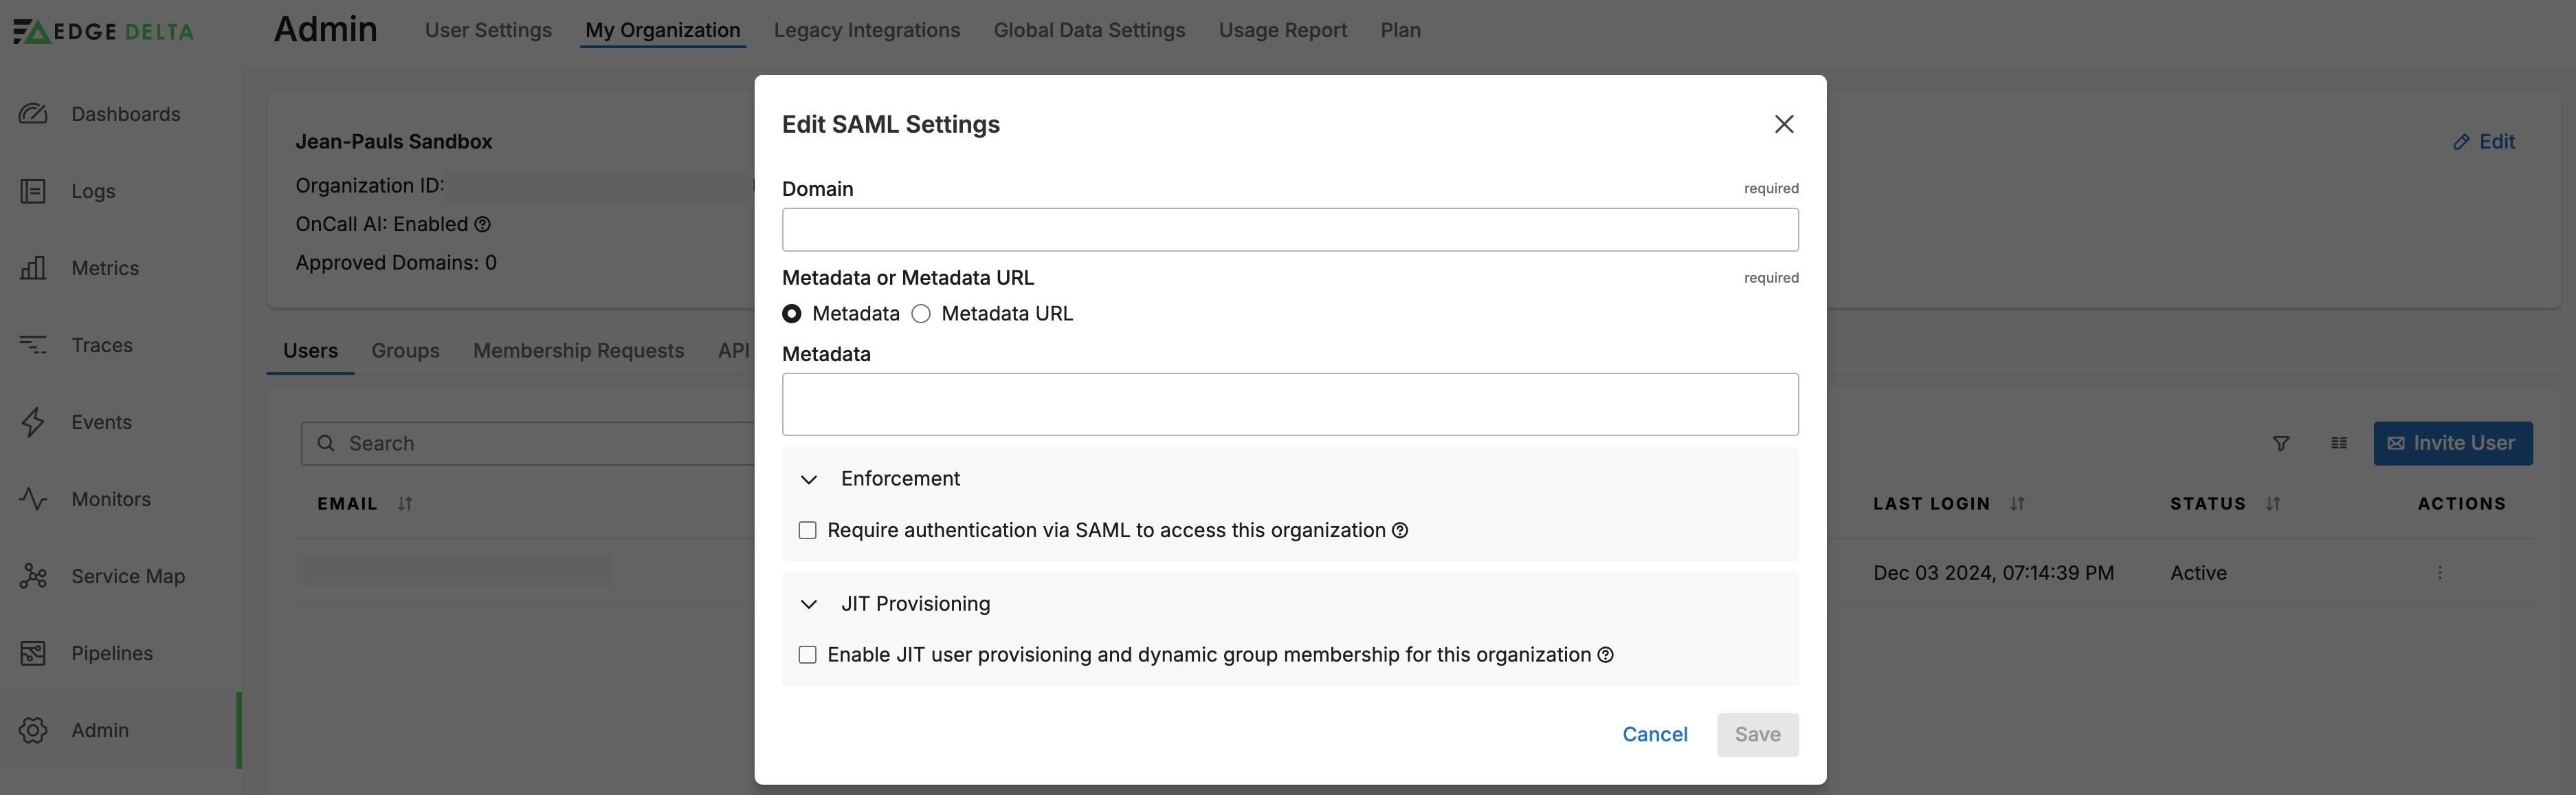
- If you are using a Service Provider Initiated login workflow, you must enter the domain of the email addresses of authorized users from step 4. You can enter a comma separated list of different domains.
- Select Metadata URL, and then paste the IDP Metadata URL you copied earlier.
- For Metadata URL Verification, select Enabled.
- Optionally, select Enforcement - Require Authentication Via SAML To Access This Organization. This disables the ability to log in to Edge Delta with a user name and password for normal users. They must use the IDP to log in. However, Edge Delta admin account holders can still log in with their username and password on the Edge Delta login page.
- Optionally, select JIT Provisioning - Enable JIT User Provisioning And Dynamic Group Membership For This Organization. Enter
http://schemas.microsoft.com/ws/2008/06/identity/claims/rolefor the Group Attribute Mapping Field and specify a Default Group. - Click Save.
Just in Time (JIT) provisioning determines the group configured for the user in the IDP based on the Group Attribute Mapping Field and it assigns users to an existing Edge Delta permissions group with the same name.
<saml:Attribute
   NameFormat="urn:oasis:names:tc:SAML:2.0:attrname-format:basic"
   Name="http://schemas.microsoft.com/ws/2008/06/identity/claims/groups">
   <saml:AttributeValue
      xmlns:xsi="http://www.w3.org/2001/XMLSchema-instance"
      xsi:type="xs:string">custom_admin
   </saml:AttributeValue>
   <saml:AttributeValue
      xmlns:xsi="http://www.w3.org/2001/XMLSchema-instance"
      xsi:type="xs:string">custom_super_admin
   </saml:AttributeValue>
</saml:Attribute>
In this example of an IDP’s SAML group assertion, the http://schemas.microsoft.com/ws/2008/06/identity/claims/groups values are custom_admin and super_custom_admin. The user will be added to an Edge Delta group called custom_admin if it exists in Edge Delta and it will also be added to the super_custom_admin group if it exists. When there is more than one group, the user will have the most permissive permissions of the groups they belong to.
If no IDP group is detected, or if the asserted group does not match an existing Edge Delta group, the user is added to the default group. When the user logs out, they are removed from the Edge Delta group.
Security Considerations
Replay Attack Prevention: Edge Delta uses a 90-second time window to prevent replay attacks. If authentication is not completed within this timeframe, a 403 Forbidden response will be returned, and you will need to restart the authentication flow.
Removing Admin Permissions
To remove regular permissions from a user when JIT is enabled, simply remove them from the permissions group in your IDP. However, to remove admin permissions from a user, you must remove them using the IDP and also remove them from the Admin group in Edge Delta. This helps prevent accidental account lockout. To remove an admin user:
- Remove admin permissions from the user in the IDP (if JIT is enabled.)
- In the Edge Delta app, click Admin - My Organization.
- Click Groups.
- Click the Actions column button in the Admin row and select Edit User Group.
- Click Group Members.
- Click the Delete button on the user you want to remove from the Admin group.