Edge Delta Kubernetes Event Source
16 minute read
Overview
The Kubernetes Event Source node ingests events from a Kubernetes cluster when resource state changes occur. The node emits events for resource lifecycle changes (ADDED, MODIFIED, DELETED) and core Kubernetes event reasons (Pulled, Scheduled, BackOff, FailedScheduling, and others). You can configure the node to watch built-in Kubernetes resources like Deployments, Pods, and Services, as well as Custom Resource Definitions (CRDs) such as ArgoCD Applications or Prometheus Operator rules.
If there is more than one agent in the cluster, a leader election process selects an agent to collect all the events. Events have the item.type=event attribute. If you connect the Kubernetes Event Source node to the Edge Delta Destination node, the events are searchable on the Event Explorer or using the Search tab on the Logs page with the search string: @item.type:event.
By default, the node watches core Kubernetes events (CoreEvent) and HorizontalPodAutoscaler (HPA) resources. You can enable additional built-in resources or add custom resources (CRDs) to extend event collection.
This node requires Edge Delta agent version v0.1.88 or higher. The resources_to_watch and custom_resources parameters require agent version v2.12.0 or higher.
AI Team: Configure this source using the Kubernetes Events connector for streamlined setup in AI Team.
- outgoing_data_types: log
Event Attributes
All events emitted by this node include item.type=event. The remaining attributes depend on the event source.
Core Event Attributes
Core Kubernetes events (CoreEvent) include the following attributes:
| Attribute | Description | Example Values |
|---|---|---|
item.type | Item type identifier | event |
event.type | The Kubernetes event reason | Pulled, Scheduled, BackOff, FailedScheduling |
severity_text | Event severity | Normal, Warning |
k8s.namespace.name | Namespace of the resource | default, kube-system |
k8s.pod.name | Pod name, if applicable | my-app-6d8f7b4c9-x2k5n |
Resource Lifecycle Attributes
Resource lifecycle attributes require Edge Delta agent version v2.12.0 or higher.
When you enable resources in resources_to_watch (other than CoreEvent) or add entries to custom_resources, the node emits lifecycle events with the following attributes:
| Attribute | Description | Example Values |
|---|---|---|
item.type | Item type identifier | event |
event.type | The lifecycle operation | ADDED, MODIFIED, DELETED |
event.resource.group | API group of the resource | apps, autoscaling, argoproj.io, "" |
event.resource.version | API version of the resource | v1, v2, v1alpha1 |
event.resource.resource | Plural resource name | deployments, horizontalpodautoscalers, applications |
severity_text | Matches the lifecycle operation | ADDED, MODIFIED, DELETED |
k8s.namespace.name | Namespace of the resource | default, argocd |
Note: The
event.resource.*attributes correspond to the Kubernetes Group-Version-Resource (GVR) of the watched resource. For built-in resources, thegroupmay be an empty string (e.g., Pods use the core API group"").
Example Configuration
The following example shows a minimal configuration that uses the default settings:
nodes:
  - name: my_k8s_event_input
    type: k8s_event_input
    report_interval: 1m
This configuration watches core Kubernetes events and HPA resources by default.
Custom Resources Example
The following example shows how to configure the Kubernetes Event Source to watch ArgoCD Applications and Prometheus Rules. This requires two steps: configuring the pipeline node and adding RBAC permissions via Helm.
Pipeline Configuration
Add the following node to your pipeline configuration:
nodes:
  - name: k8s_events_extended
    type: k8s_event_input
    report_interval: 30s
    resources_to_watch:
      CoreEvent: true
      HPA: true
      Deployment: true
      StatefulSet: true
      Pod: true
      Node: true
    custom_resources:
      - group: argoproj.io
        version: v1alpha1
        resource: applications
      - group: monitoring.coreos.com
        version: v1
        resource: prometheusrules
    rbac:
      custom_rules:
        - api_groups: ["argoproj.io"]
          resources: ["applications"]
          verbs: ["get", "list", "watch"]
        - api_groups: ["monitoring.coreos.com"]
          resources: ["prometheusrules"]
          verbs: ["get", "list", "watch"]
RBAC Permissions
Create a file named crd-rbac-values.yaml with the following content to grant the agent permission to watch the custom resources:
additionalClusterRoleRules:
  - apiGroups: ["argoproj.io"]
    resources: ["applications"]
    verbs: ["get", "list", "watch"]
  - apiGroups: ["monitoring.coreos.com"]
    resources: ["prometheusrules"]
    verbs: ["get", "list", "watch"]
Apply the RBAC permissions by running the Helm upgrade command:
helm upgrade edgedelta edgedelta/edgedelta \
  --reuse-values \
  -f crd-rbac-values.yaml \
  -n edgedelta
Tip: You can merge
additionalClusterRoleRulesinto your existingvalues.yamlfile for GitOps workflows.
Required Parameters
name
A descriptive name for the node. This is the name that will appear in pipeline builder and you can reference this node in the YAML using the name. It must be unique across all nodes. It is a YAML list element so it begins with a - and a space followed by the string. It is a required parameter for all nodes.
nodes:
  - name: <node name>
    type: <node type>
type: k8s_event_input
The type parameter specifies the type of node being configured. It is specified as a string from a closed list of node types. It is a required parameter.
nodes:
  - name: <node name>
    type: <node type>
Optional Parameters
disabled
The disabled parameter disables the node in the pipeline. When set to true, the agent ignores the node at startup. You can toggle nodes on or off in the pipeline builder. It is specified as a boolean, defaults to false, and is optional.
nodes:
  - name: <node name>
    type: <node type>
    disabled: true
report_interval
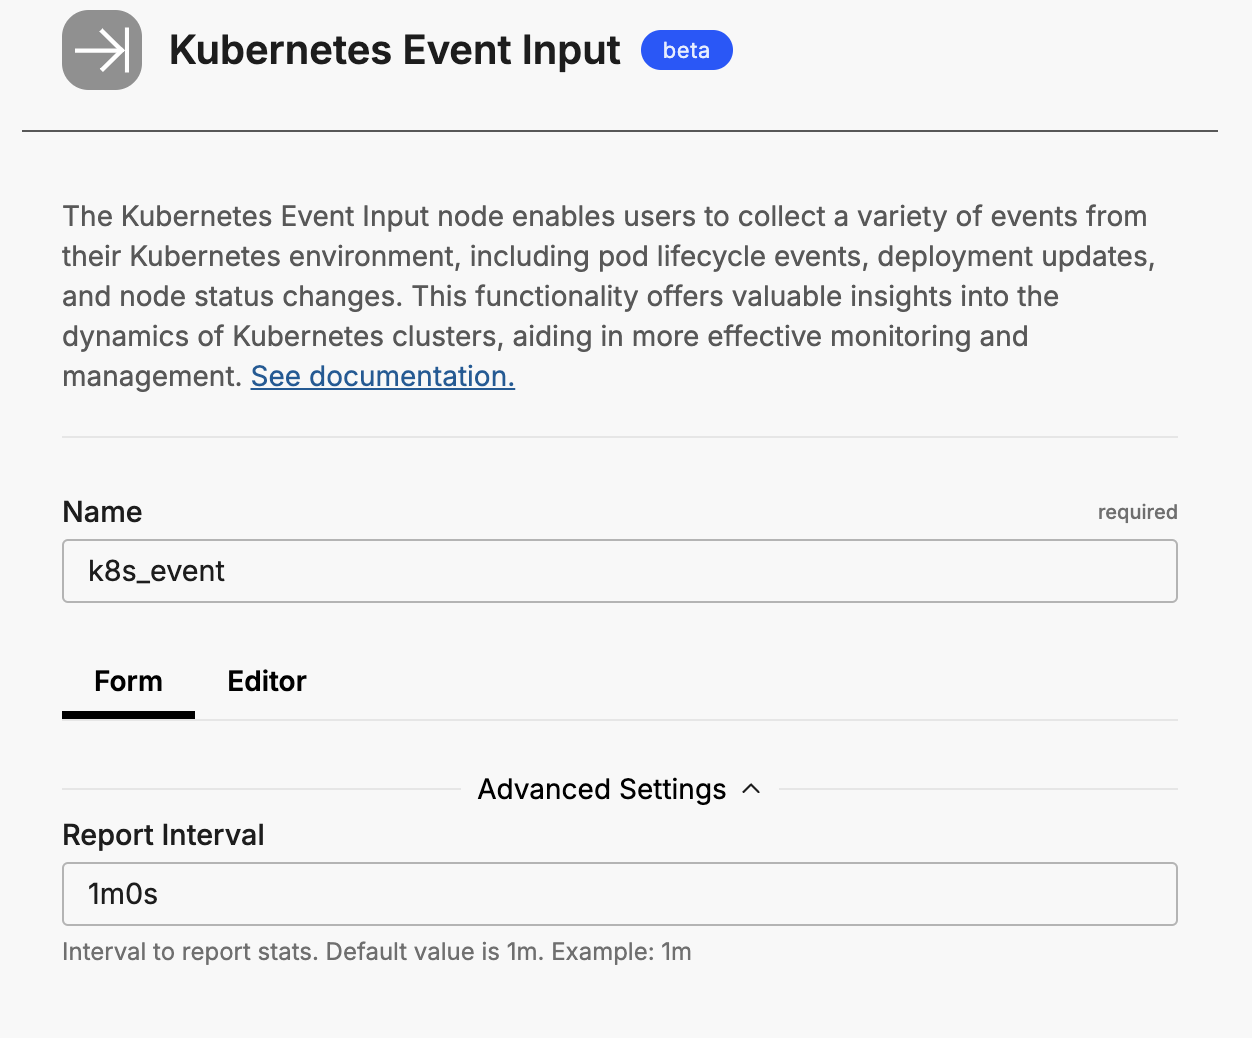
The report_interval parameter defines the interval at which to report events. Specify it as a duration string. The default value is 1m.
nodes:
  - name: ed_k8s_events
    type: k8s_event_input
    report_interval: 1m
resources_to_watch
This parameter requires Edge Delta agent version v2.12.0 or higher.
The resources_to_watch parameter specifies which built-in Kubernetes resources to watch for events. Provide it as a map where keys are resource names (Kind-style) and values are booleans indicating whether to watch that resource.
By default, only CoreEvent and HPA are enabled. You can override defaults by explicitly setting values:
nodes:
  - name: k8s_events
    type: k8s_event_input
    resources_to_watch:
      CoreEvent: true
      HPA: true
      Deployment: true
      Pod: true
      Node: true
The following table lists all available resources and their default values:
| Resource | Default | Description |
|---|---|---|
CoreEvent | true | Core Kubernetes events (v1/events API) |
HPA | true | HorizontalPodAutoscaler resources |
Deployment | false | Deployment workloads |
ReplicationController | false | ReplicationController workloads |
ReplicaSet | false | ReplicaSet workloads |
DaemonSet | false | DaemonSet workloads |
StatefulSet | false | StatefulSet workloads |
Service | false | Service resources |
Pod | false | Pod resources |
Job | false | Job workloads |
Node | false | Cluster nodes |
ClusterRole | false | RBAC ClusterRole resources |
ClusterRoleBinding | false | RBAC ClusterRoleBinding resources |
ServiceAccount | false | ServiceAccount resources |
PersistentVolume | false | PersistentVolume resources |
Namespace | false | Namespace resources |
Secret | false | Secret resources |
ConfigMap | false | ConfigMap resources |
Ingress | false | Ingress resources |
Event | false | events.k8s.io API events (newer API) |
Note: Unknown resource names in
resources_to_watchgenerate a warning but do not cause the configuration to fail. This behavior allows forward compatibility with future resource types.
custom_resources
This parameter requires Edge Delta agent version v2.12.0 or higher.
The custom_resources parameter specifies Custom Resource Definitions (CRDs) to watch. Each entry requires the API group, version, and plural resource name.
nodes:
  - name: k8s_events
    type: k8s_event_input
    custom_resources:
      - group: argoproj.io
        version: v1alpha1
        resource: applications
      - group: monitoring.coreos.com
        version: v1
        resource: prometheusrules
      - group: external-secrets.io
        version: v1beta1
        resource: externalsecrets
Each entry in custom_resources requires the following fields:
| Field | Required | Description |
|---|---|---|
group | Yes | The API group of the CRD (e.g., argoproj.io) |
version | Yes | The API version of the CRD (e.g., v1alpha1) |
resource | Yes | The plural resource name (e.g., applications, not Application) |
Note: The
resourcefield must use the plural form (e.g.,applicationsnotApplication). You can find this value by runningkubectl api-resourcesand checking the NAME column for your CRD.
The following table lists common CRDs and their configuration values:
| CRD | Group | Version | Resource |
|---|---|---|---|
| ArgoCD Application | argoproj.io | v1alpha1 | applications |
| ArgoCD AppProject | argoproj.io | v1alpha1 | appprojects |
| Prometheus Rule | monitoring.coreos.com | v1 | prometheusrules |
| ServiceMonitor | monitoring.coreos.com | v1 | servicemonitors |
| PodMonitor | monitoring.coreos.com | v1 | podmonitors |
| External Secret | external-secrets.io | v1beta1 | externalsecrets |
| SecretStore | external-secrets.io | v1beta1 | secretstores |
| Certificate (cert-manager) | cert-manager.io | v1 | certificates |
| Issuer (cert-manager) | cert-manager.io | v1 | issuers |
rbac
The rbac parameter defines custom RBAC rules needed for watching custom resources. When you add CRDs to custom_resources, you must also add corresponding RBAC rules to ensure the agent has permission to watch those resources.
nodes:
  - name: k8s_events
    type: k8s_event_input
    custom_resources:
      - group: argoproj.io
        version: v1alpha1
        resource: applications
    rbac:
      custom_rules:
        - api_groups: ["argoproj.io"]
          resources: ["applications"]
          verbs: ["get", "list", "watch"]
custom_rules
The custom_rules field contains a list of RBAC rules. Each rule specifies the API groups, resources, and verbs needed to watch the custom resources.
| Field | Required | Description |
|---|---|---|
api_groups | Yes | List of API groups (e.g., ["argoproj.io"]) |
resources | Yes | List of resource names (e.g., ["applications"]) |
verbs | Yes | List of verbs, typically ["get", "list", "watch"] |
Note: For custom resources, you must add the corresponding RBAC rules to your cluster’s ClusterRole. See RBAC Requirements for details.
rate_limit
The rate_limit parameter enables you to control data ingestion based on system resource usage. This advanced setting helps prevent source nodes from overwhelming the agent by automatically throttling or stopping data collection when CPU or memory thresholds are exceeded.
Use rate limiting to prevent runaway log collection from overwhelming the agent in high-volume sources, protect agent stability in resource-constrained environments with limited CPU/memory, automatically throttle during bursty traffic patterns, and ensure fair resource allocation across source nodes in multi-tenant deployments.
When rate limiting triggers, pull-based sources (File, S3, HTTP Pull) stop fetching new data, push-based sources (HTTP, TCP, UDP, OTLP) reject incoming data, and stream-based sources (Kafka, Pub/Sub) pause consumption. Rate limiting operates at the source node level, where each source with rate limiting enabled independently monitors and enforces its own thresholds.
Rate limiting vs backpressure: Rate limiting and backpressure are different mechanisms. Rate limiting controls data ingestion at the source based on CPU or memory thresholds. Backpressure controls data output at the destination when in-memory queues fill up. Backpressure logs such as
backpressure: dataCh at 92% capacitydo not appear when rate limiting triggers, and rate limiting logs do not appear during backpressure events.
Observability: When rate limiting is active in enforce mode, the agent does not produce INFO, WARN, or ERROR level logs. To confirm that rate limiting is triggering, check the source node’s Bytes I/O metrics in the Edge Delta app for gaps or drops that coincide with expected throttling periods.
Configuration Steps:
- Click Add New in the Rate Limit section
- Click Add New for Evaluation Policy
- Select Policy Type:
- CPU Usage: Monitors CPU consumption and rate limits when usage exceeds defined thresholds. Use for CPU-intensive sources like file parsing or complex transformations.
- Memory Usage: Monitors memory consumption and rate limits when usage exceeds defined thresholds. Use for memory-intensive sources like large message buffers or caching.
- AND (composite): Combines multiple sub-policies with AND logic. All sub-policies must be true simultaneously to trigger rate limiting. Use when you want conservative rate limiting (both CPU and memory must be high).
- OR (composite): Combines multiple sub-policies with OR logic. Any sub-policy can trigger rate limiting. Use when you want aggressive rate limiting (either CPU or memory being high triggers).
- Select Evaluation Mode. Choose how the policy behaves when thresholds are exceeded:
- Enforce (default): Actively applies rate limiting when thresholds are met. Pull-based sources (File, S3, HTTP Pull) stop fetching new data, push-based sources (HTTP, TCP, UDP, OTLP) reject incoming data, and stream-based sources (Kafka, Pub/Sub) pause consumption. Use in production to protect agent resources.
- Monitor: Logs when rate limiting would occur without actually limiting data flow. Use for testing thresholds before enforcing them in production.
- Passthrough: Disables rate limiting entirely while keeping the configuration in place. Use to temporarily disable rate limiting without removing configuration.
- Set Absolute Limits and Relative Limits (for CPU Usage and Memory Usage policies)
Note: If you specify both absolute and relative limits, the system evaluates both conditions and rate limiting triggers when either condition is met (OR logic). For example, if you set absolute limit to
1.0CPU cores and relative limit to50%, rate limiting triggers when the source uses either 1 full core OR 50% of available CPU, whichever happens first.
For CPU Absolute Limits: Enter value in full core units:
0.1= one-tenth of a CPU core0.5= half a CPU core1.0= one full CPU core2.0= two full CPU cores
For CPU Relative Limits: Enter percentage of total available CPU (0-100):
50= 50% of available CPU75= 75% of available CPU85= 85% of available CPU
For Memory Absolute Limits: Enter value in bytes
104857600= 100Mi (100 × 1024 × 1024)536870912= 512Mi (512 × 1024 × 1024)1073741824= 1Gi (1 × 1024 × 1024 × 1024)
For Memory Relative Limits: Enter percentage of total available memory (0-100)
60= 60% of available memory75= 75% of available memory80= 80% of available memory
- Set Refresh Interval (for CPU Usage and Memory Usage policies). Specify how frequently the system checks resource usage:
- Recommended Values:
10sto30sfor most use cases5sto10sfor high-volume sources requiring quick response1mor higher for stable, low-volume sources
The system fetches current CPU/memory usage at the specified refresh interval and uses that value for evaluation until the next refresh. Shorter intervals provide more responsive rate limiting but incur slightly higher overhead, while longer intervals are more efficient but slower to react to sudden resource spikes.
The GUI generates YAML as follows:
# Simple CPU-based rate limiting
nodes:
  - name: <node name>
    type: <node type>
    rate_limit:
      evaluation_policy:
        policy_type: cpu_usage
        evaluation_mode: enforce
        absolute_limit: 0.5  # Limit to half a CPU core
        refresh_interval: 10s
# Simple memory-based rate limiting
nodes:
  - name: <node name>
    type: <node type>
    rate_limit:
      evaluation_policy:
        policy_type: memory_usage
        evaluation_mode: enforce
        absolute_limit: 536870912  # 512Mi in bytes
        refresh_interval: 30s
Composite Policies (AND / OR)
When using AND or OR policy types, you define sub-policies instead of limits. Sub-policies must be siblings (at the same level)—do not nest sub-policies within other sub-policies. Each sub-policy is independently evaluated, and the parent policy’s evaluation mode applies to the composite result.
- AND Logic: All sub-policies must evaluate to true at the same time to trigger rate limiting. Use when you want conservative rate limiting (limit only when CPU AND memory are both high).
- OR Logic: Any sub-policy evaluating to true triggers rate limiting. Use when you want aggressive protection (limit when either CPU OR memory is high).
Configuration Steps:
- Select AND (composite) or OR (composite) as the Policy Type
- Choose the Evaluation Mode (typically Enforce)
- Click Add New under Sub-Policies to add the first condition
- Configure the first sub-policy by selecting policy type (CPU Usage or Memory Usage), selecting evaluation mode, setting absolute and/or relative limits, and setting refresh interval
- In the parent policy (not within the child), click Add New again to add a sibling sub-policy
- Configure additional sub-policies following the same pattern
The GUI generates YAML as follows:
# AND composite policy - both CPU AND memory must exceed limits
nodes:
  - name: <node name>
    type: <node type>
    rate_limit:
      evaluation_policy:
        policy_type: and
        evaluation_mode: enforce
        sub_policies:
          # First sub-policy (sibling)
          - policy_type: cpu_usage
            evaluation_mode: enforce
            absolute_limit: 0.75  # Limit to 75% of one core
            refresh_interval: 15s
          # Second sub-policy (sibling)
          - policy_type: memory_usage
            evaluation_mode: enforce
            absolute_limit: 1073741824  # 1Gi in bytes
            refresh_interval: 15s
# OR composite policy - either CPU OR memory can trigger
nodes:
  - name: <node name>
    type: <node type>
    rate_limit:
      evaluation_policy:
        policy_type: or
        evaluation_mode: enforce
        sub_policies:
          - policy_type: cpu_usage
            evaluation_mode: enforce
            relative_limit: 85  # 85% of available CPU
            refresh_interval: 20s
          - policy_type: memory_usage
            evaluation_mode: enforce
            relative_limit: 80  # 80% of available memory
            refresh_interval: 20s
# Monitor mode for testing thresholds
nodes:
  - name: <node name>
    type: <node type>
    rate_limit:
      evaluation_policy:
        policy_type: memory_usage
        evaluation_mode: monitor  # Only logs, doesn't limit
        relative_limit: 70  # Test at 70% before enforcing
        refresh_interval: 30s
source_metadata
This option is used to define which detected resources and attributes to add to each data item as it is ingested by Edge Delta. You can select:
- Required Only: This option includes the minimum required resources and attributes for Edge Delta to operate.
- Default: This option includes the required resources and attributes plus those selected by Edge Delta
- High: This option includes the required resources and attributes along with a larger selection of common optional fields.
- Custom: With this option selected, you can choose which attributes and resources to include. The required fields are selected by default and can’t be unchecked.
Based on your selection in the GUI, the source_metadata YAML is populated as two dictionaries (resource_attributes and attributes) with Boolean values.
See Choose Data Item Metadata for more information on selecting metadata.
RBAC Requirements
The Kubernetes Event Source node requires specific RBAC permissions to watch resources. The required permissions depend on which resources you enable.
Important — v2.12.0 Helm Chart Change: Starting with agent version v2.12.0, the Helm chart ClusterRole ships with RBAC permissions for all 20 built-in
resources_to_watchresource types by default. OnlyCoreEventandHPAare enabled by default — the additional resource types are available but disabled, so there is no change in what the agent collects out of the box. Environments that enforce strict RBAC policies (such as OPA/Gatekeeper or Kyverno) must allow the new rules before upgrading. TheedEnableControllerDiscoveryHelm value is no longer required and can be safely removed. Default ClusterRole rules are now defined inclusterRoleRulesinvalues.yaml, allowing you to modify or replace default RBAC permissions directly. UseadditionalClusterRoleRulesto append custom rules for CRDs.
Base Permissions
The following permissions are required when using the default configuration (CoreEvent: true and HPA: true):
apiVersion: rbac.authorization.k8s.io/v1
kind: ClusterRole
metadata:
  name: edgedelta-k8s-event-input
rules:
  # Core events (CoreEvent: true)
  - apiGroups: [""]
    resources: ["events"]
    verbs: ["get", "list", "watch"]
  # HPA (HPA: true)
  - apiGroups: ["autoscaling"]
    resources: ["horizontalpodautoscalers"]
    verbs: ["get", "list", "watch"]
Extended Permissions
When you enable additional resources in resources_to_watch, add the corresponding permissions:
rules:
  # Workload resources (Deployment, ReplicaSet, DaemonSet, StatefulSet)
  - apiGroups: ["apps"]
    resources: ["deployments", "replicasets", "daemonsets", "statefulsets"]
    verbs: ["get", "list", "watch"]
  # Core resources (Pod, Service, Node, Namespace, ConfigMap, Secret, etc.)
  - apiGroups: [""]
    resources: ["pods", "services", "nodes", "namespaces", "configmaps",
                "secrets", "serviceaccounts", "persistentvolumes",
                "replicationcontrollers"]
    verbs: ["get", "list", "watch"]
  # Batch resources (Job)
  - apiGroups: ["batch"]
    resources: ["jobs"]
    verbs: ["get", "list", "watch"]
  # RBAC resources (ClusterRole, ClusterRoleBinding)
  - apiGroups: ["rbac.authorization.k8s.io"]
    resources: ["clusterroles", "clusterrolebindings"]
    verbs: ["get", "list", "watch"]
  # Networking resources (Ingress)
  - apiGroups: ["networking.k8s.io"]
    resources: ["ingresses"]
    verbs: ["get", "list", "watch"]
Custom Resource Permissions
When you configure custom resource watching, the Edge Delta agent needs permission to watch those resources. Add the required RBAC permissions using the Helm upgrade process.
Step 1: Create a Helm Values File
Create a file named crd-rbac-values.yaml with the additionalClusterRoleRules for your custom resources:
additionalClusterRoleRules:
  - apiGroups: ["monitoring.coreos.com"]
    resources: ["prometheusrules"]
    verbs: ["get", "list", "watch"]
If you are watching multiple CRDs, include all rules in the same file:
additionalClusterRoleRules:
  # ArgoCD Applications
  - apiGroups: ["argoproj.io"]
    resources: ["applications", "appprojects"]
    verbs: ["get", "list", "watch"]
  # Prometheus Operator
  - apiGroups: ["monitoring.coreos.com"]
    resources: ["prometheusrules", "servicemonitors", "podmonitors"]
    verbs: ["get", "list", "watch"]
  # External Secrets
  - apiGroups: ["external-secrets.io"]
    resources: ["externalsecrets", "secretstores"]
    verbs: ["get", "list", "watch"]
Step 2: Run the Helm Upgrade Command
Apply the RBAC rules by running the Helm upgrade command with the values file:
helm upgrade edgedelta edgedelta/edgedelta \
  --reuse-values \
  -f crd-rbac-values.yaml \
  -n edgedelta
Tip: You can merge these rules into your existing
values.yamlfile for GitOps workflows instead of using a separate file.
RBAC Error Messages
If RBAC permissions are missing for a resource, the agent logs an error with remediation guidance:
ERROR: RBAC permission denied for monitoring.coreos.com/v1/prometheusrules

Remediation:
  Add the following RBAC rule to your ClusterRole:

  - apiGroups: ["monitoring.coreos.com"]
    resources: ["prometheusrules"]
    verbs: ["get", "list", "watch"]
Troubleshooting
Events Not Appearing
If events are not appearing in the Event Explorer, verify the following:
- Check that the agent has leader status. Only the elected leader collects events.
- Verify RBAC permissions are correctly configured for all enabled resources.
- Ensure the resource types you want to watch are set to
trueinresources_to_watch. - For CRDs, confirm the
group,version, andresourcevalues match your cluster’s CRD definitions.
RBAC Permission Errors
If you see RBAC permission errors in the agent logs:
- Review the error message for the specific resource and API group.
- Create a
crd-rbac-values.yamlfile with the recommended RBAC rule inadditionalClusterRoleRules. - Run the Helm upgrade command to apply the permissions:
helm upgrade edgedelta edgedelta/edgedelta \ --reuse-values \ -f crd-rbac-values.yaml \ -n edgedelta - The agent automatically picks up the new permissions after the Helm upgrade completes.
Finding CRD Configuration Values
To find the correct group, version, and resource values for a CRD:
kubectl api-resources | grep <crd-name>
For example:
kubectl api-resources | grep application
# Output: applications   app   argoproj.io/v1alpha1   true   Application
From this output:
resource:applications(NAME column)group:argoproj.io(APIVERSION column, before the/)version:v1alpha1(APIVERSION column, after the/)
See Also
- Event Explorer - View and search collected Kubernetes events
- Kubernetes Events Connector - AI Team connector for streamlined setup
- Search - Query collected events using the Logs page