Quickstart: Kubernetes
3 minute read
Overview
This workflow gets you started for POC purposes in a local kubernetes cluster. For more detailed installation instructions for your specific environment, see Edge Delta Installation.
- Create a local kubernetes cluster
- Install the node pipeline
- Explore the Edge Delta Interface
- Edit the Pipeline Configuration
1. Create a Kubernetes Cluster
This workflow uses Docker, minikube and Helm.
First start the Docker daemon then create a kind cluster.
open -a docker
minikube start --driver docker
Install a workload in the cluster, as well as Kube State Metrics and Node-Exporter.
2. Install a Node Pipeline
This step installs Edge Delta agents in your environment.
AI Team: You can also use AI Team to add a Kubernetes Logs connector to a new environment, which will automatically deploy the pipeline.
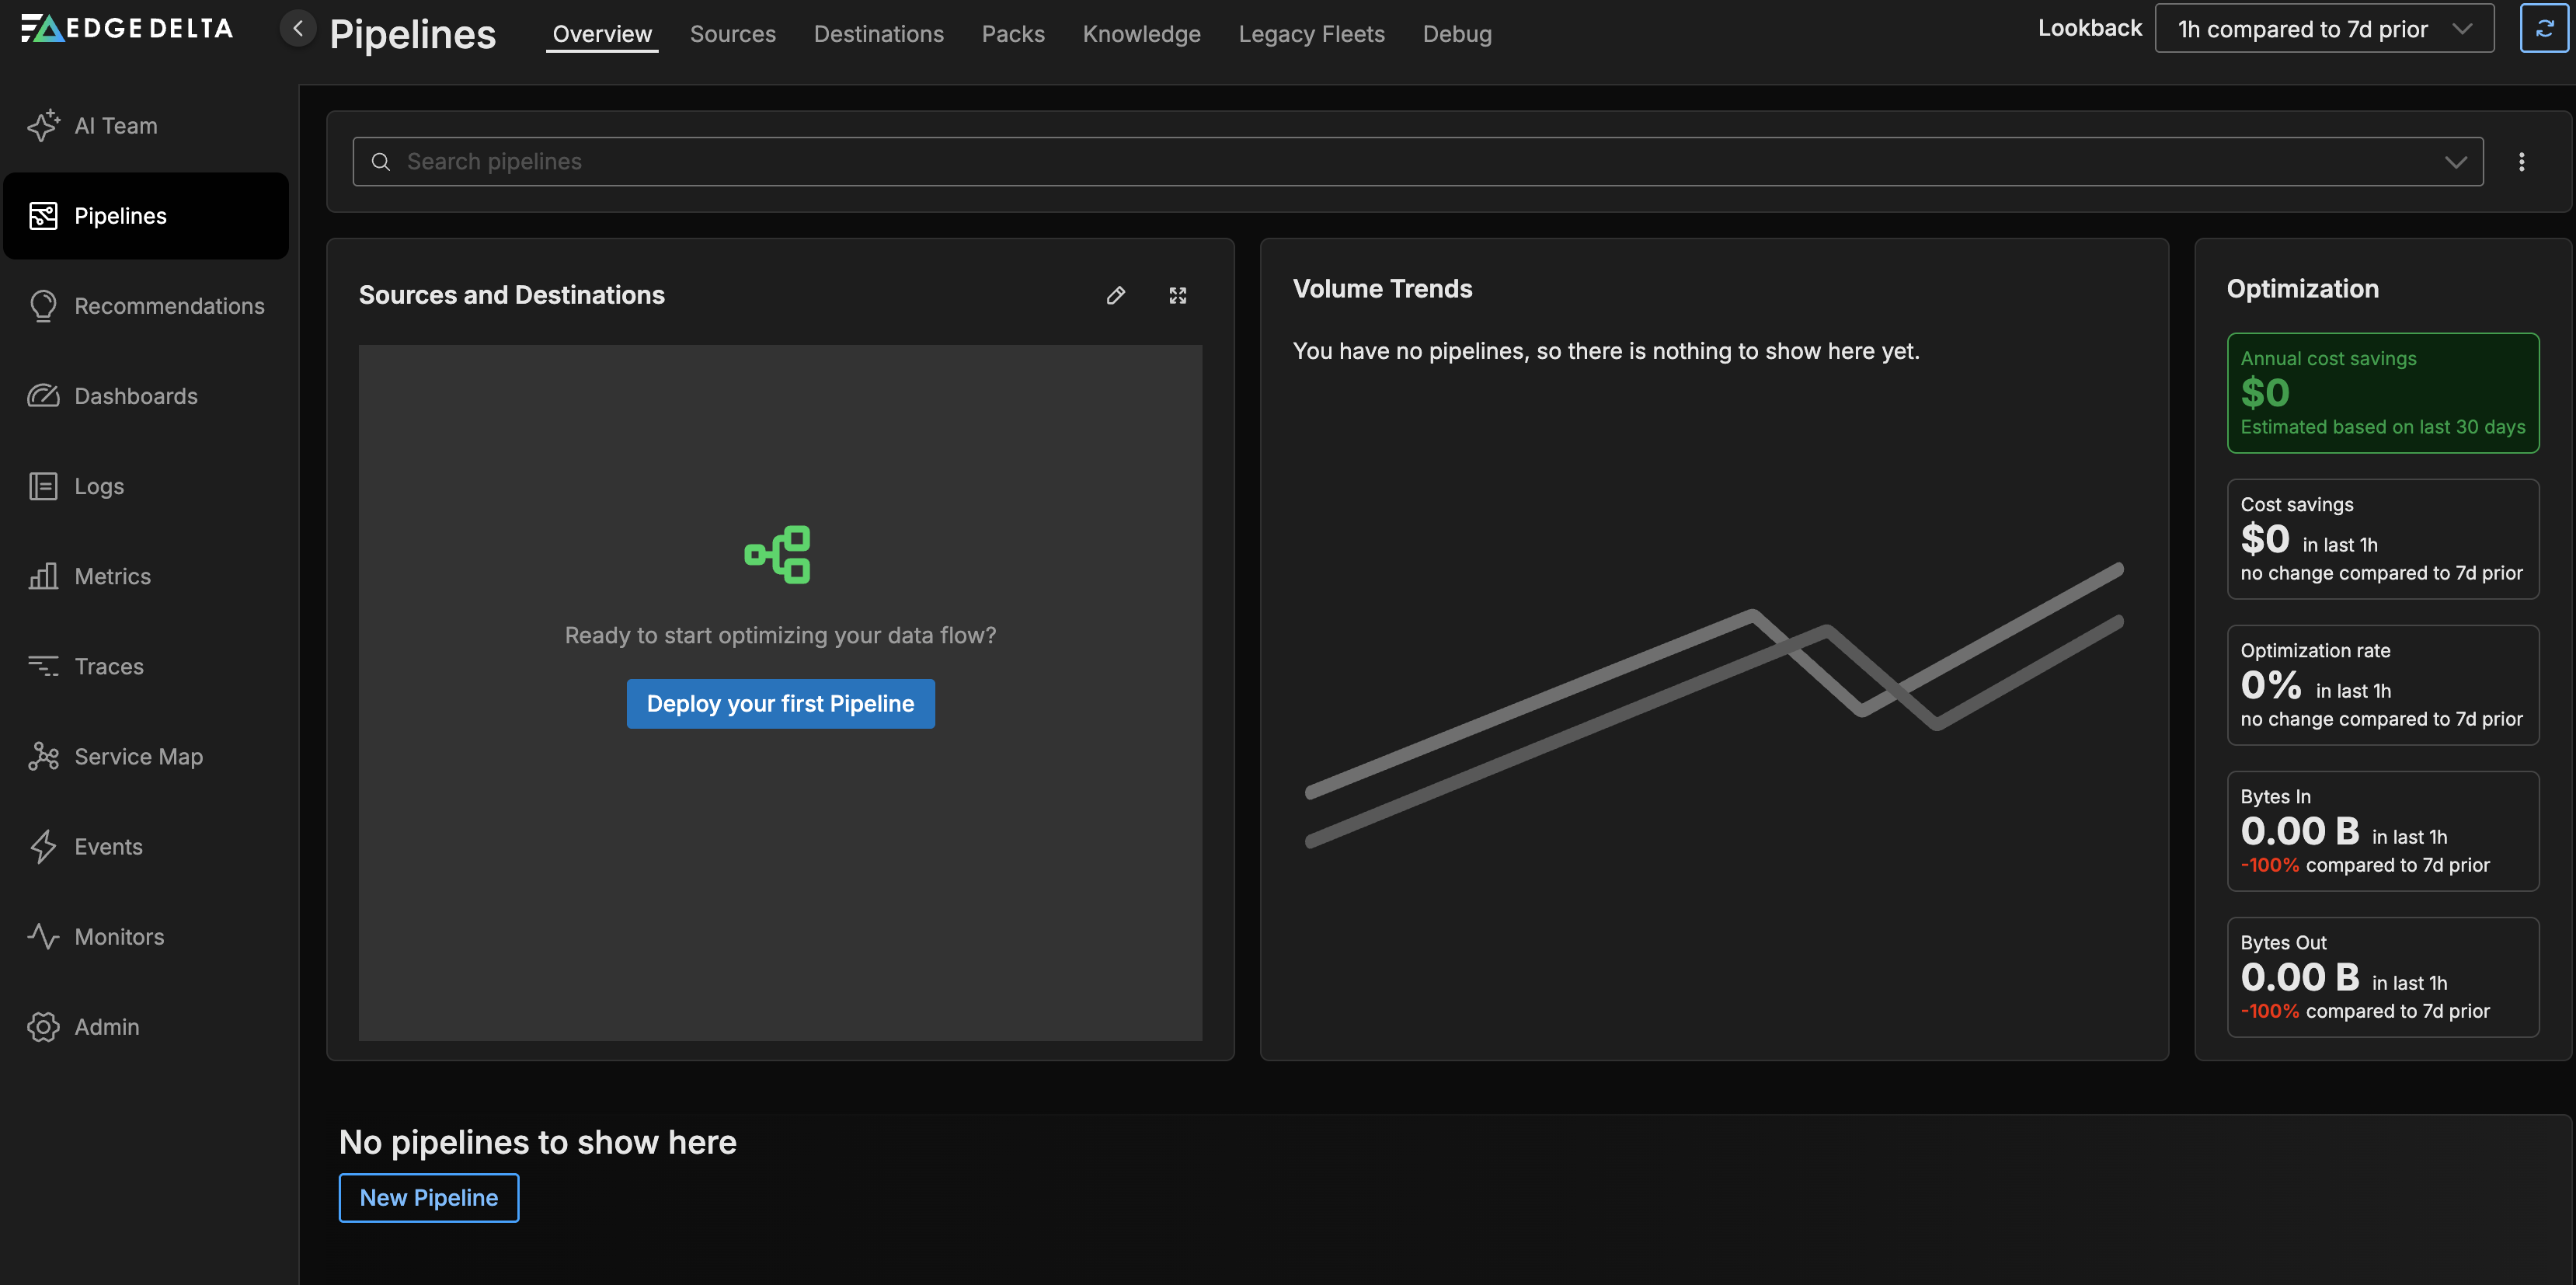
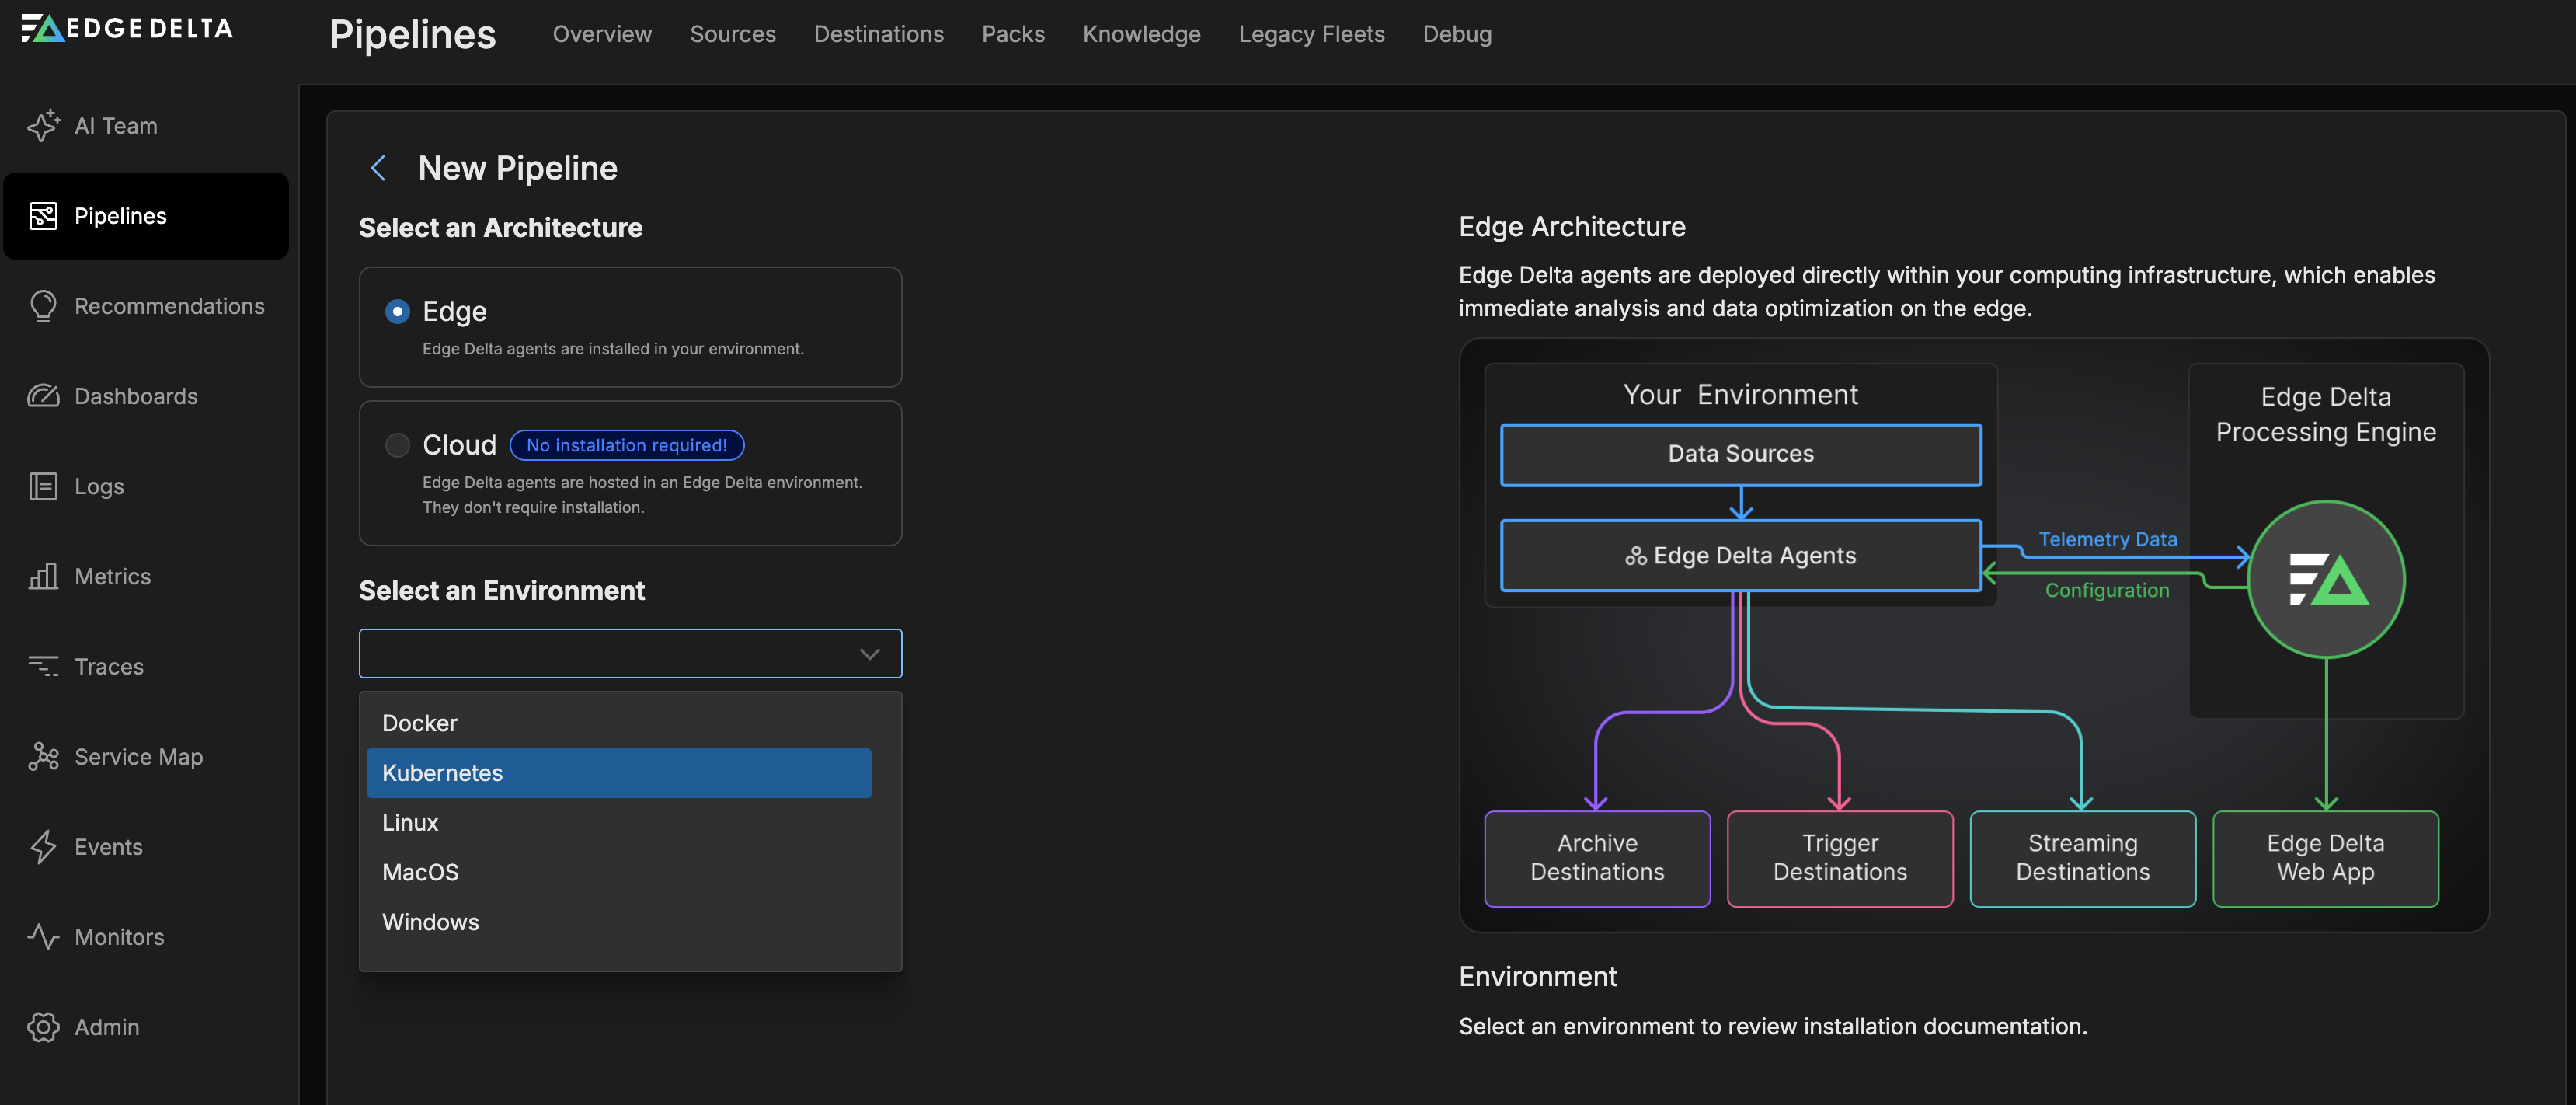
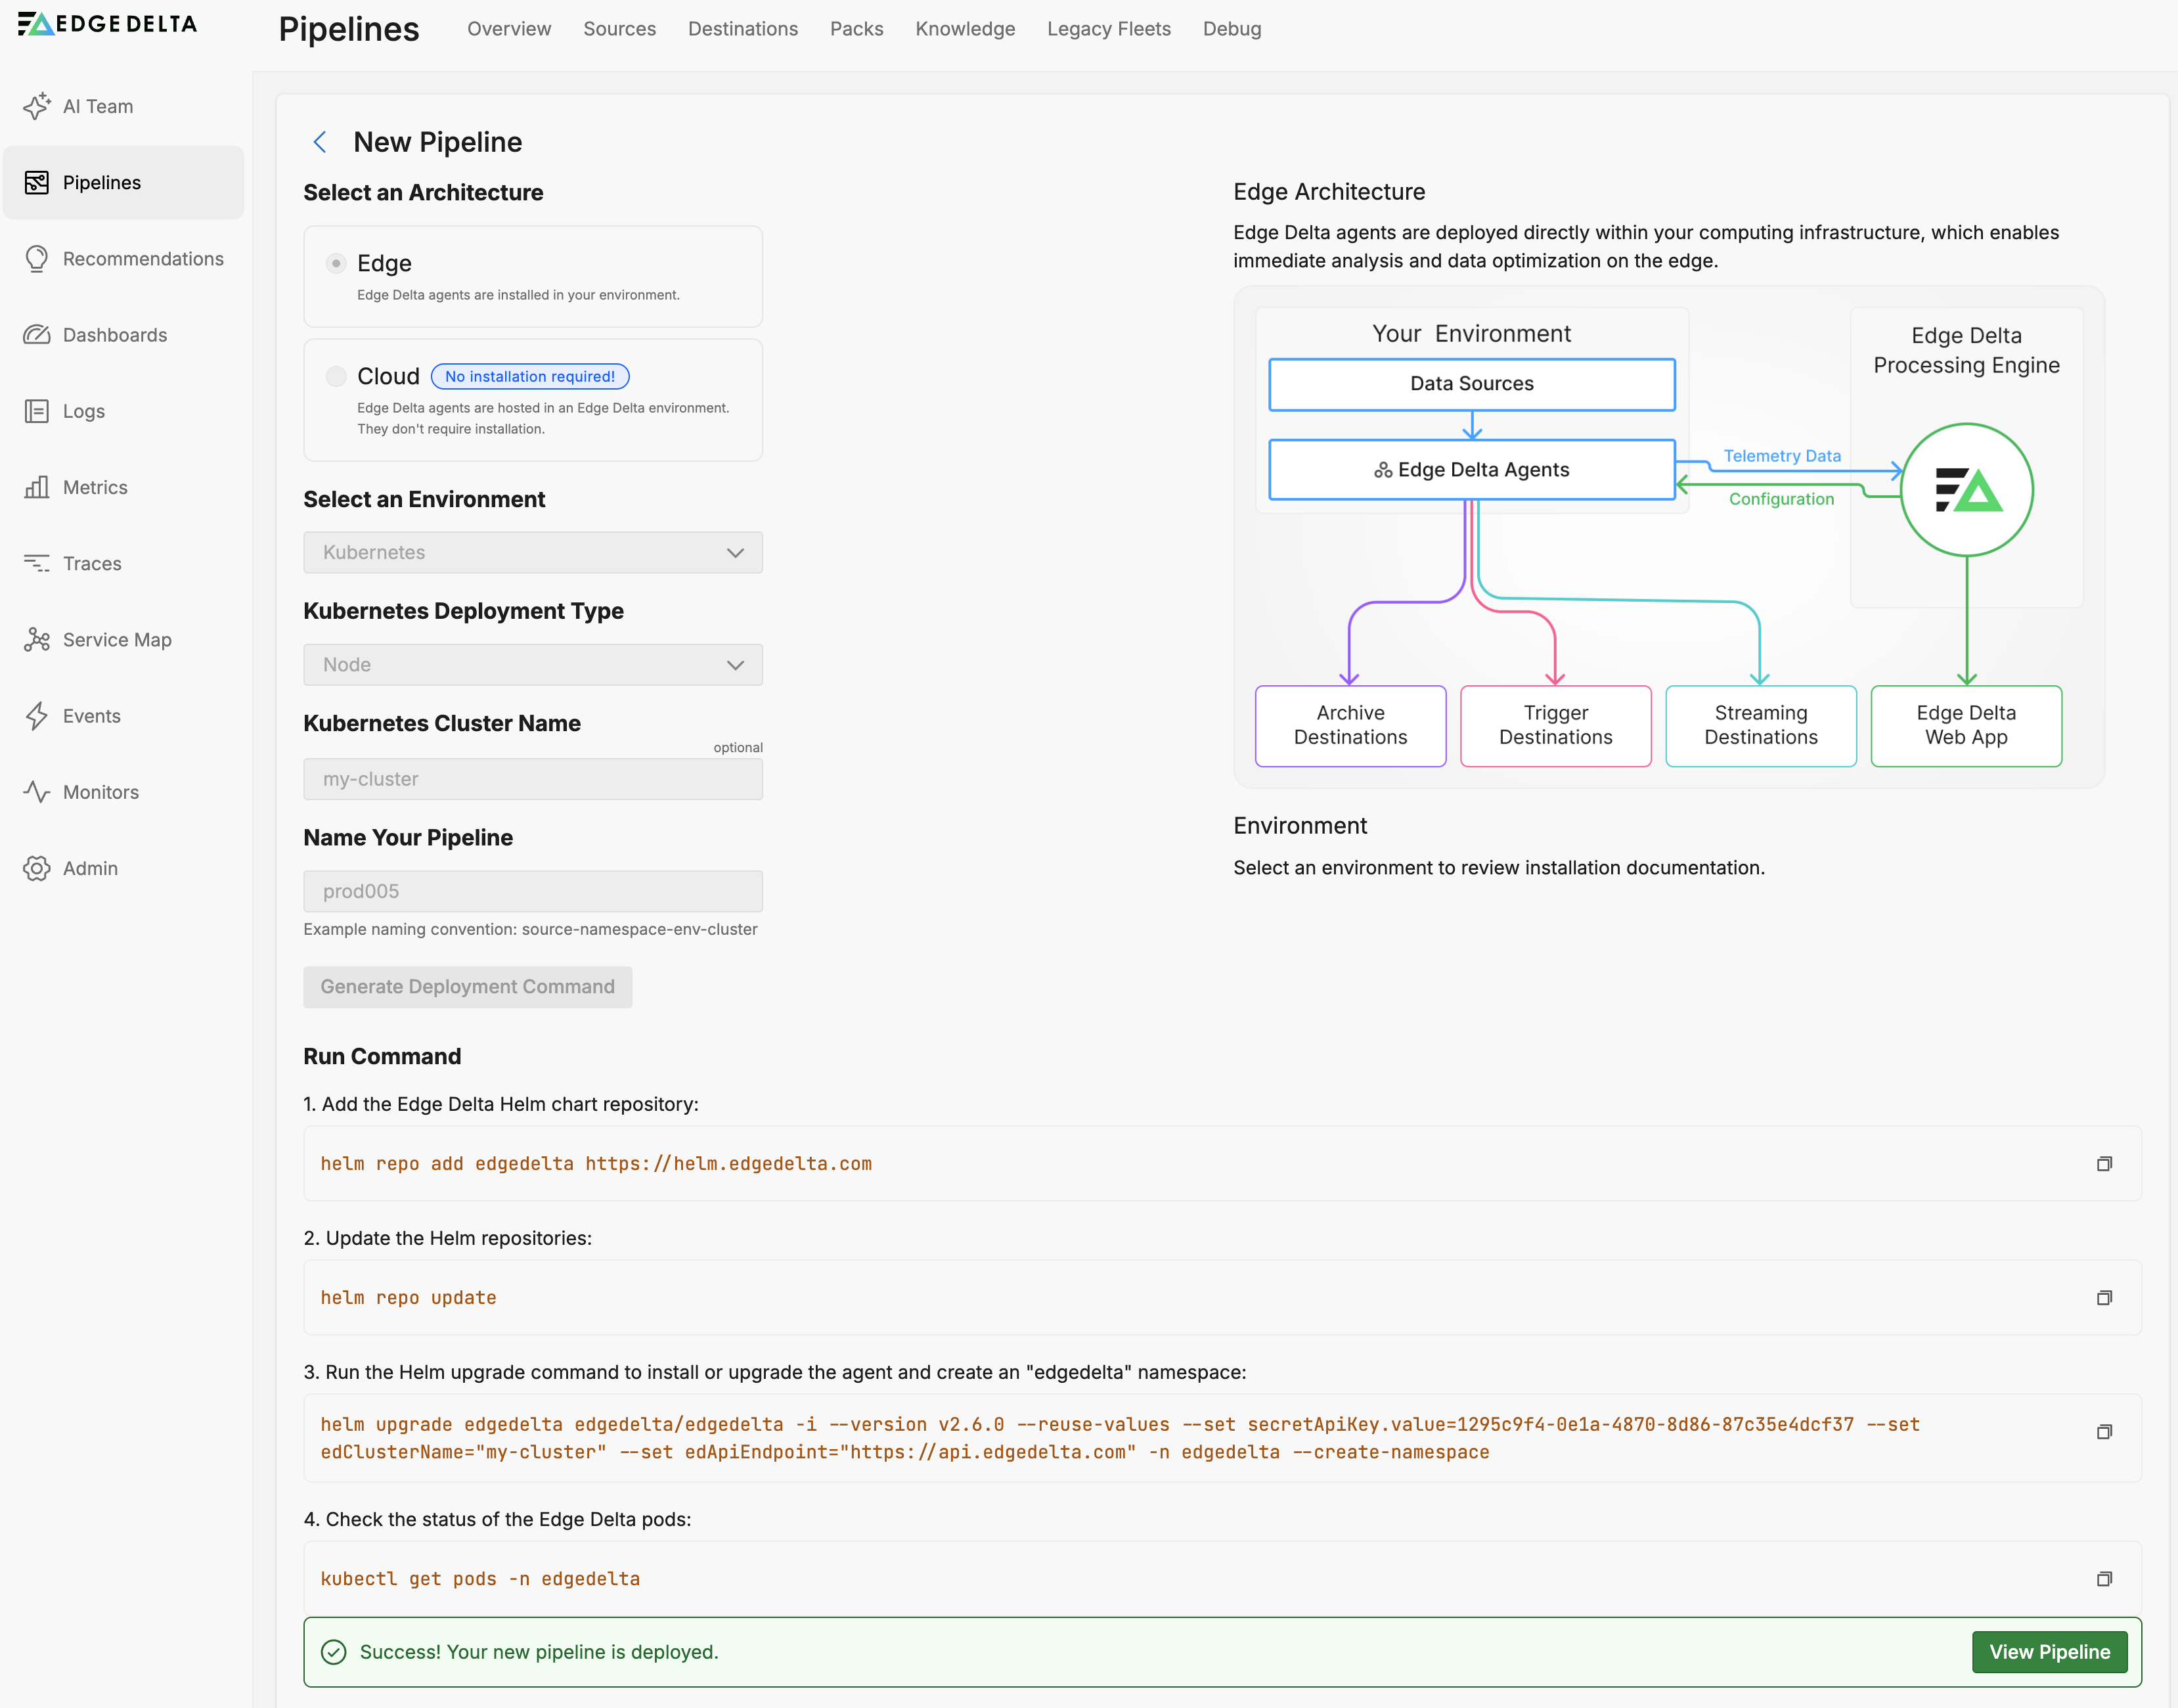
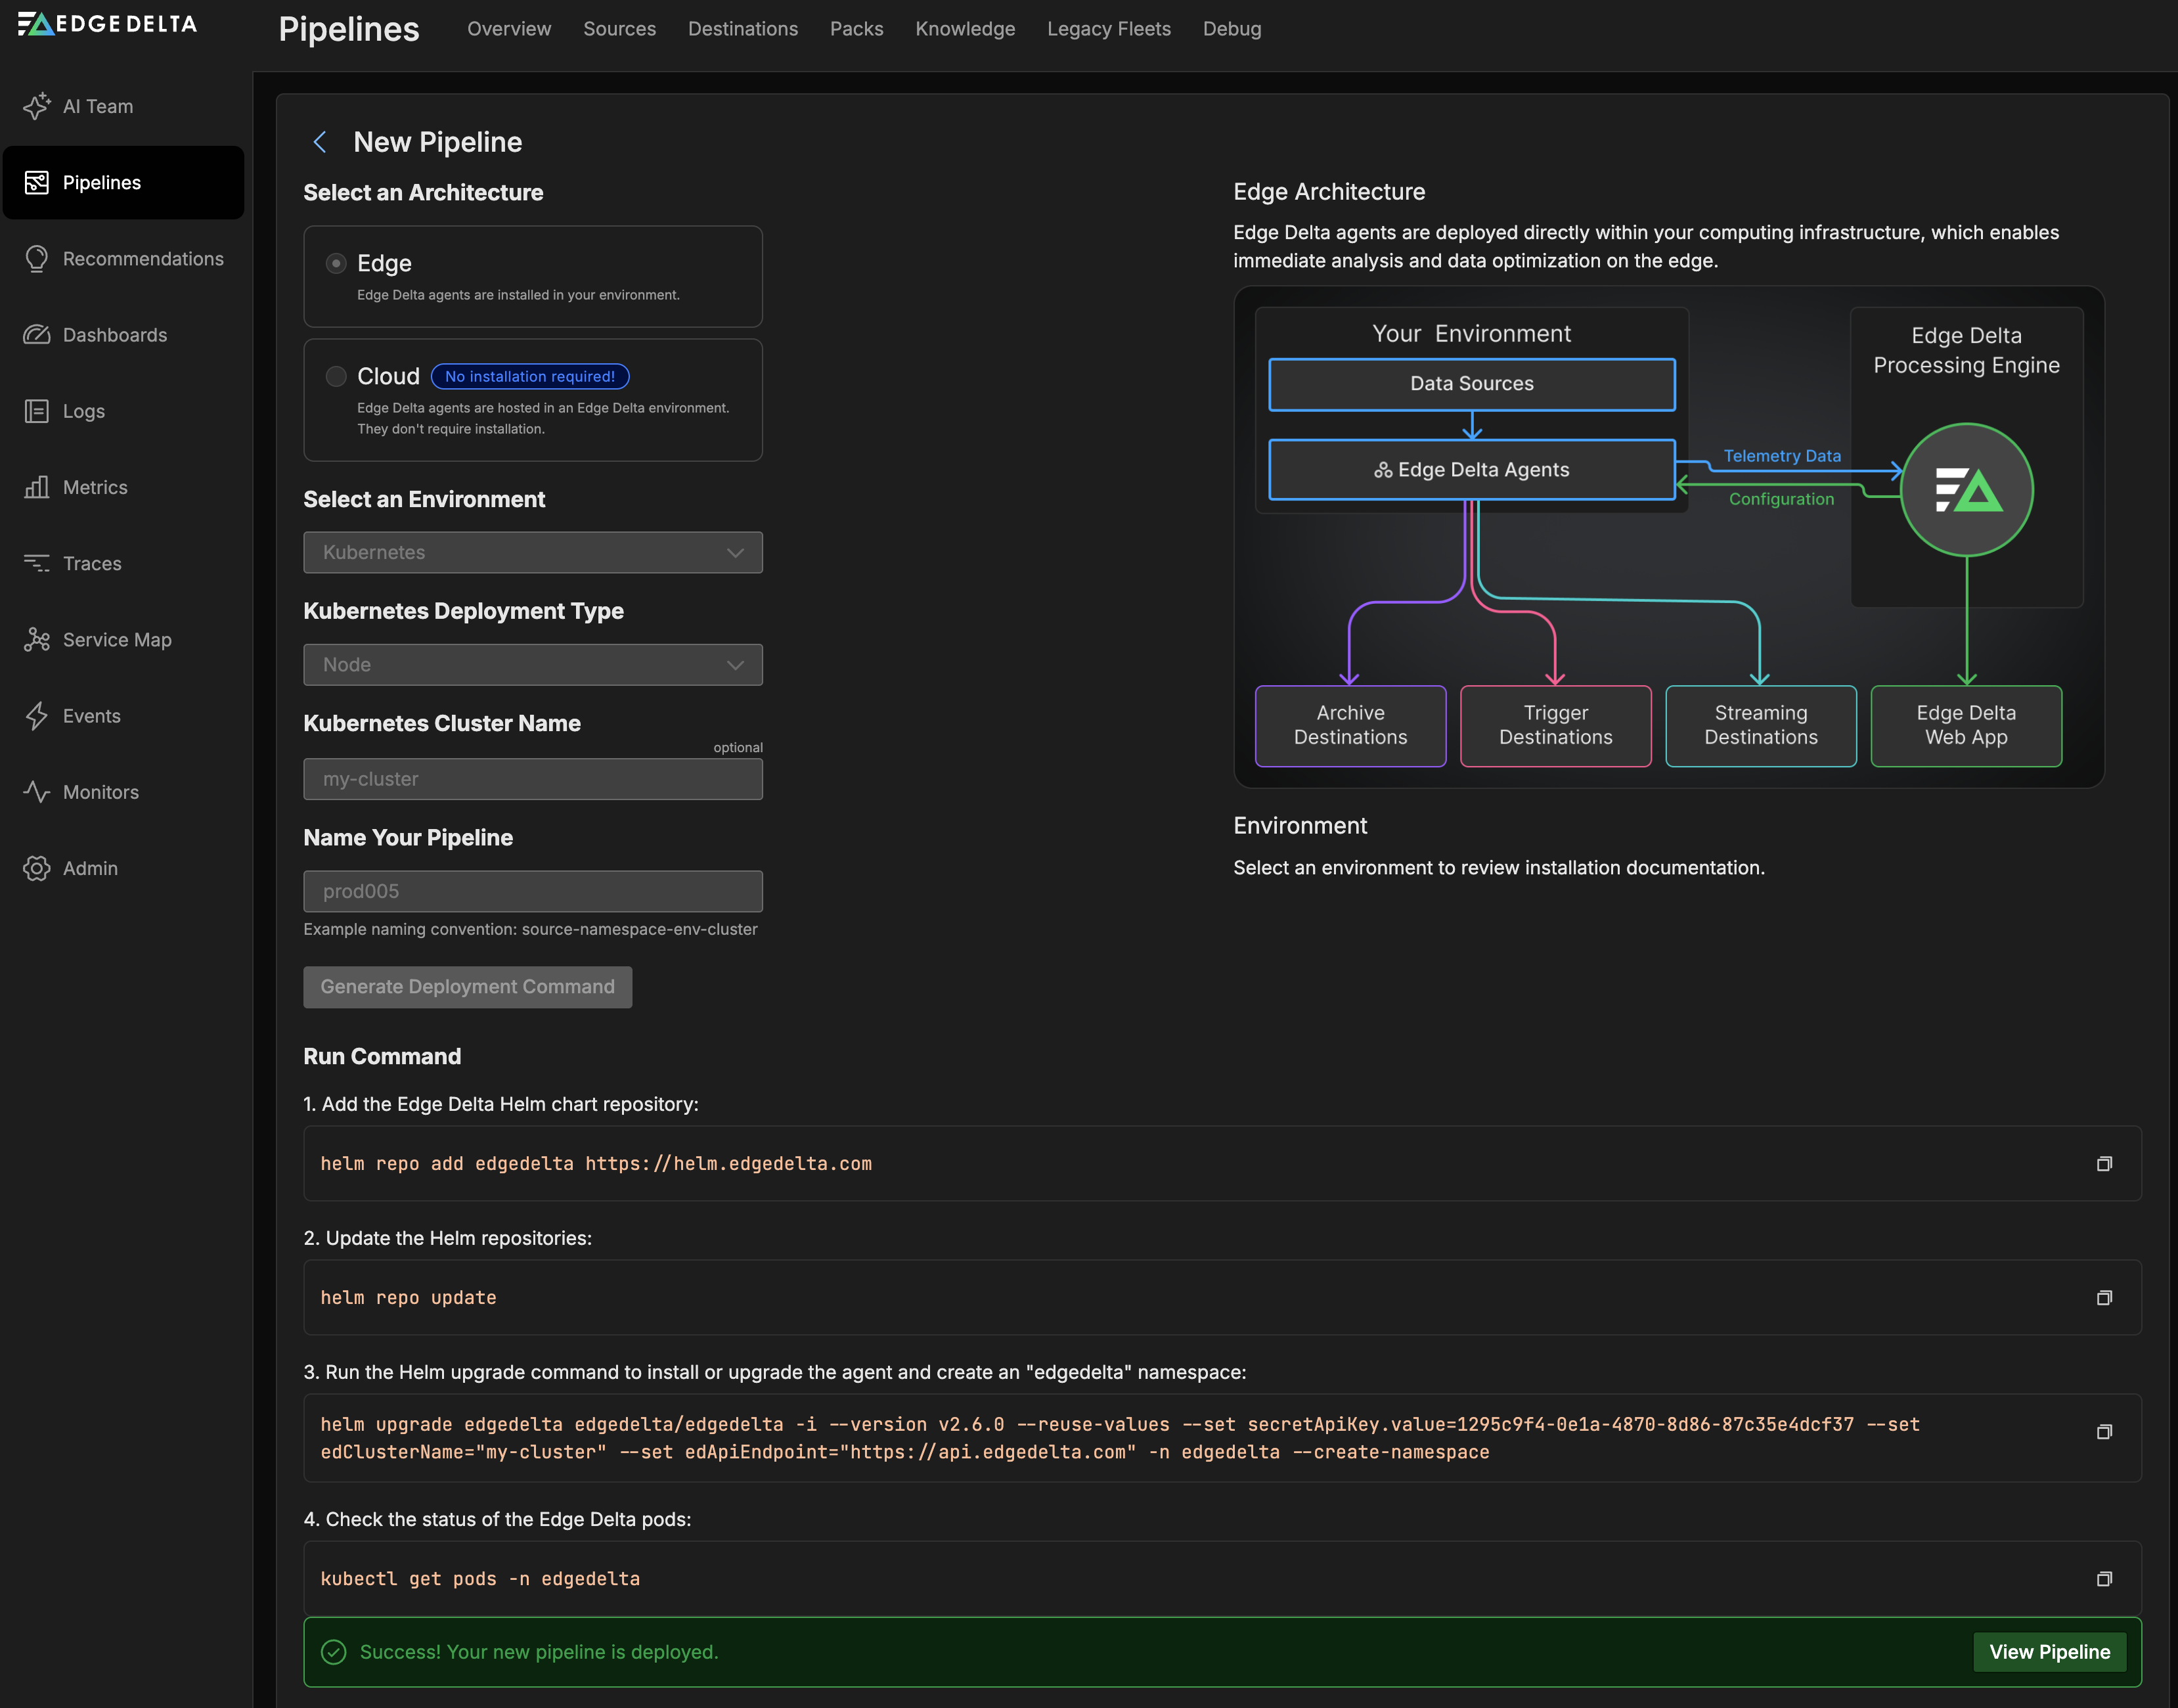
- Create a pipeline. Click New Pipeline.

- You can choose from three pipeline types: Edge for deploying agents in your environment, Cloud for managed cloud pipelines, or Ingestion for lightweight event connectors. For a quick start, choose Edge.
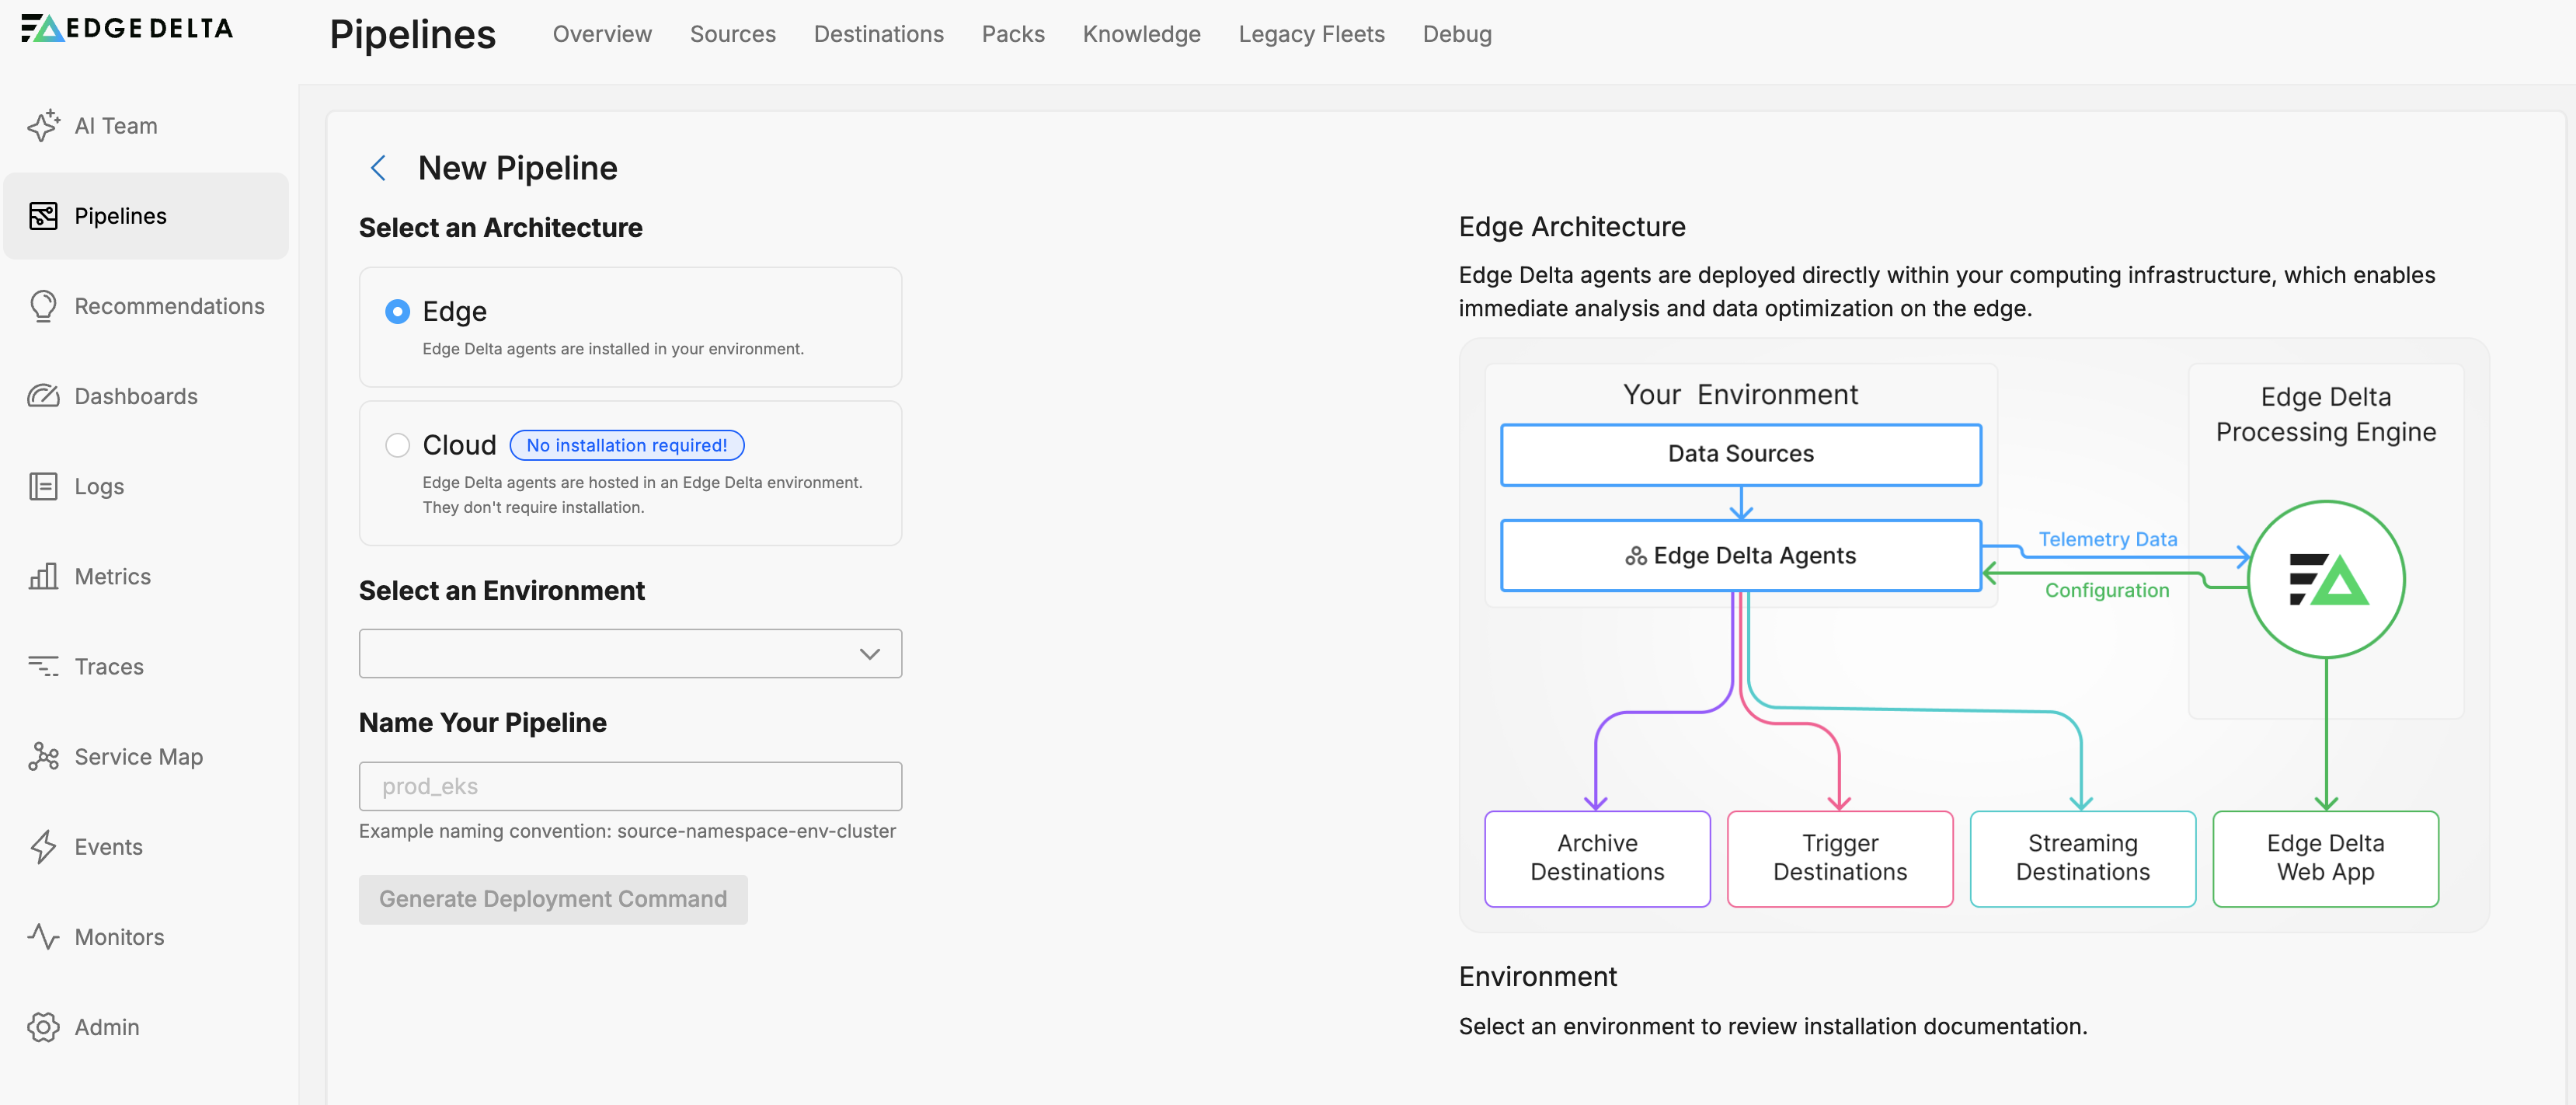
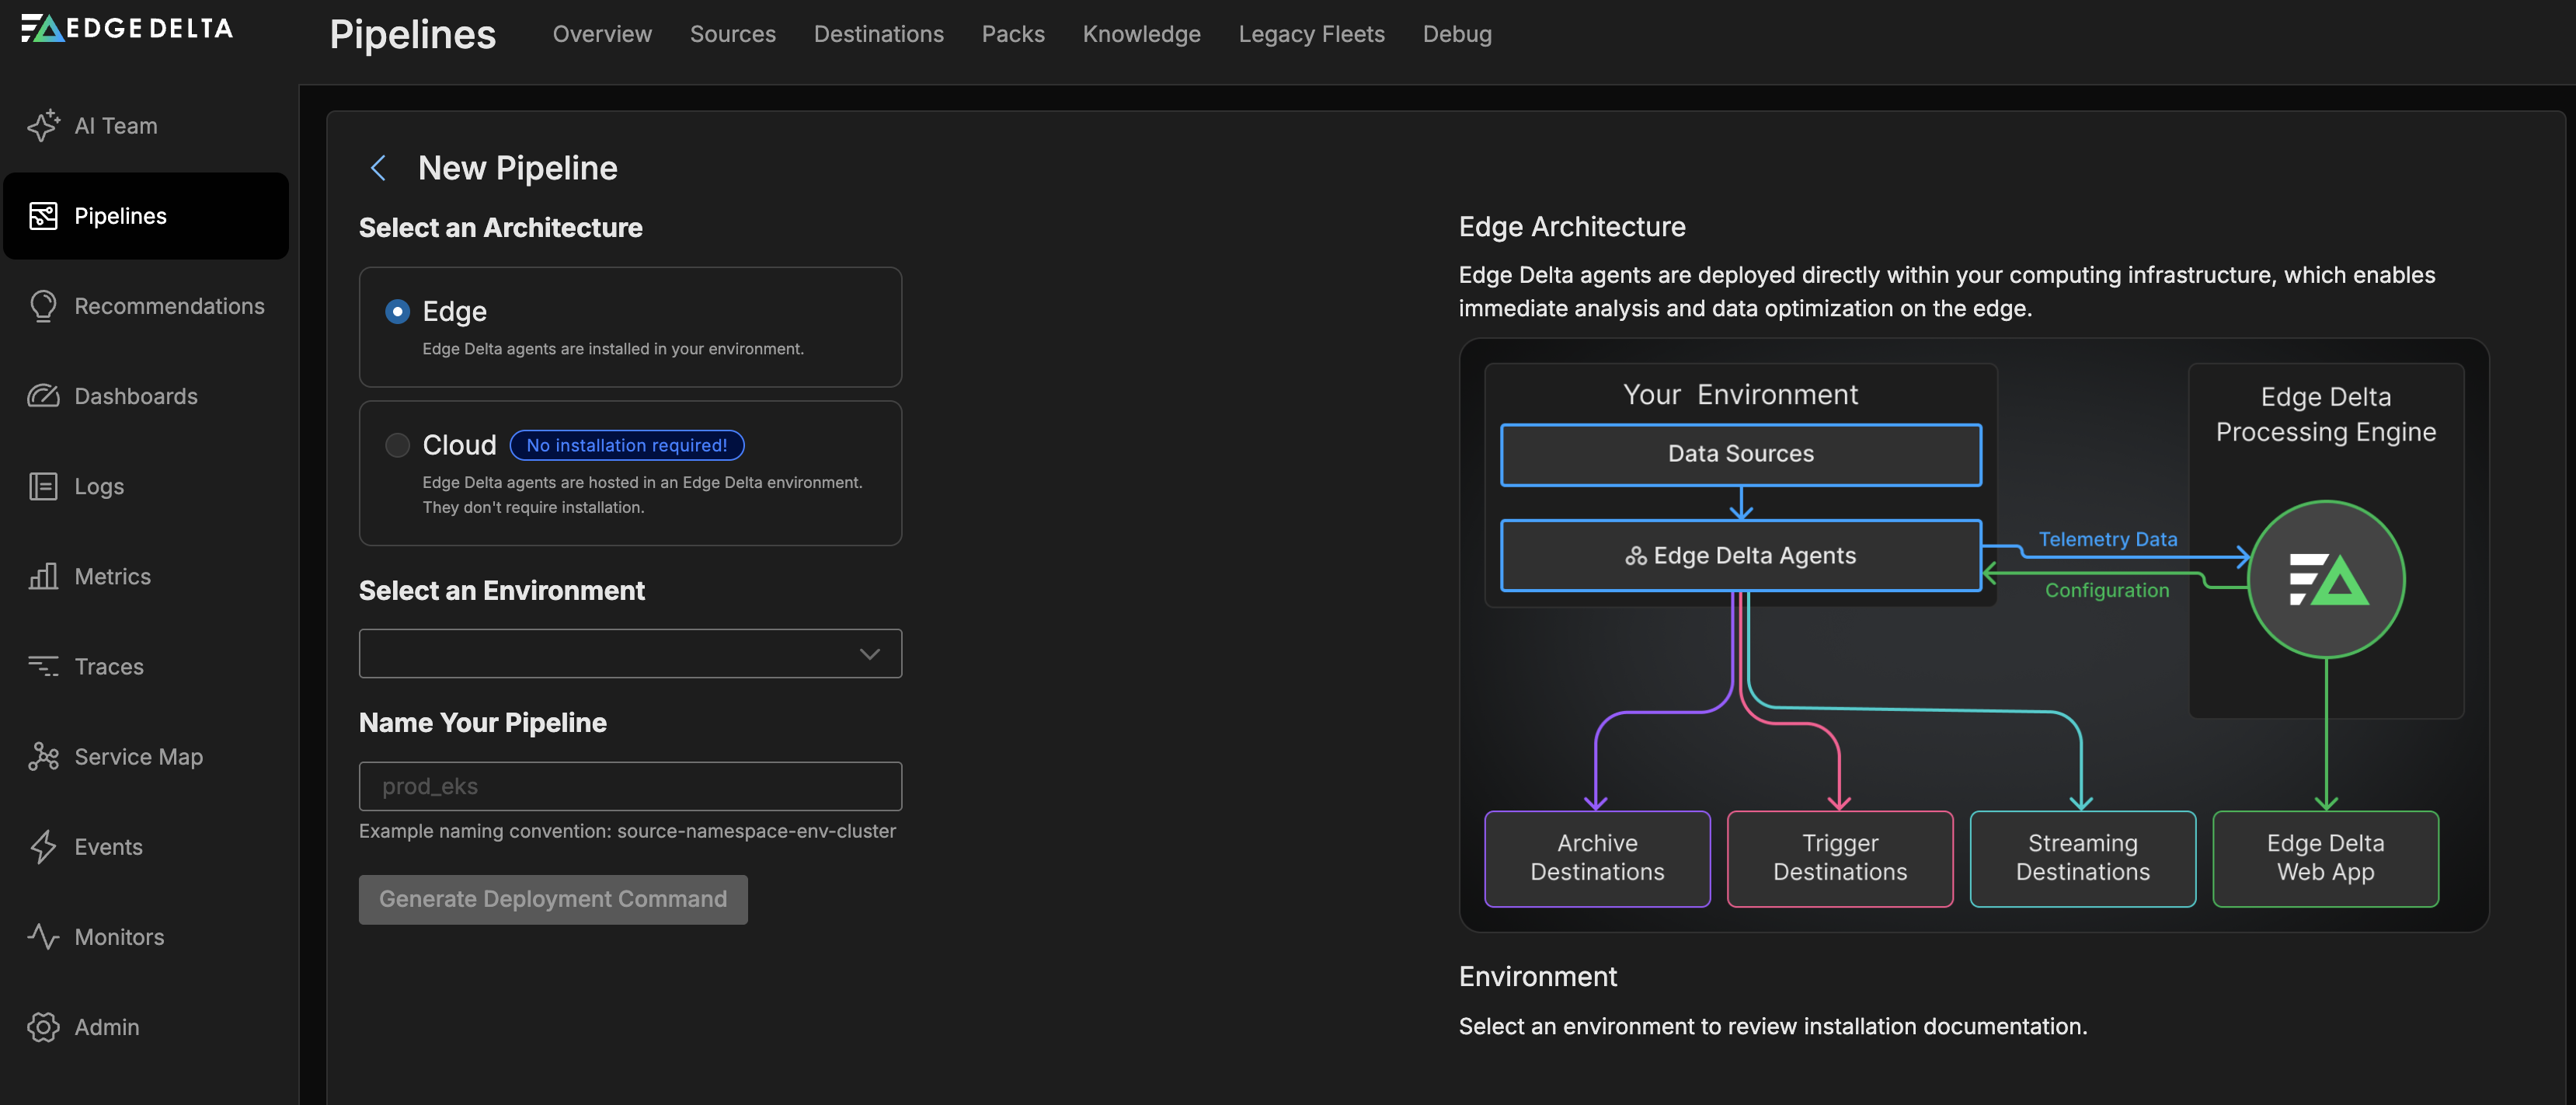
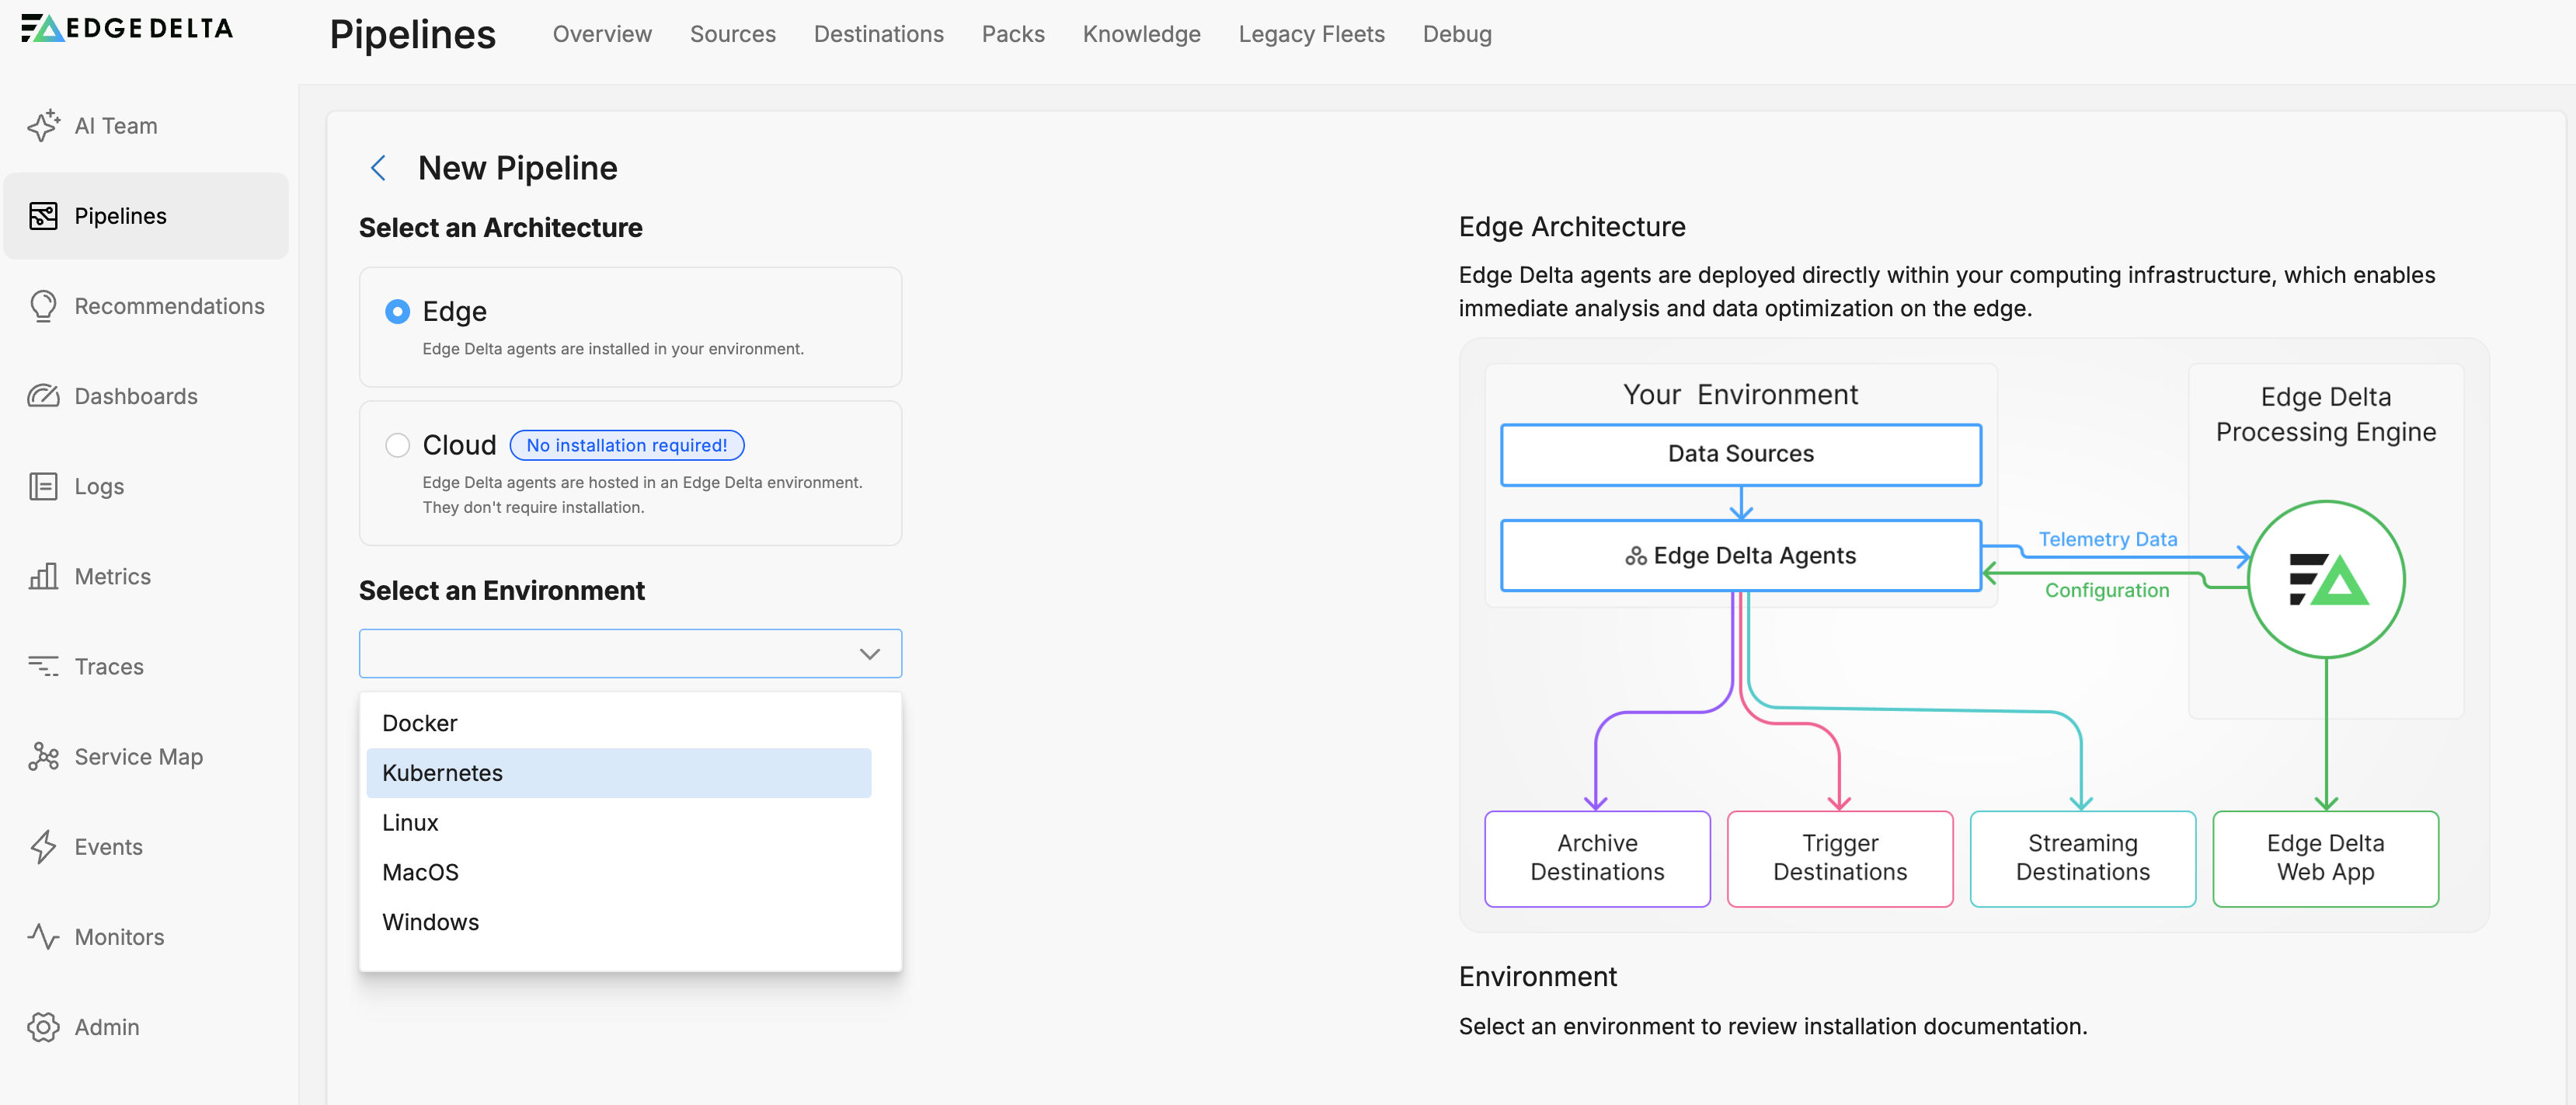
- Next, you select the environment. In this instance choose Kubernetes.
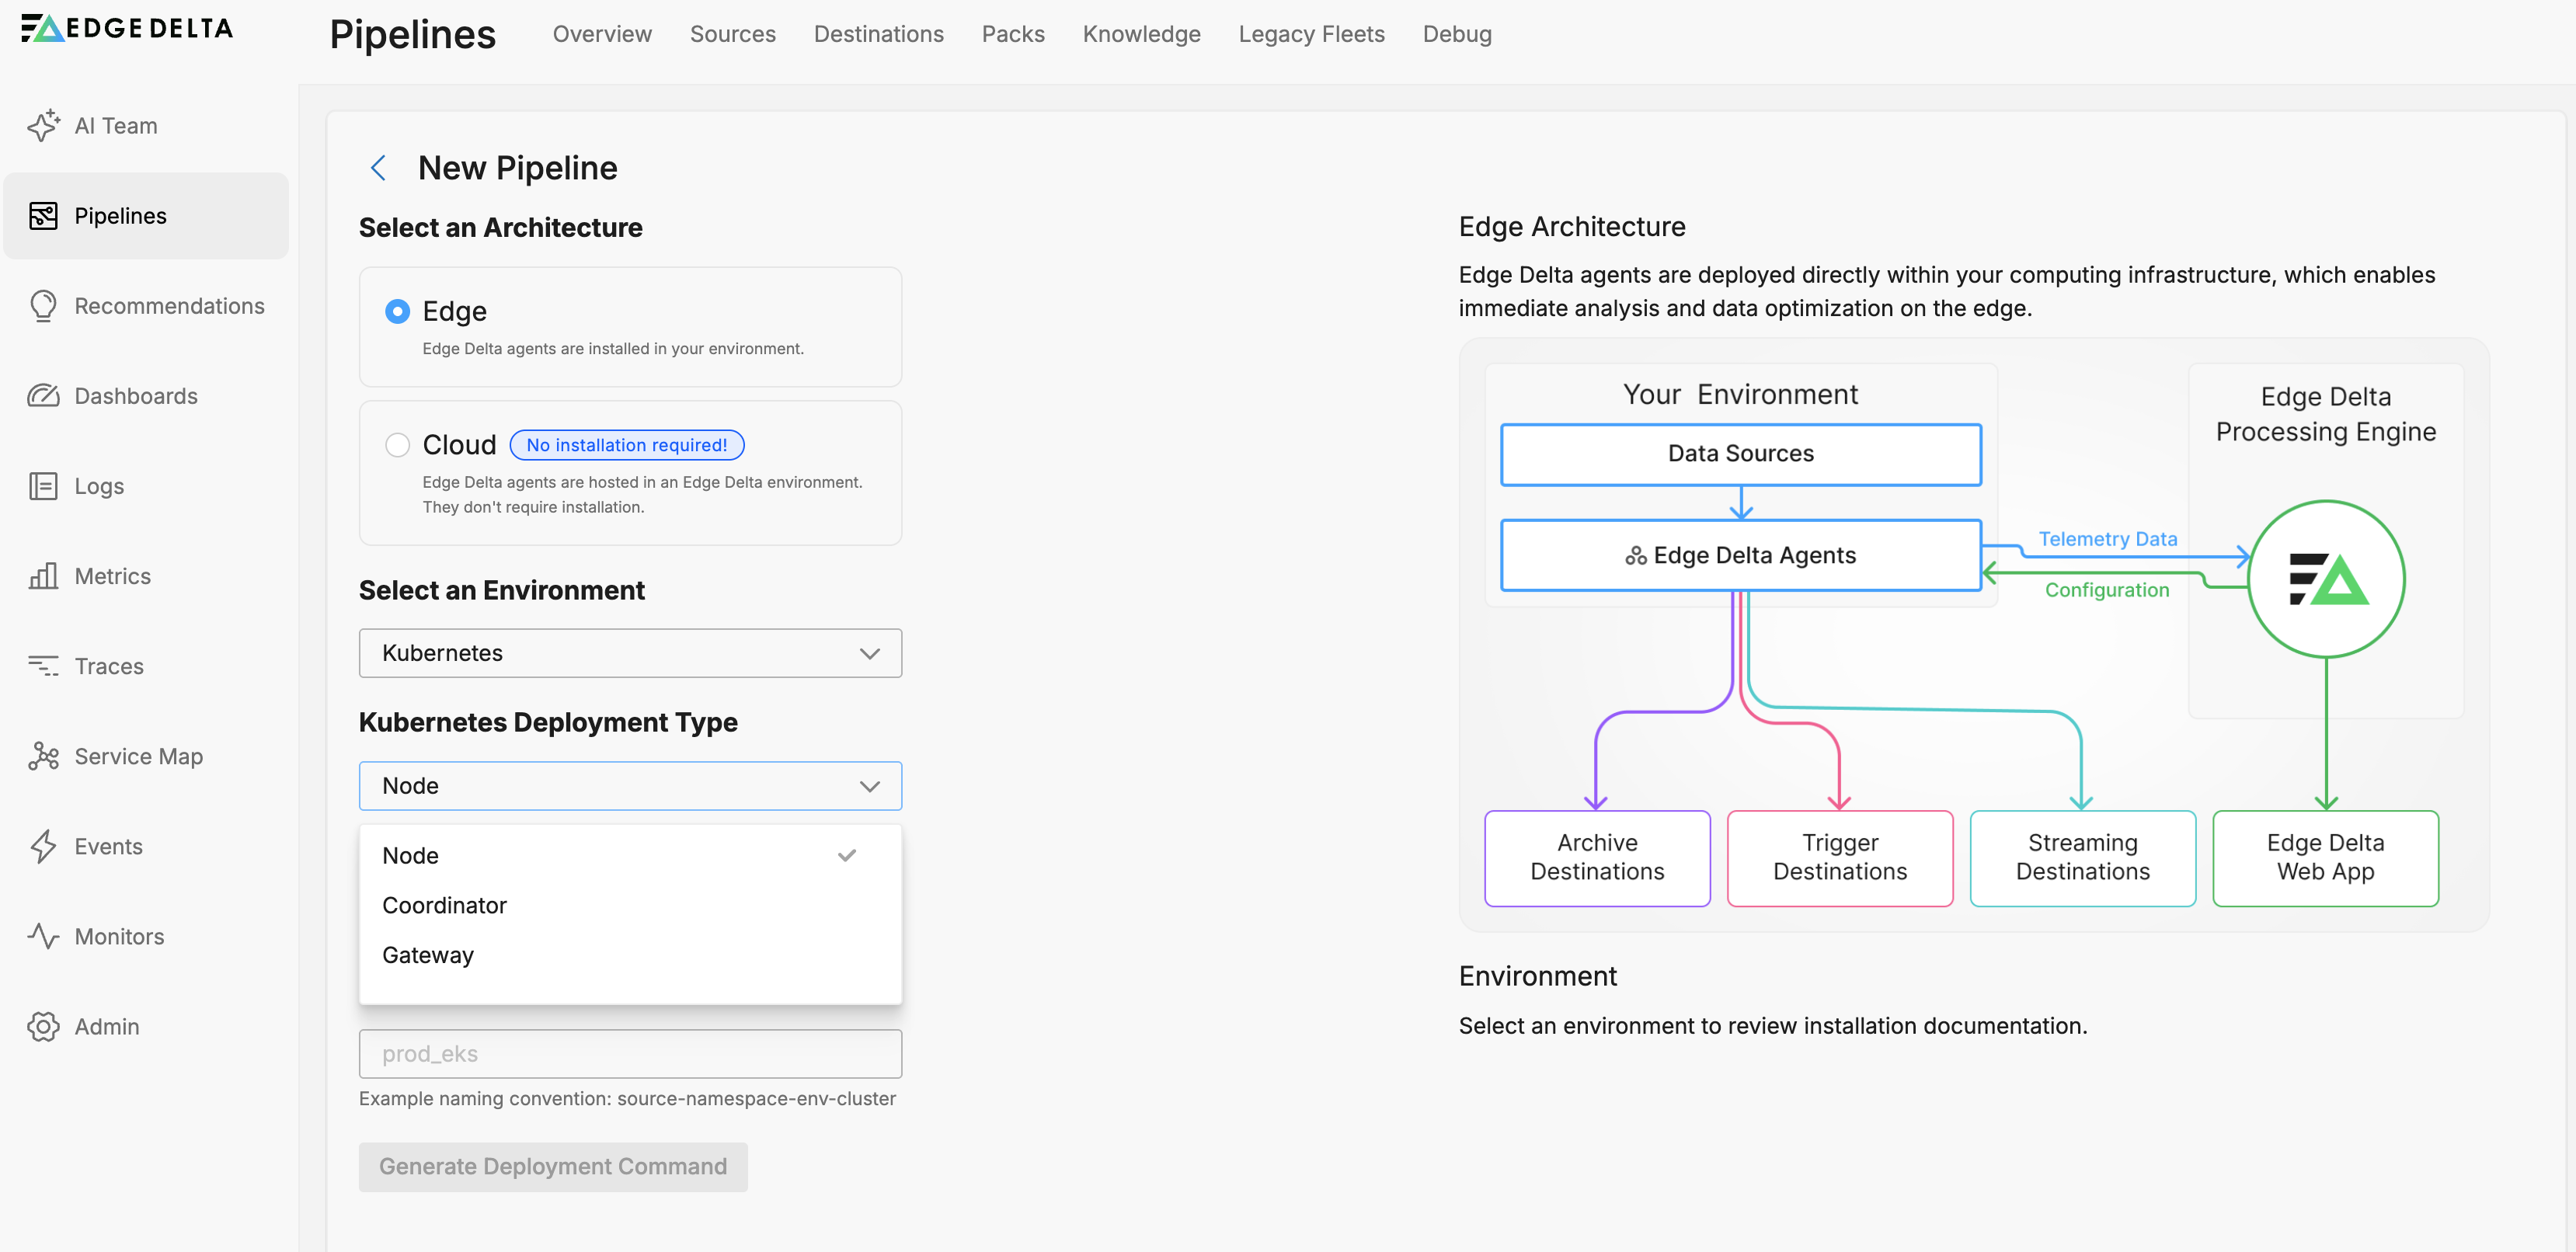
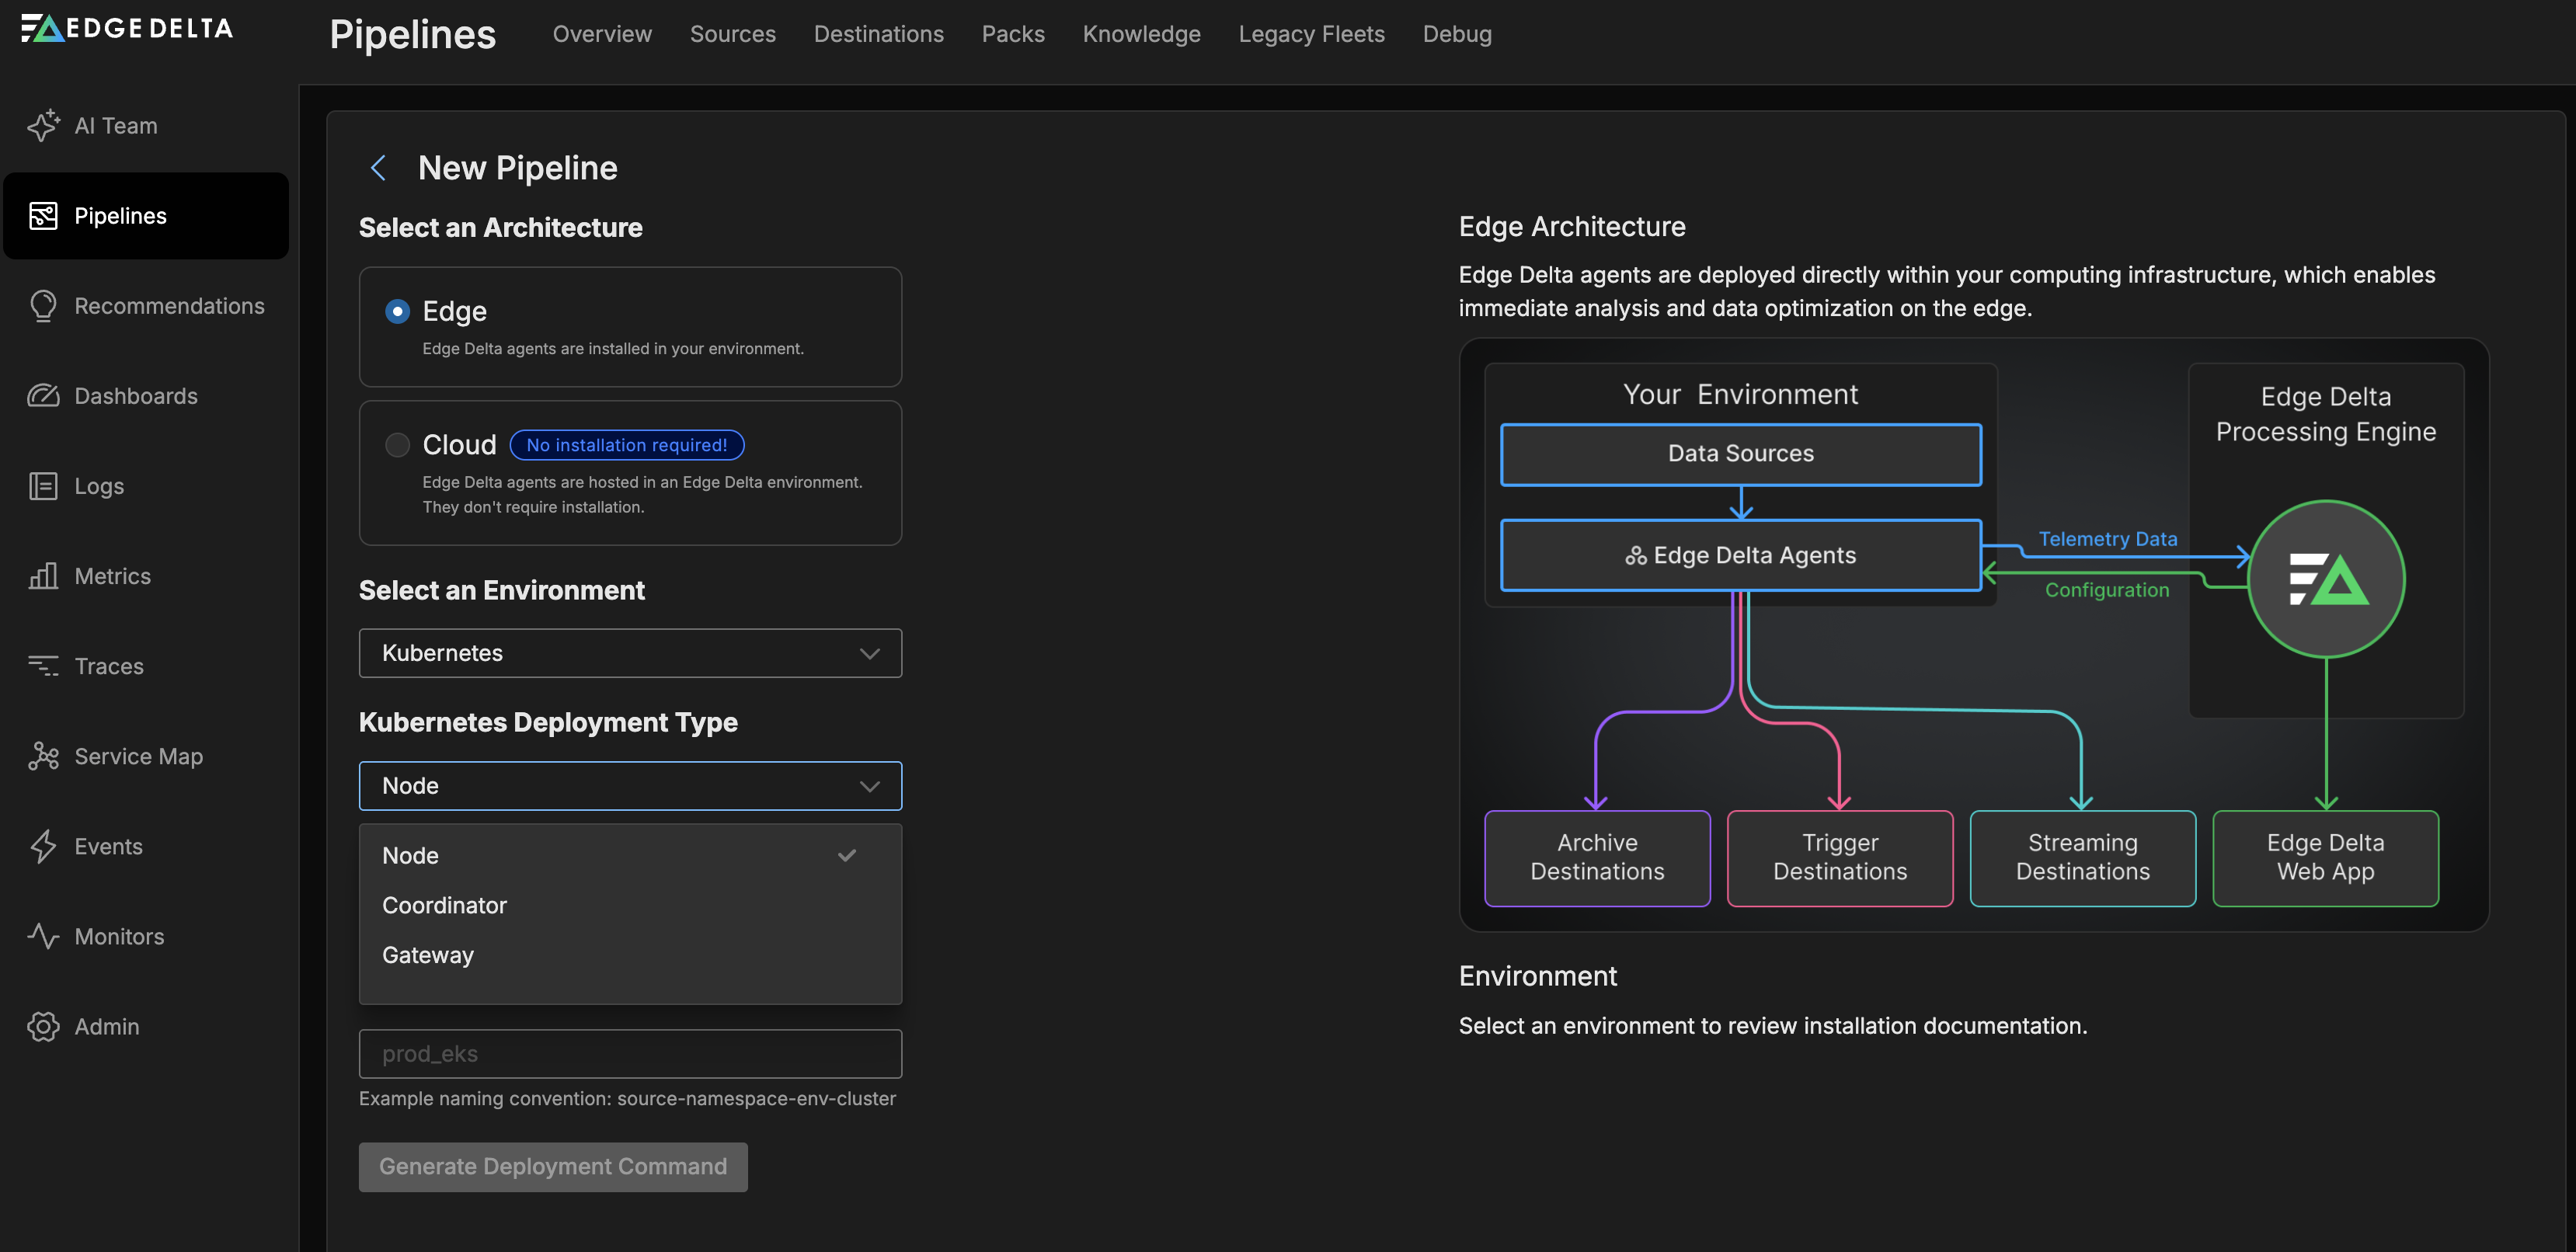
- Select or ensure that node is selected as the Deployment Type:
- Optionally, provide a Kubernetes Cluster Name. This is not necessarily the name of the Kubernetes Cluster you are installing the pipeline on, but rather a logical grouping for additional pipelines you may add later, and which should work together, such as a coordinator or gateway.
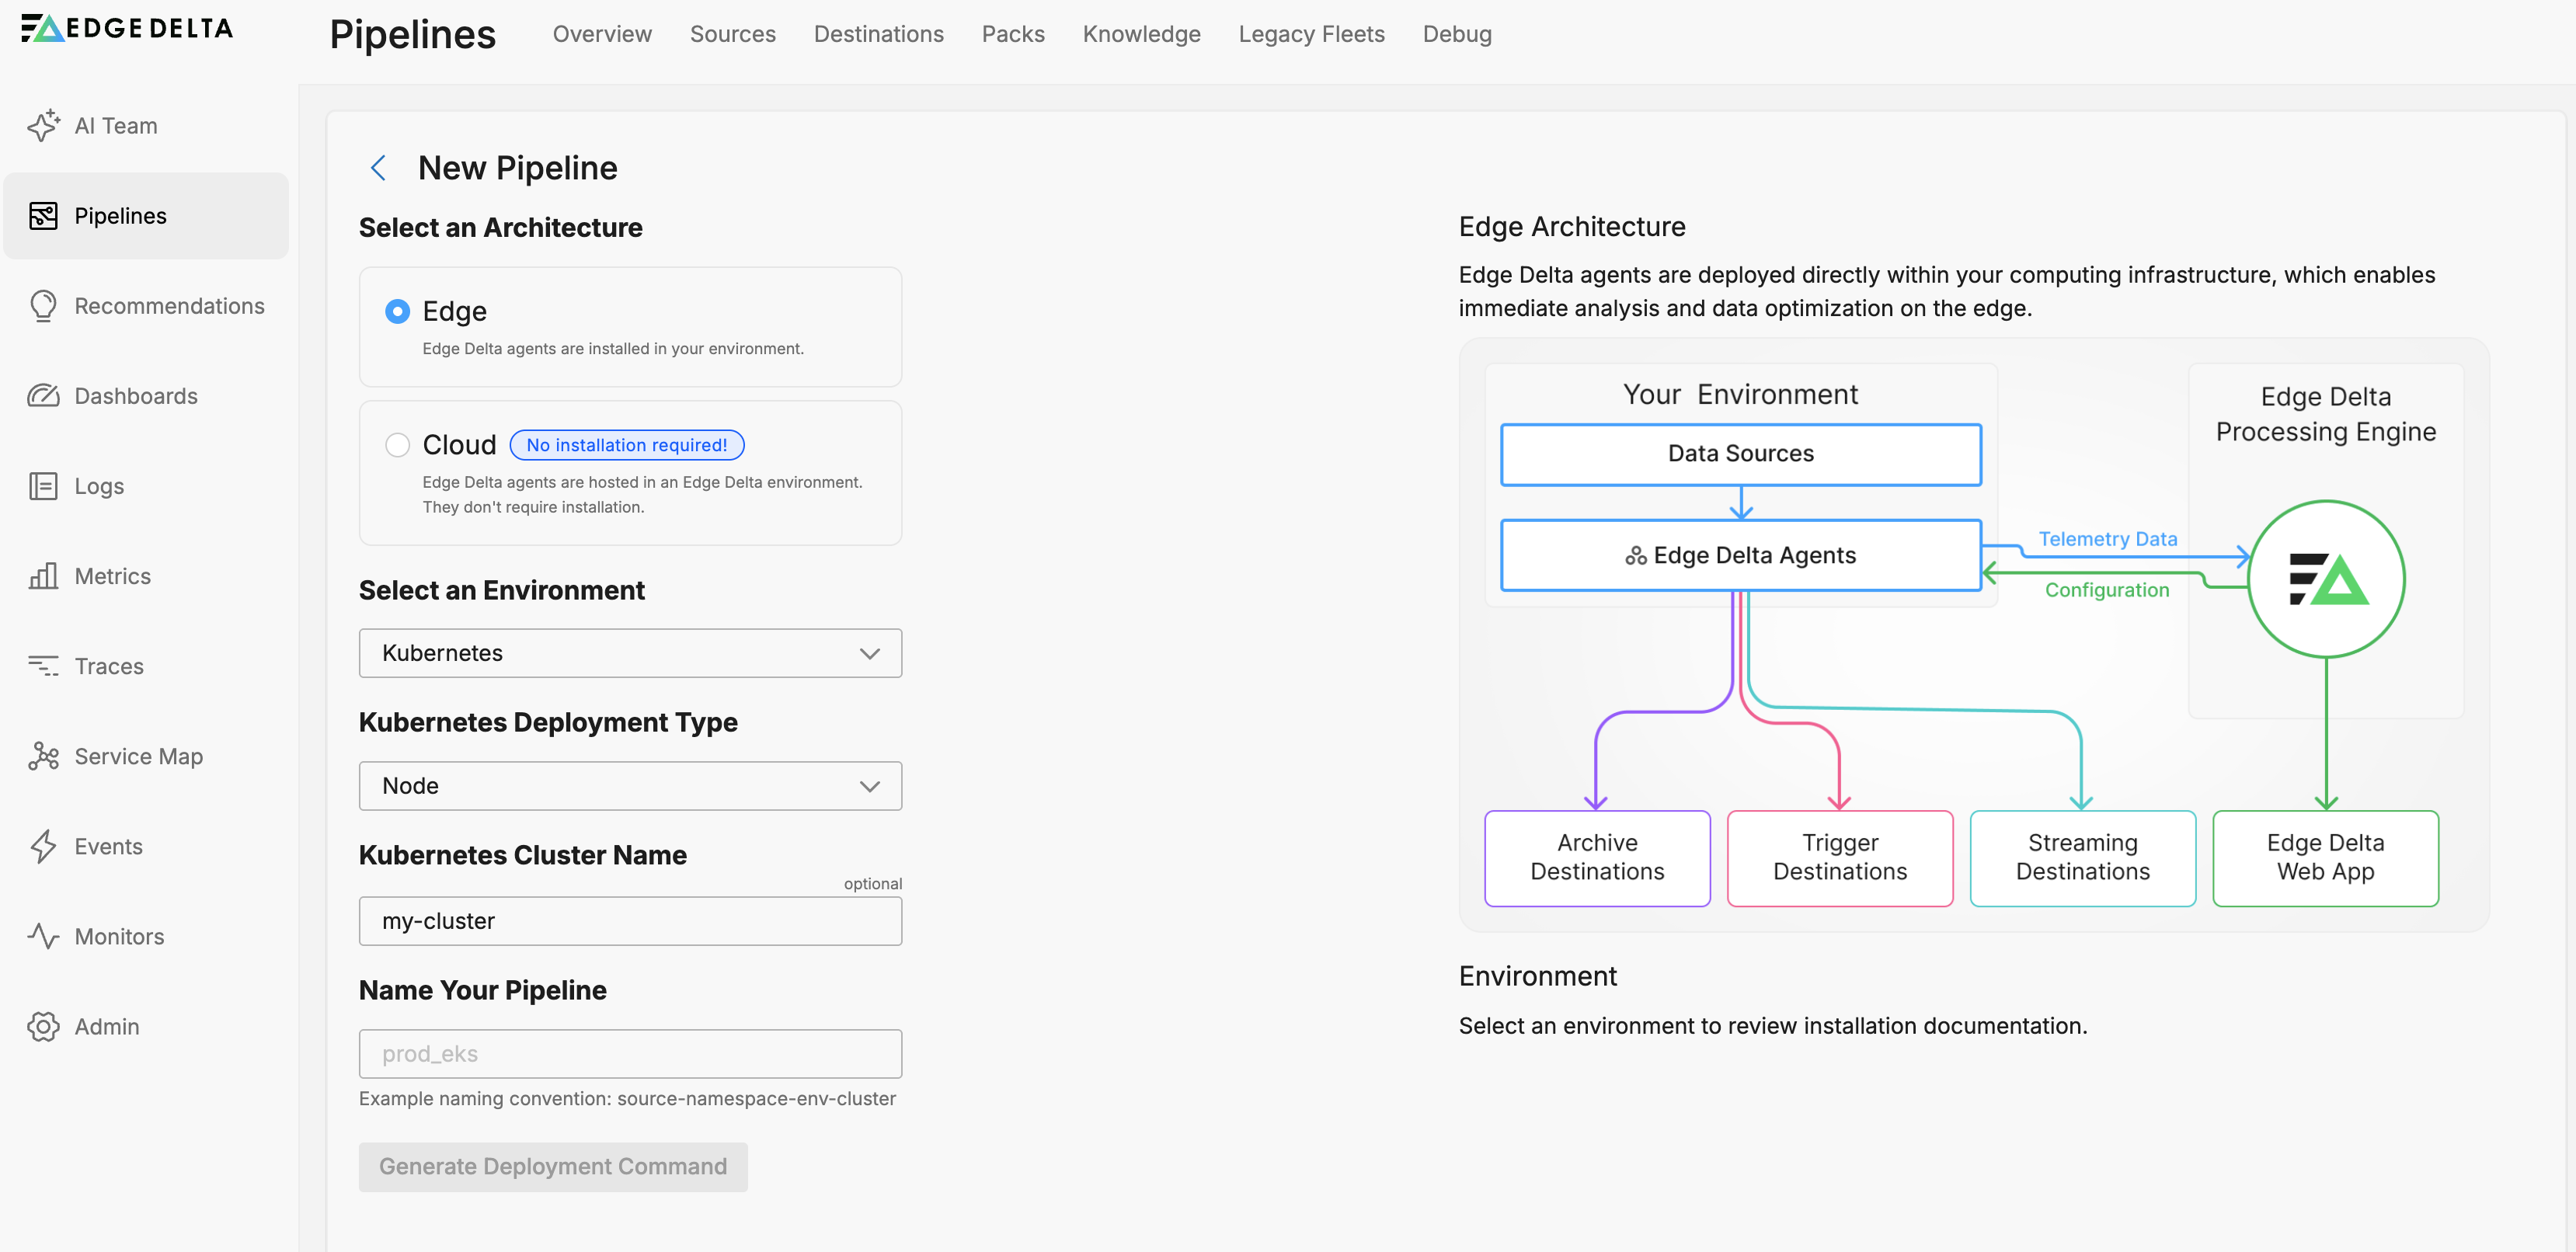
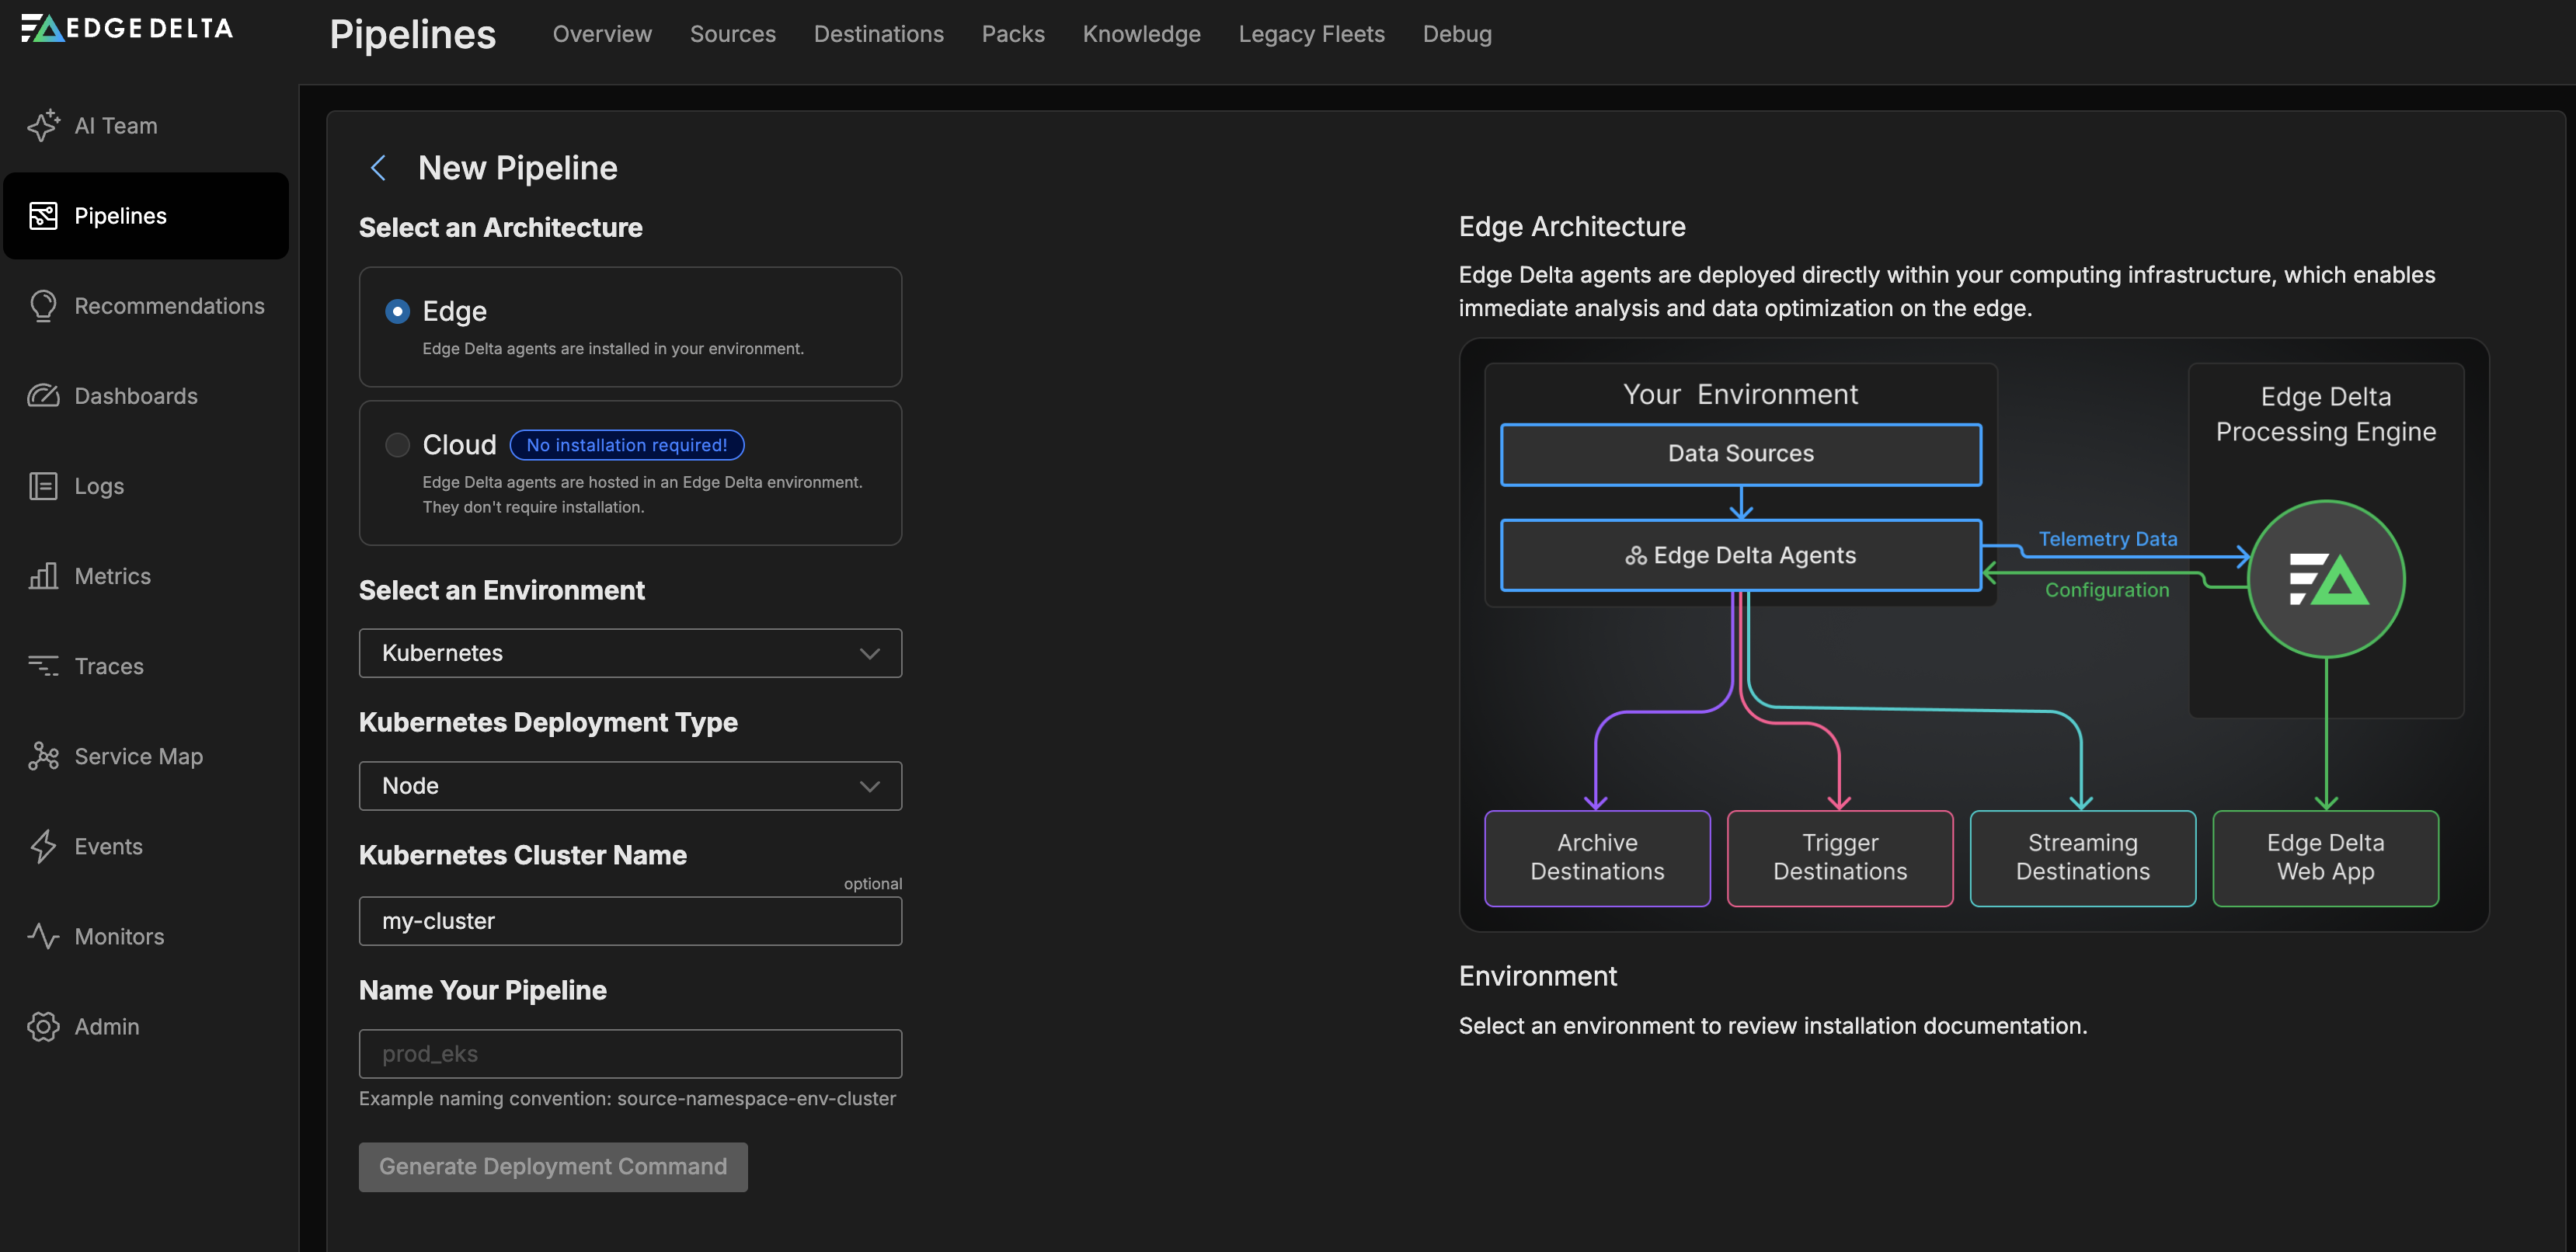
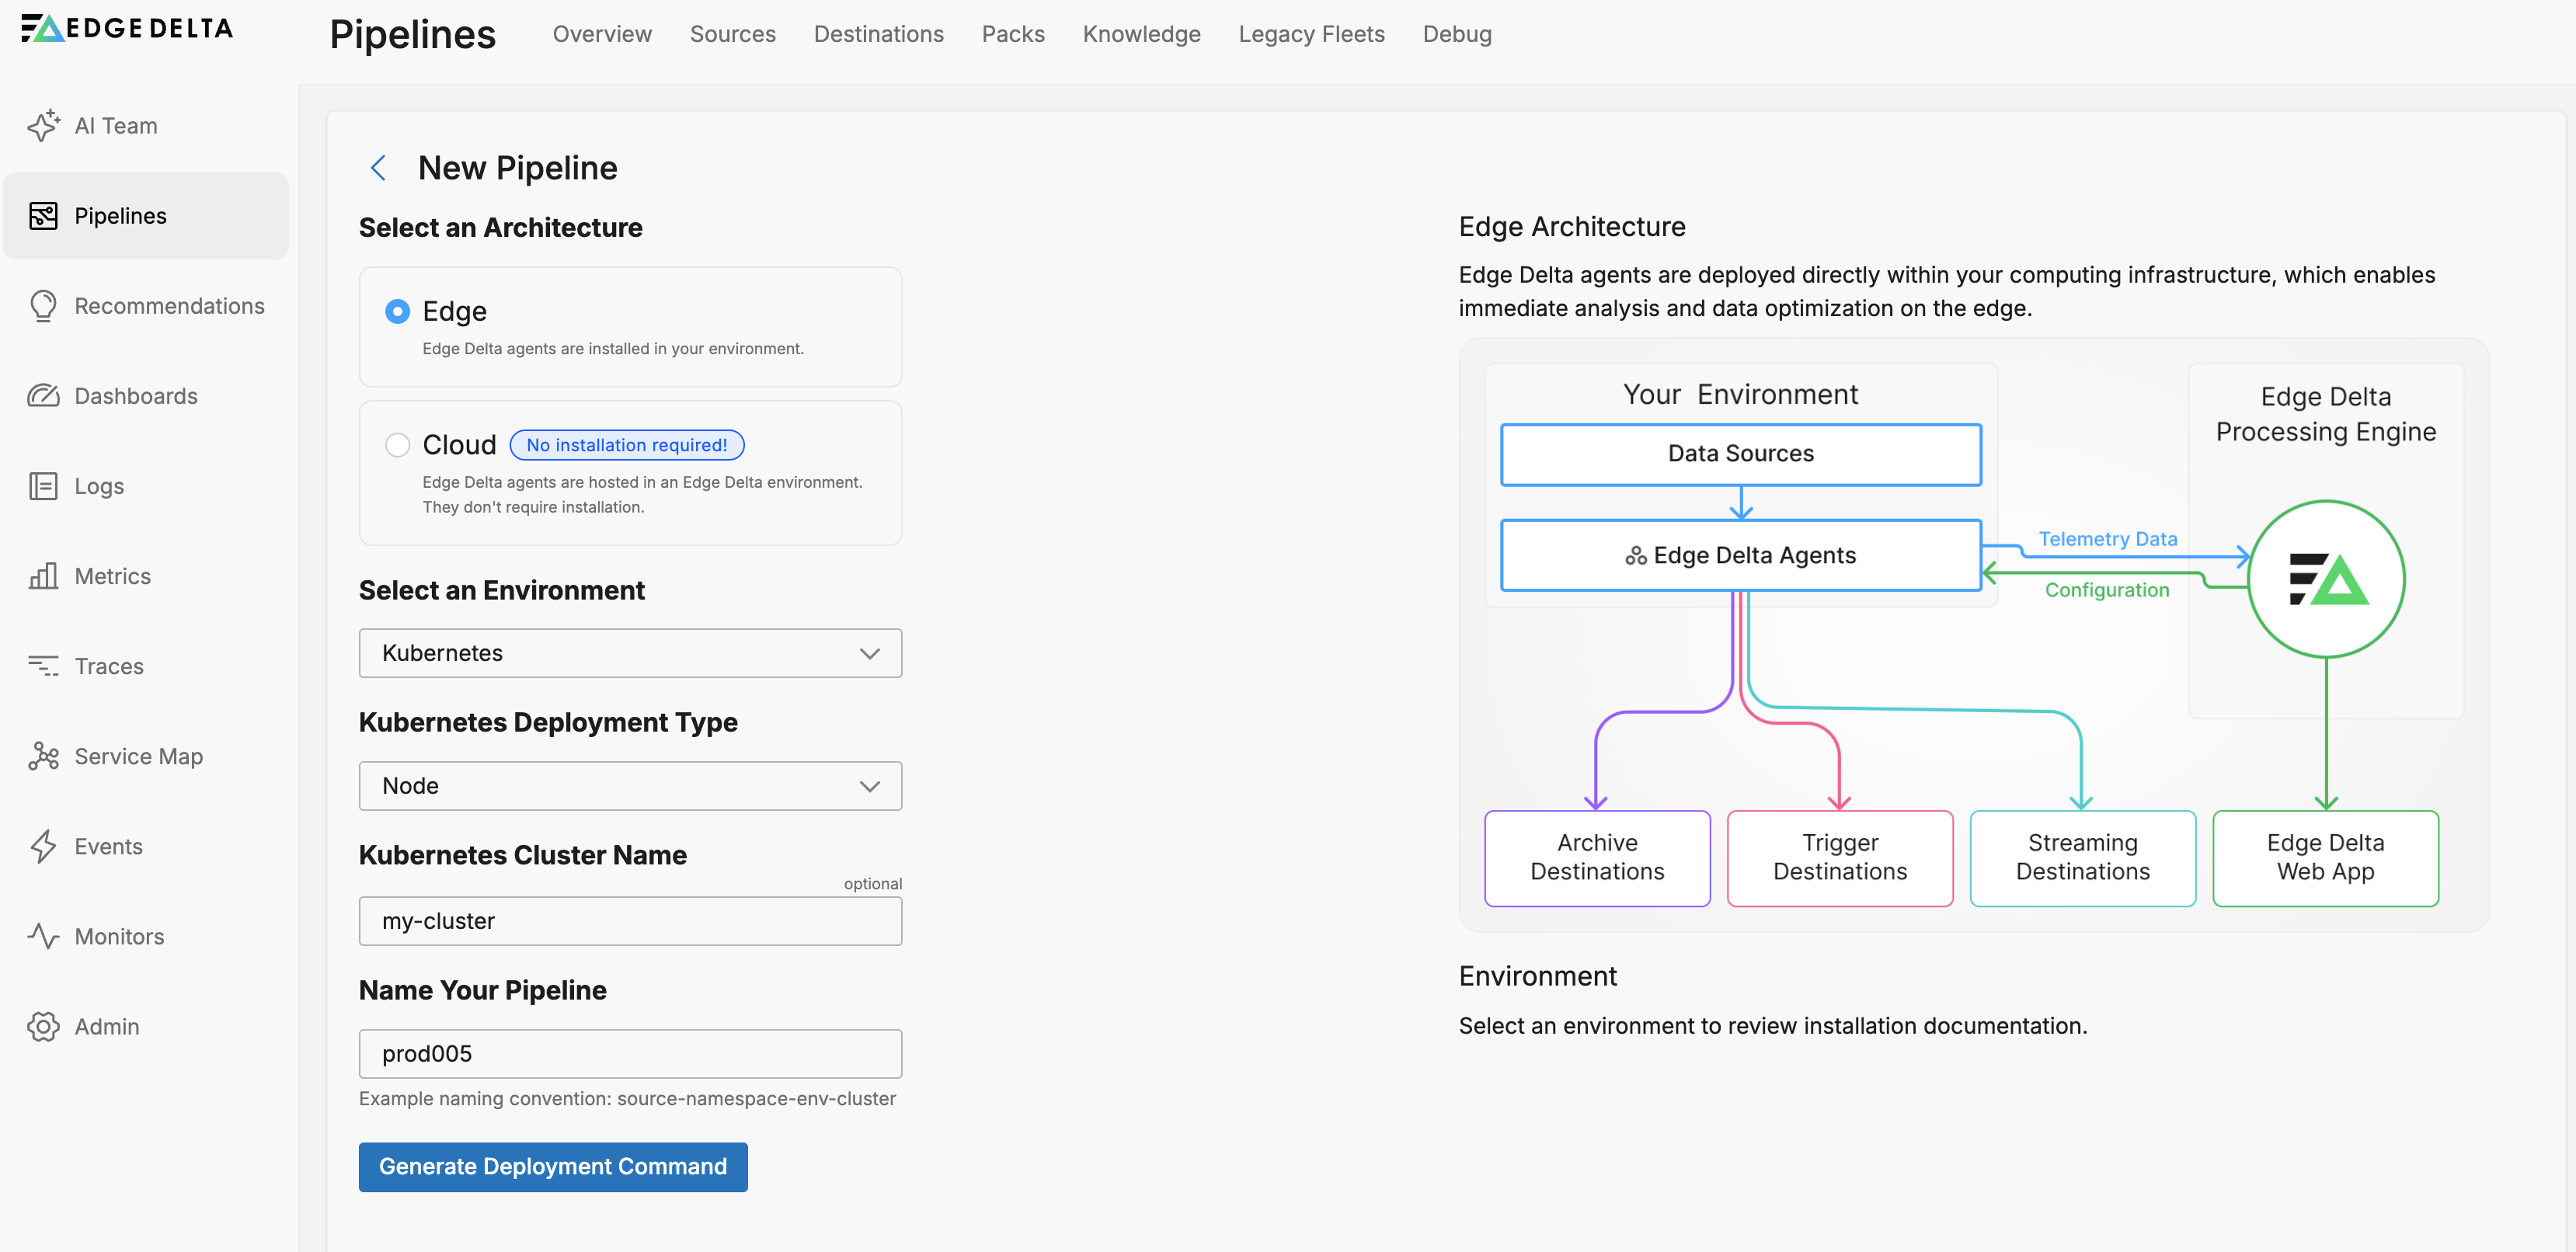
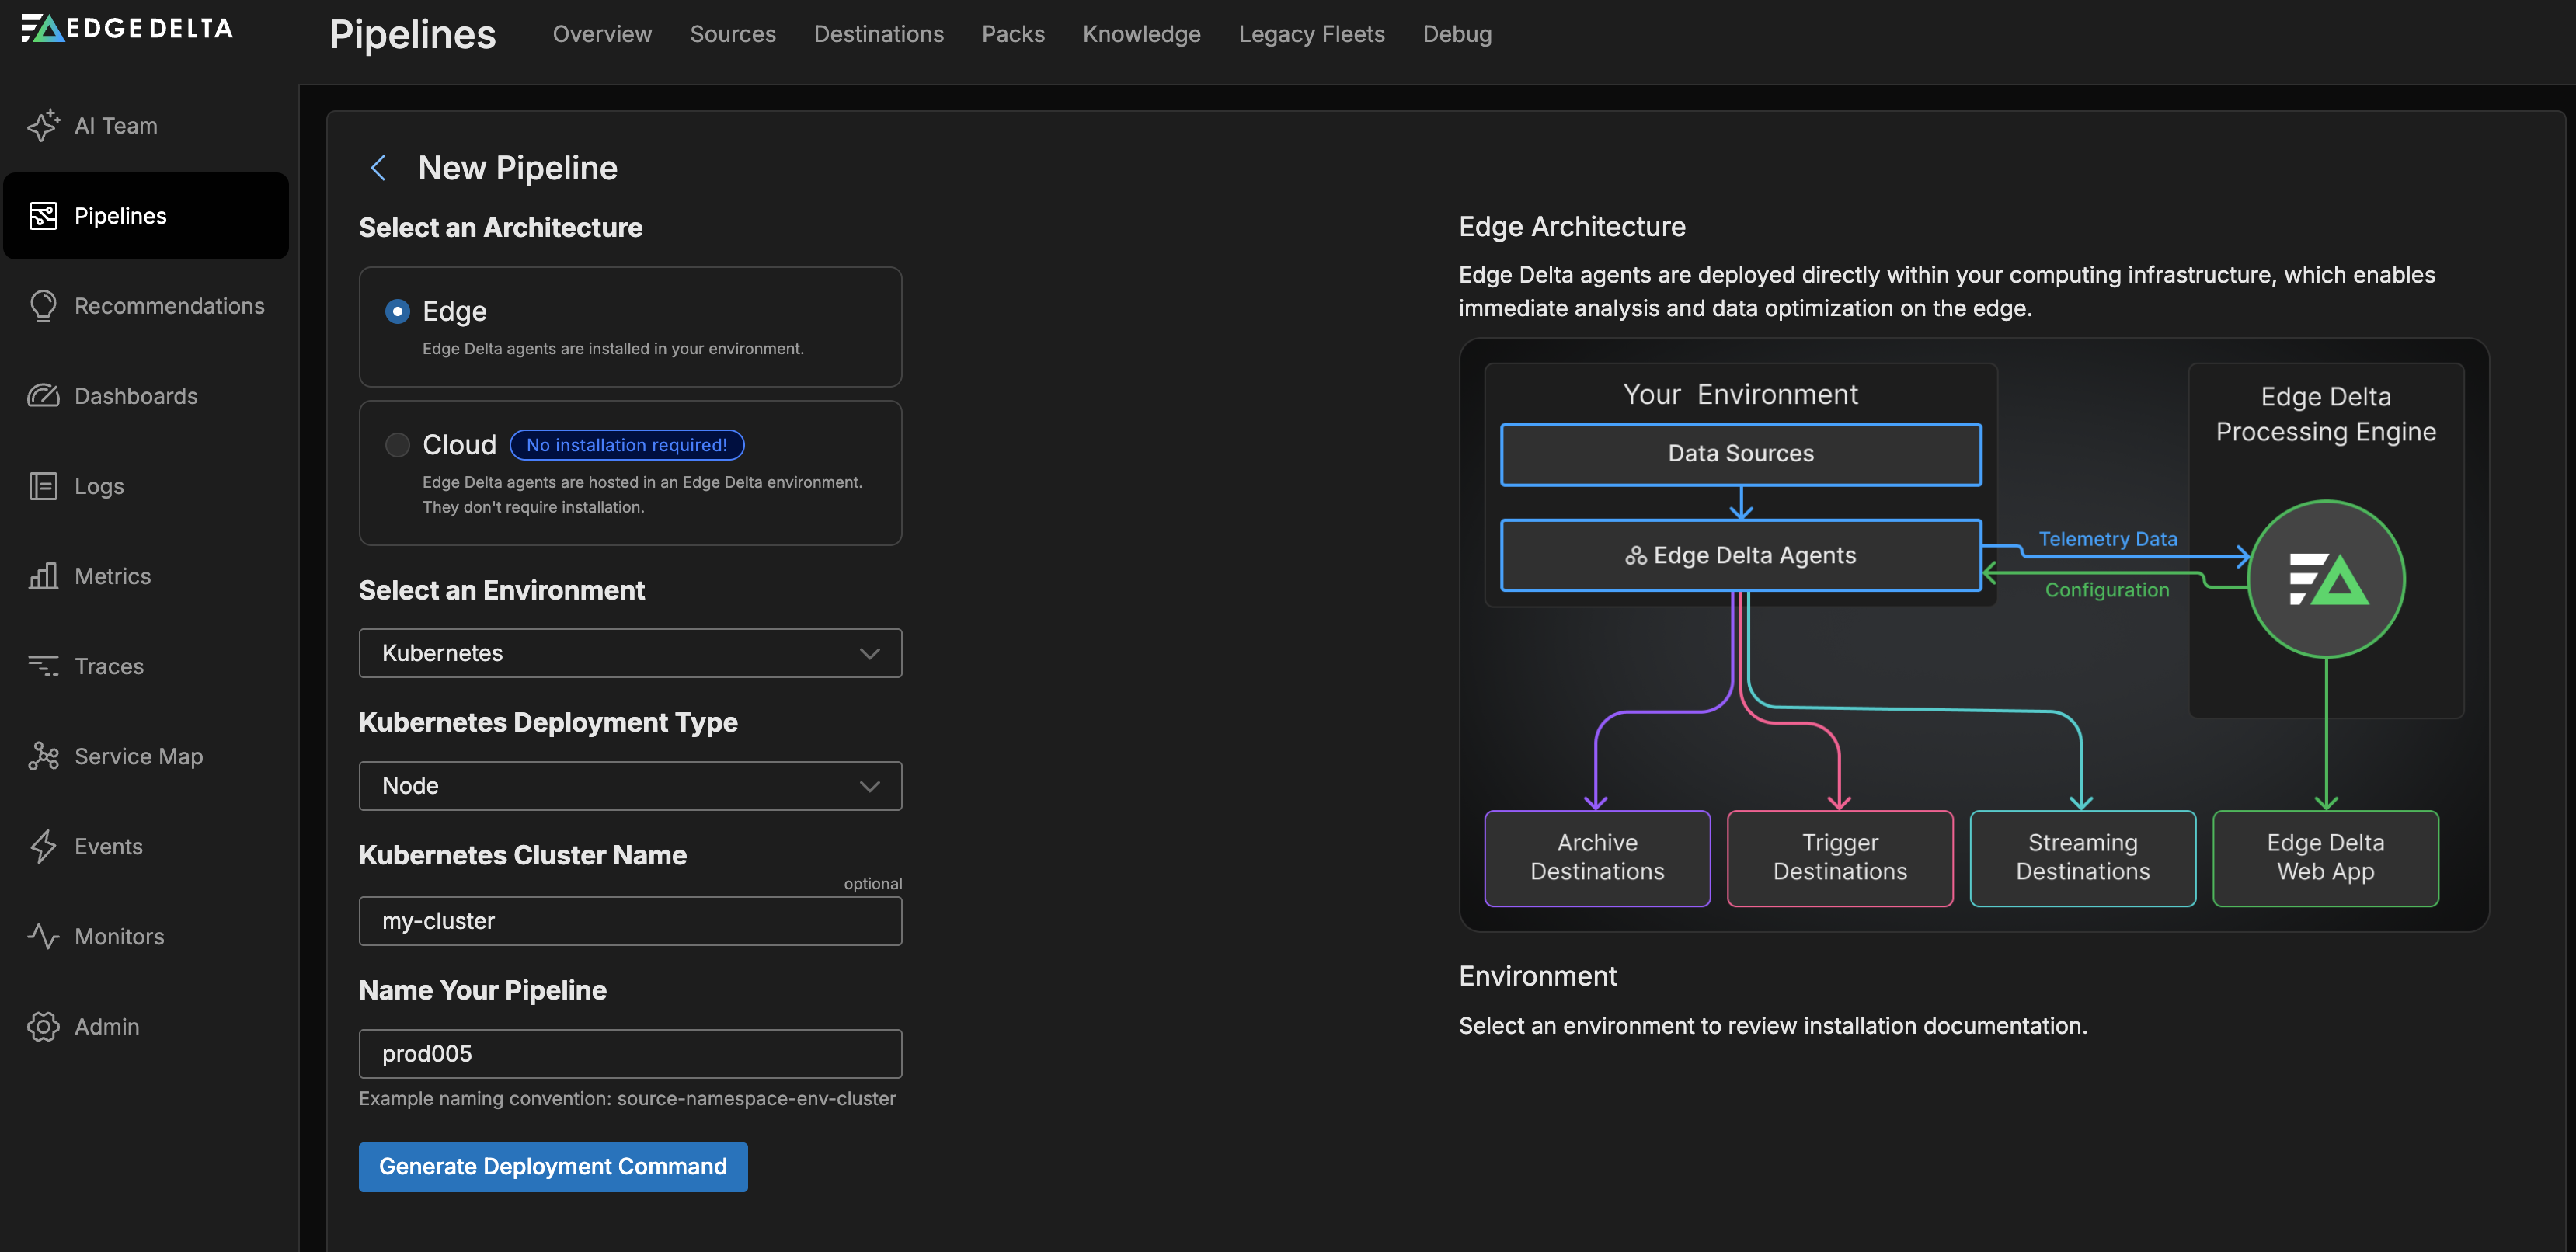
- You name your pipeline in a way that helps you identify it such as the application name, cluster name and development stage. Then click Generate Deployment Command.
- A set of commands are generated that are specific to your pipeline and environment type. They include the agent version and the unique Pipeline ID. Run each command in turn.
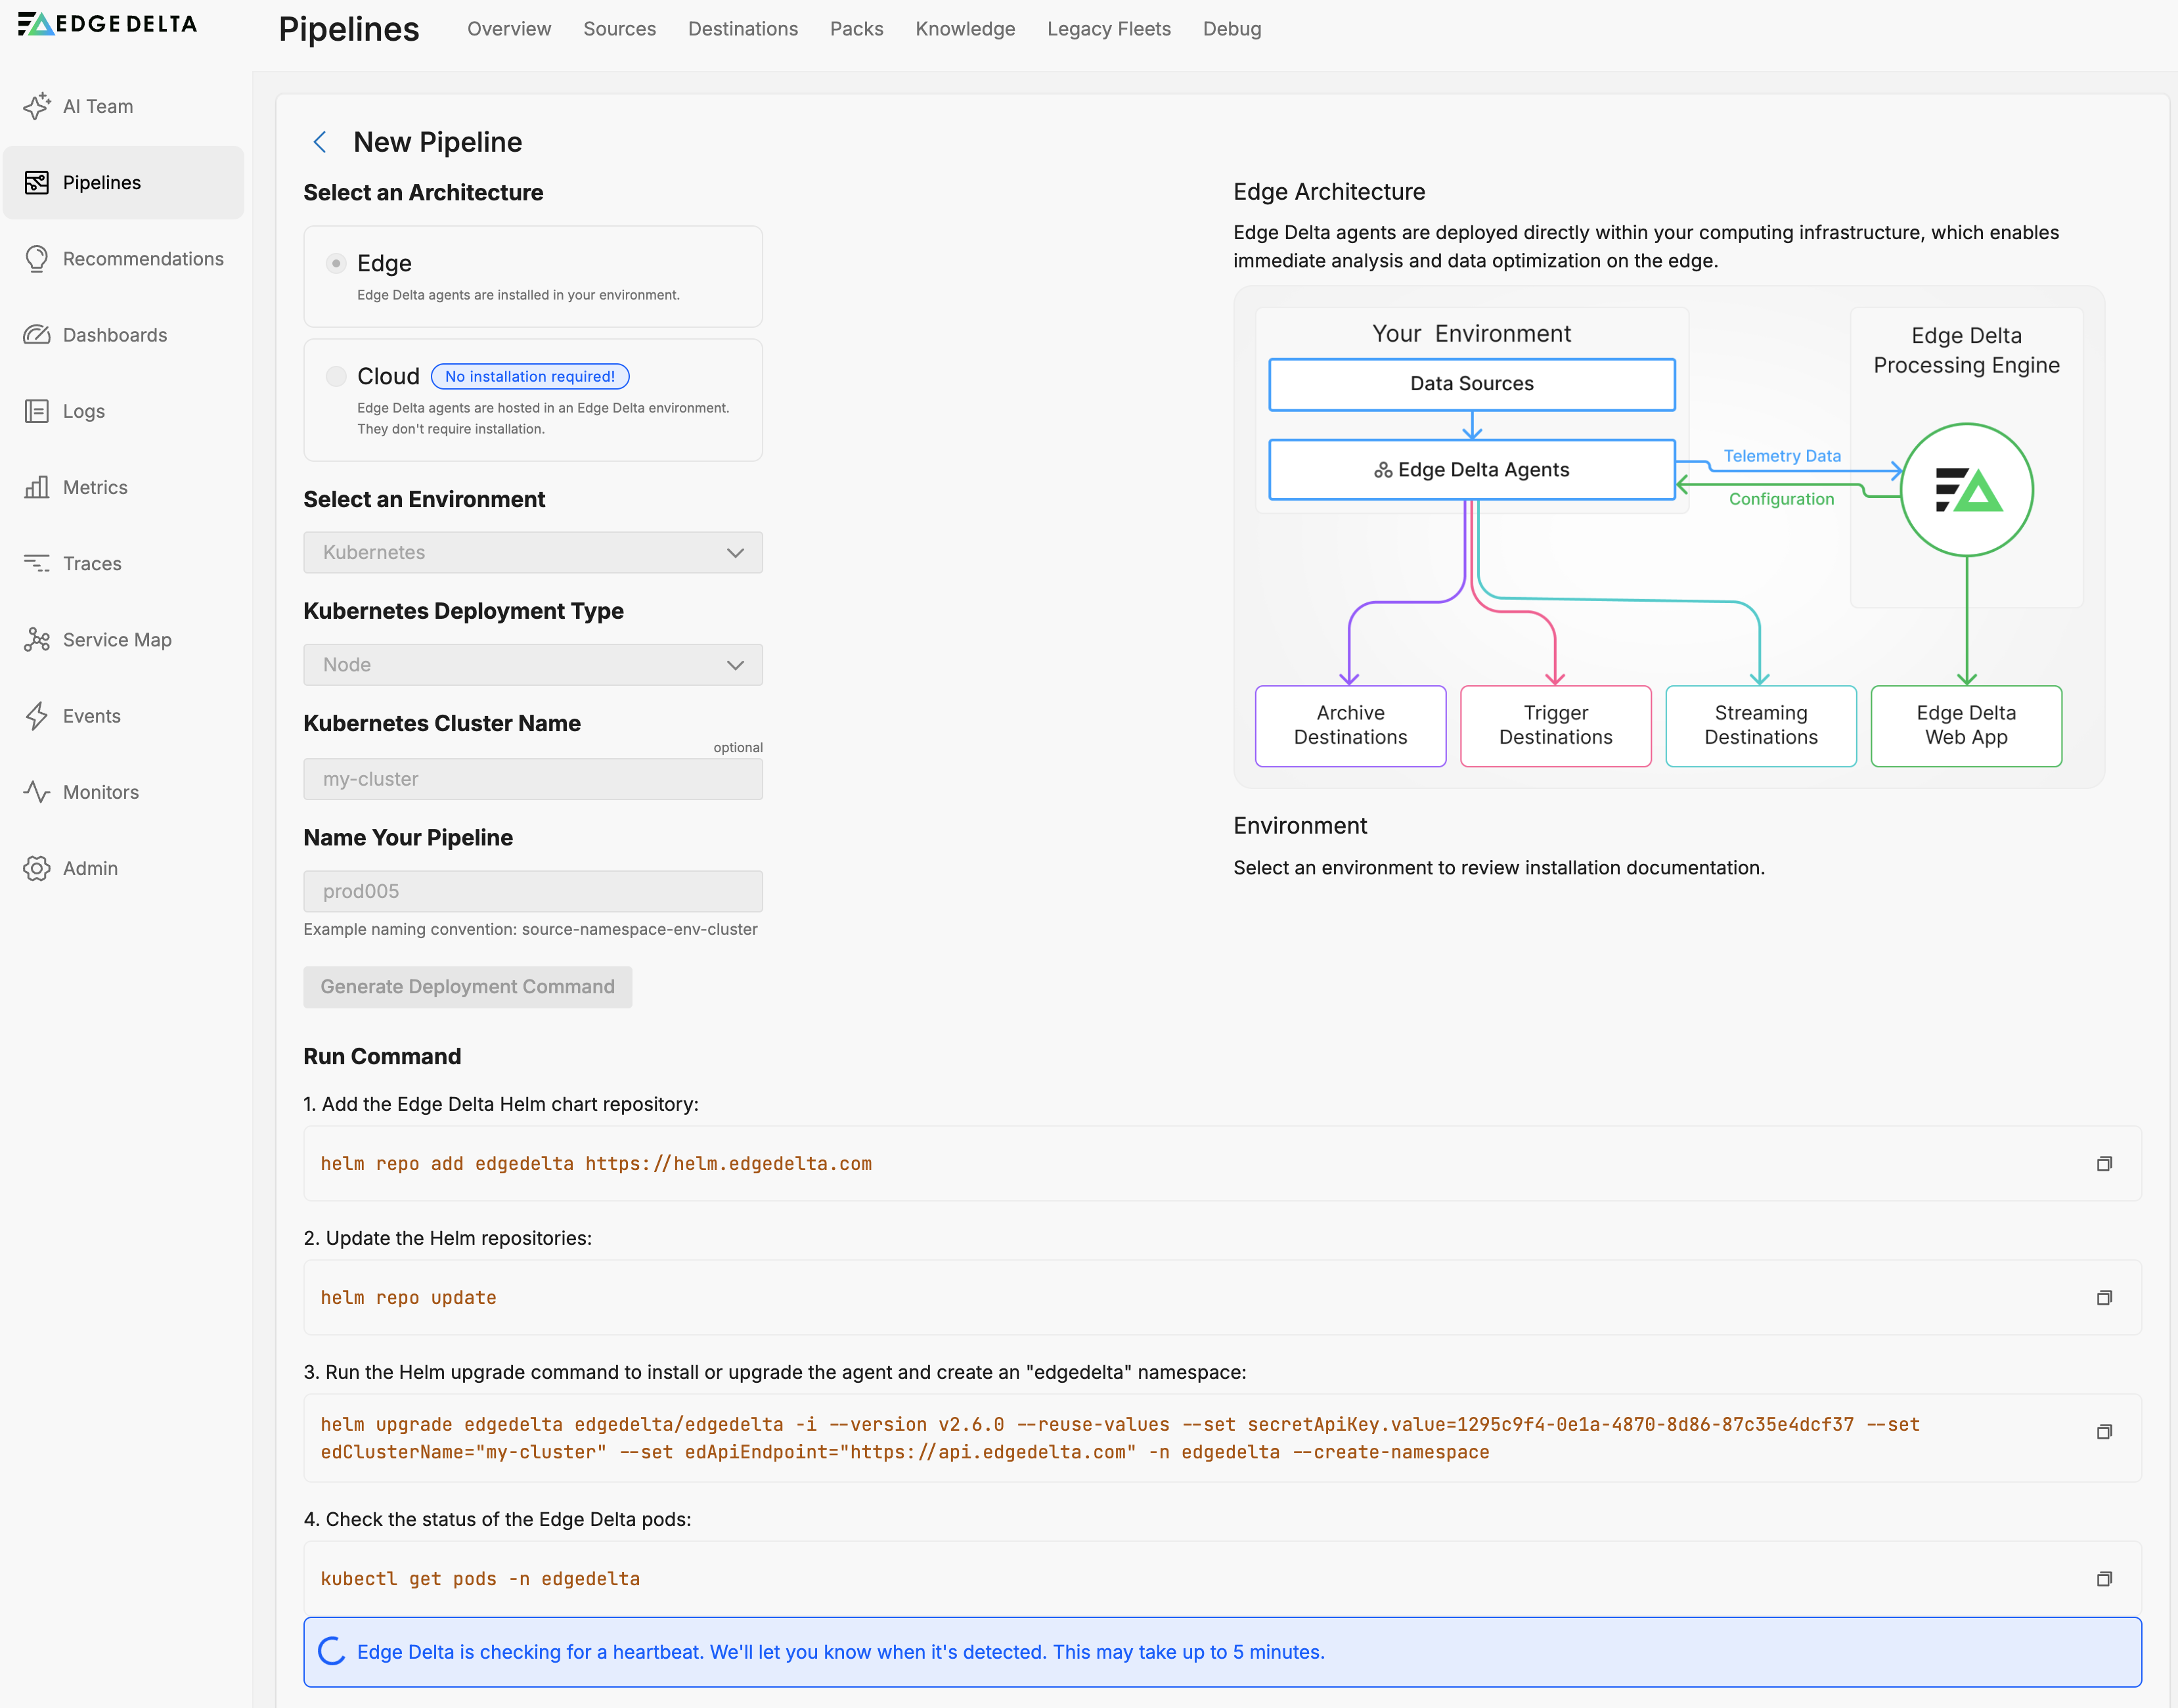

Note: As of agent v2.6.0, installation commands generated by the Edge Delta app include
ED_DISABLE_SAMPLE_COLLECTOR=1to disable live capture by default in production environments. Live capture is designed for the pipeline design and testing phase. To enable live capture for pipeline development, setED_DISABLE_SAMPLE_COLLECTOR=0. See Environment Variables for configuration details.
- When your agents begin to transmit their health data, click View Pipeline to begin your data pipeline configuration.
- The pipeline configuration begins by creating a basic configuration and automatically detecting any sources in the cluster. You select the sources you are interested in. For a quick start, select All Sources and click Add Sources.
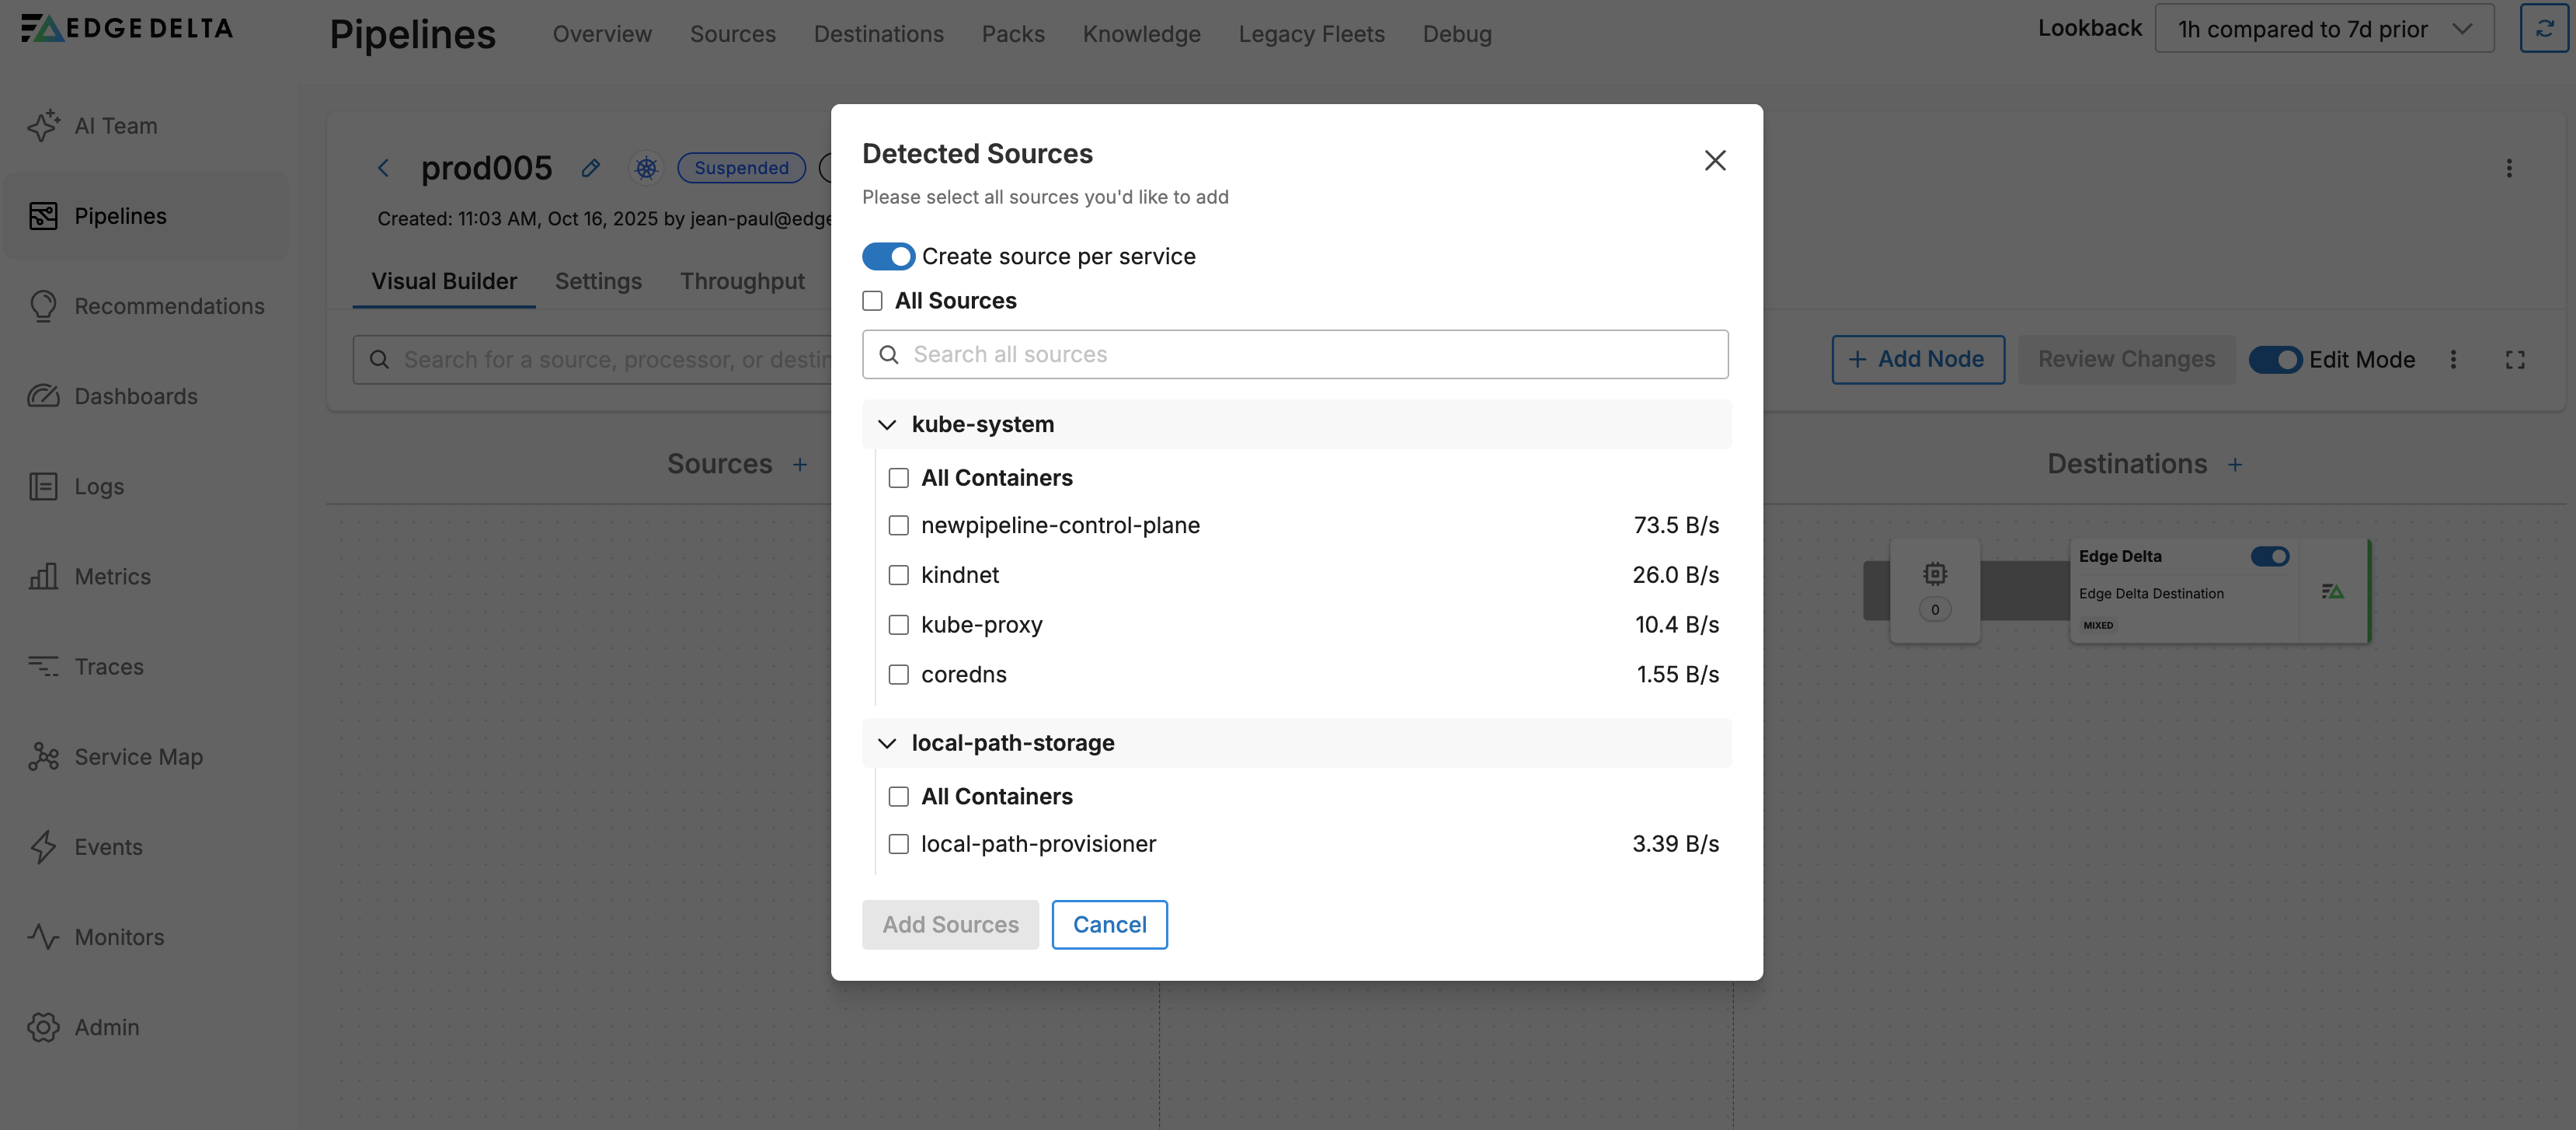
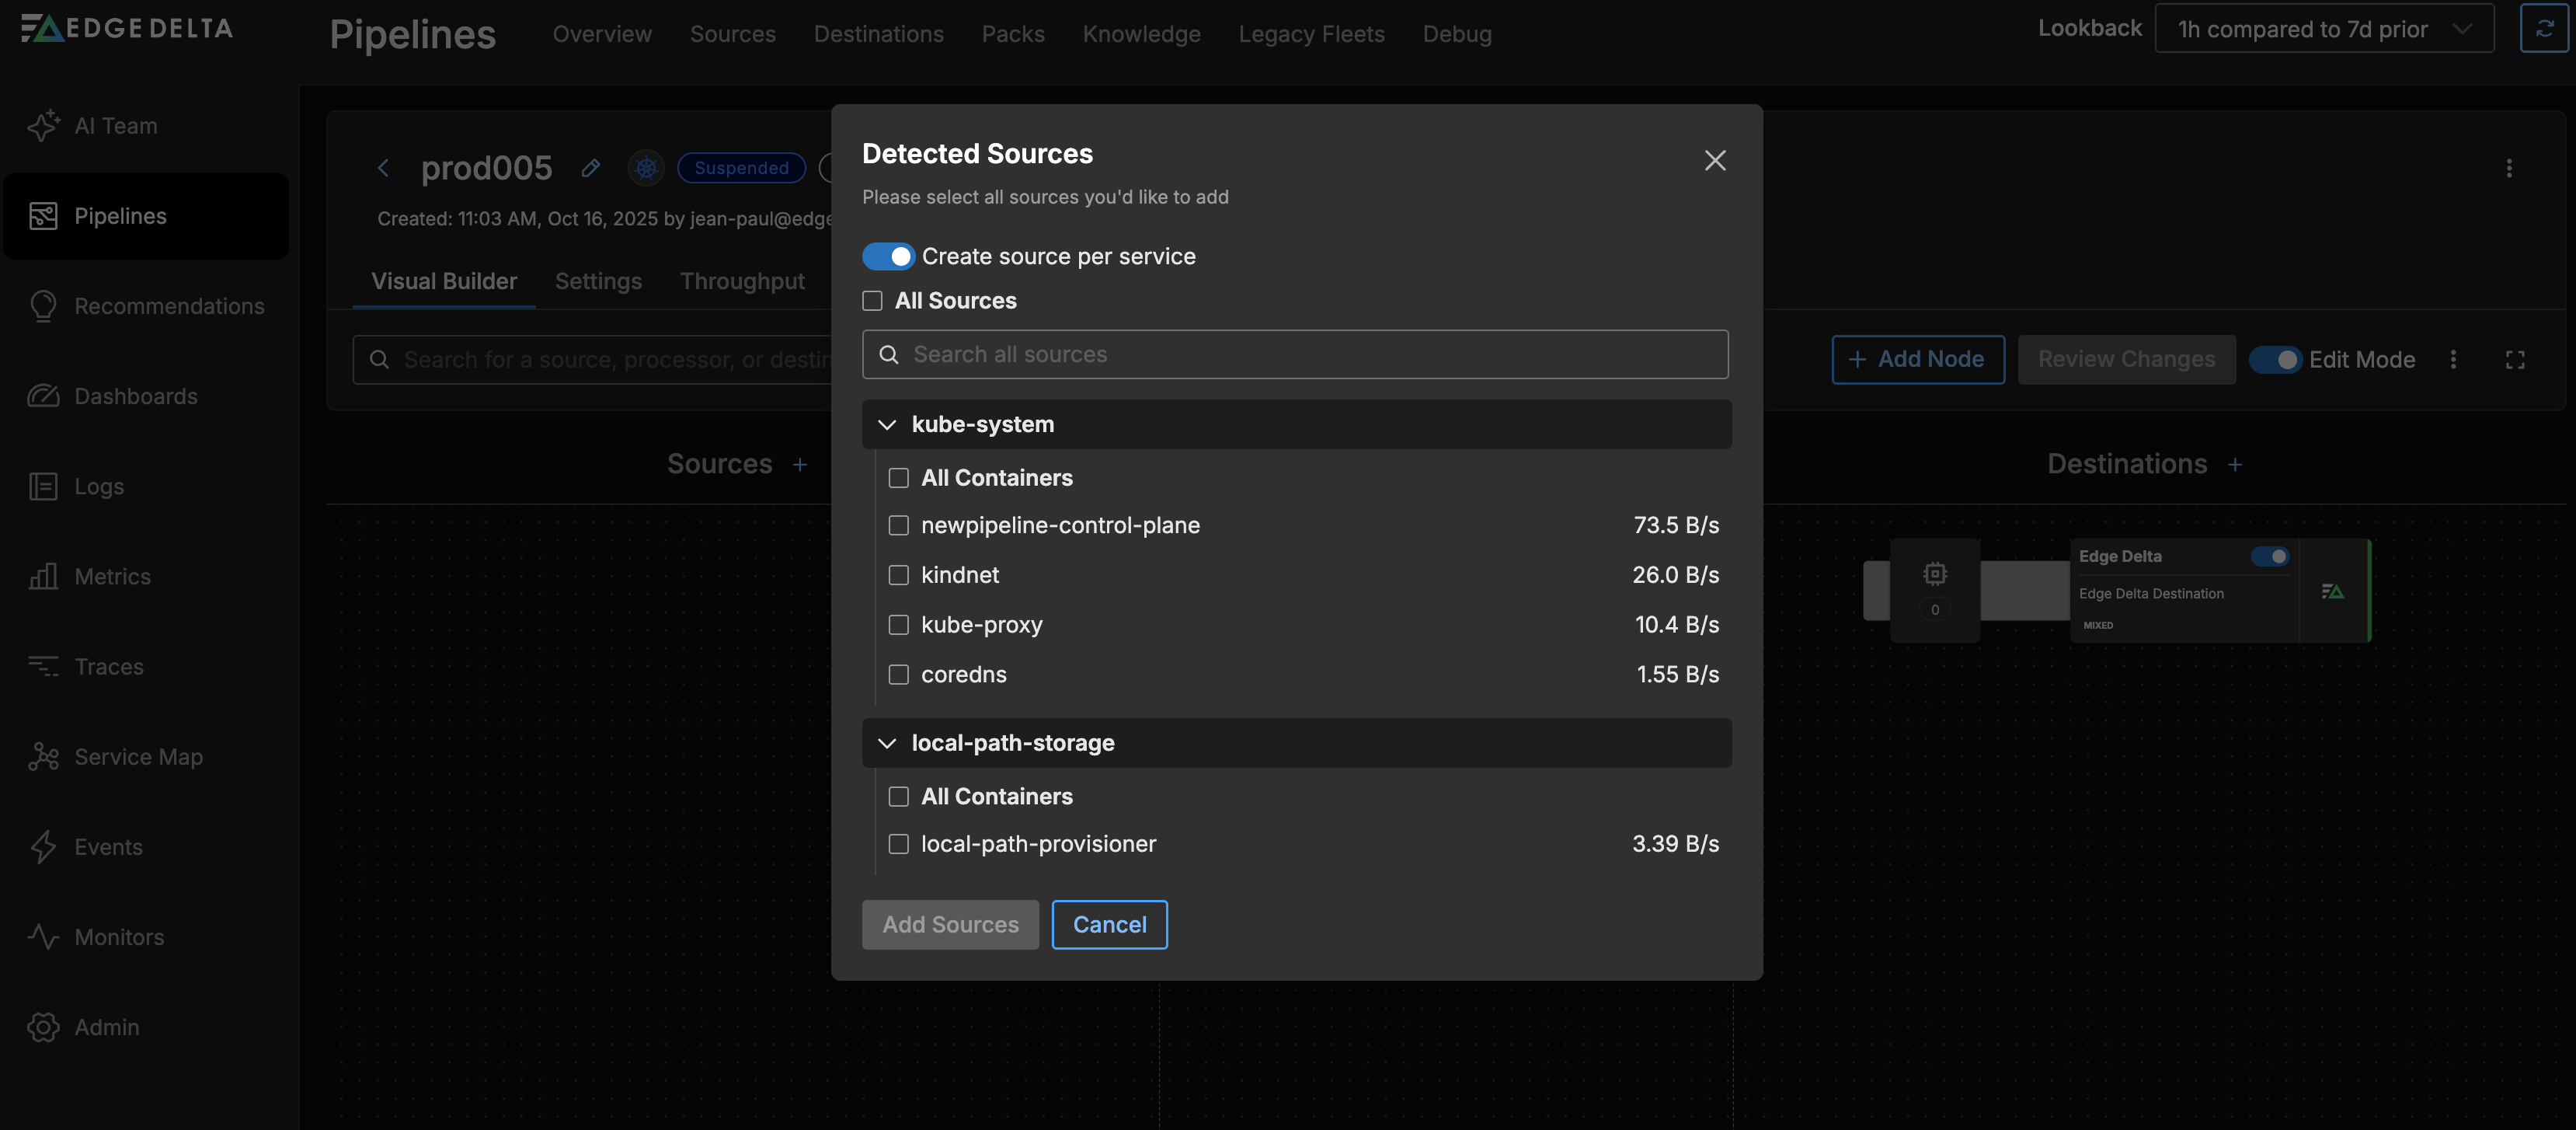
The detected sources are configured in the pipeline and all the required node connections are completed for you. A new pipeline with the default configuration is now installed and configured in your cluster.
- Click Review Changes then click Save and Deploy.
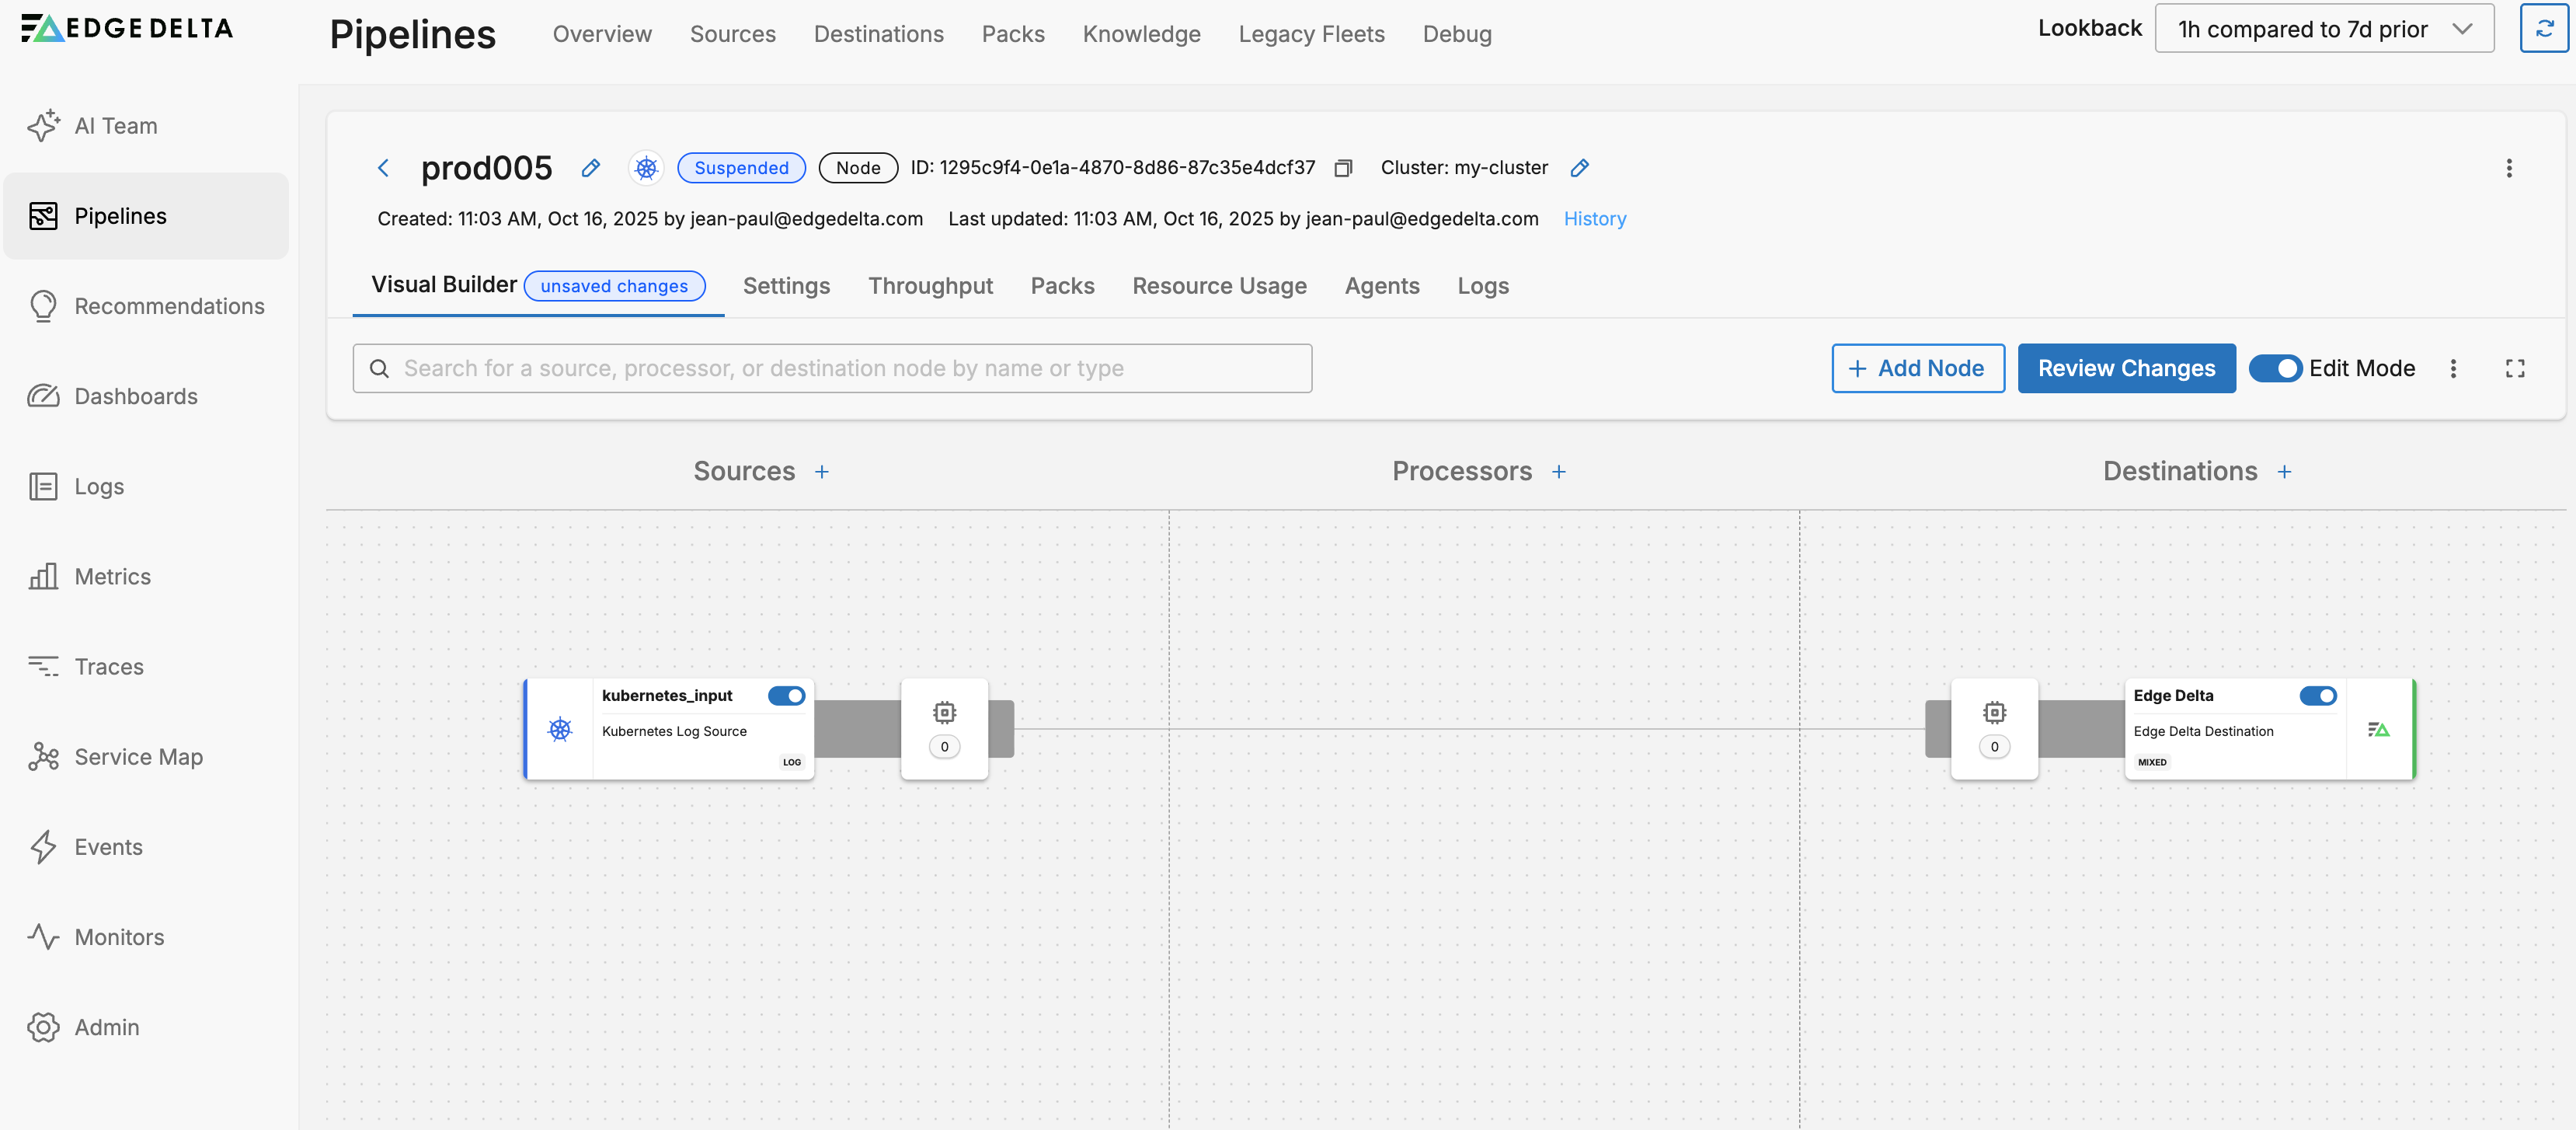
3. Explore the Edge Delta Interface
Use the UI to:
- View logs, metrics, and events
- Explore patterns, traces, and anomalies
- Monitor service health
- Visualize data flow via the pipeline map
With a new workload in your cluster your data might be limited as you explore the interface. You can also view the public Play environment, which is connected to Edge Delta managed workloads for demonstration purposes. See Try Edge Delta in a Sandbox.
See Also
- Need more customization? Check the full Kubernetes installation guide.
Next Steps
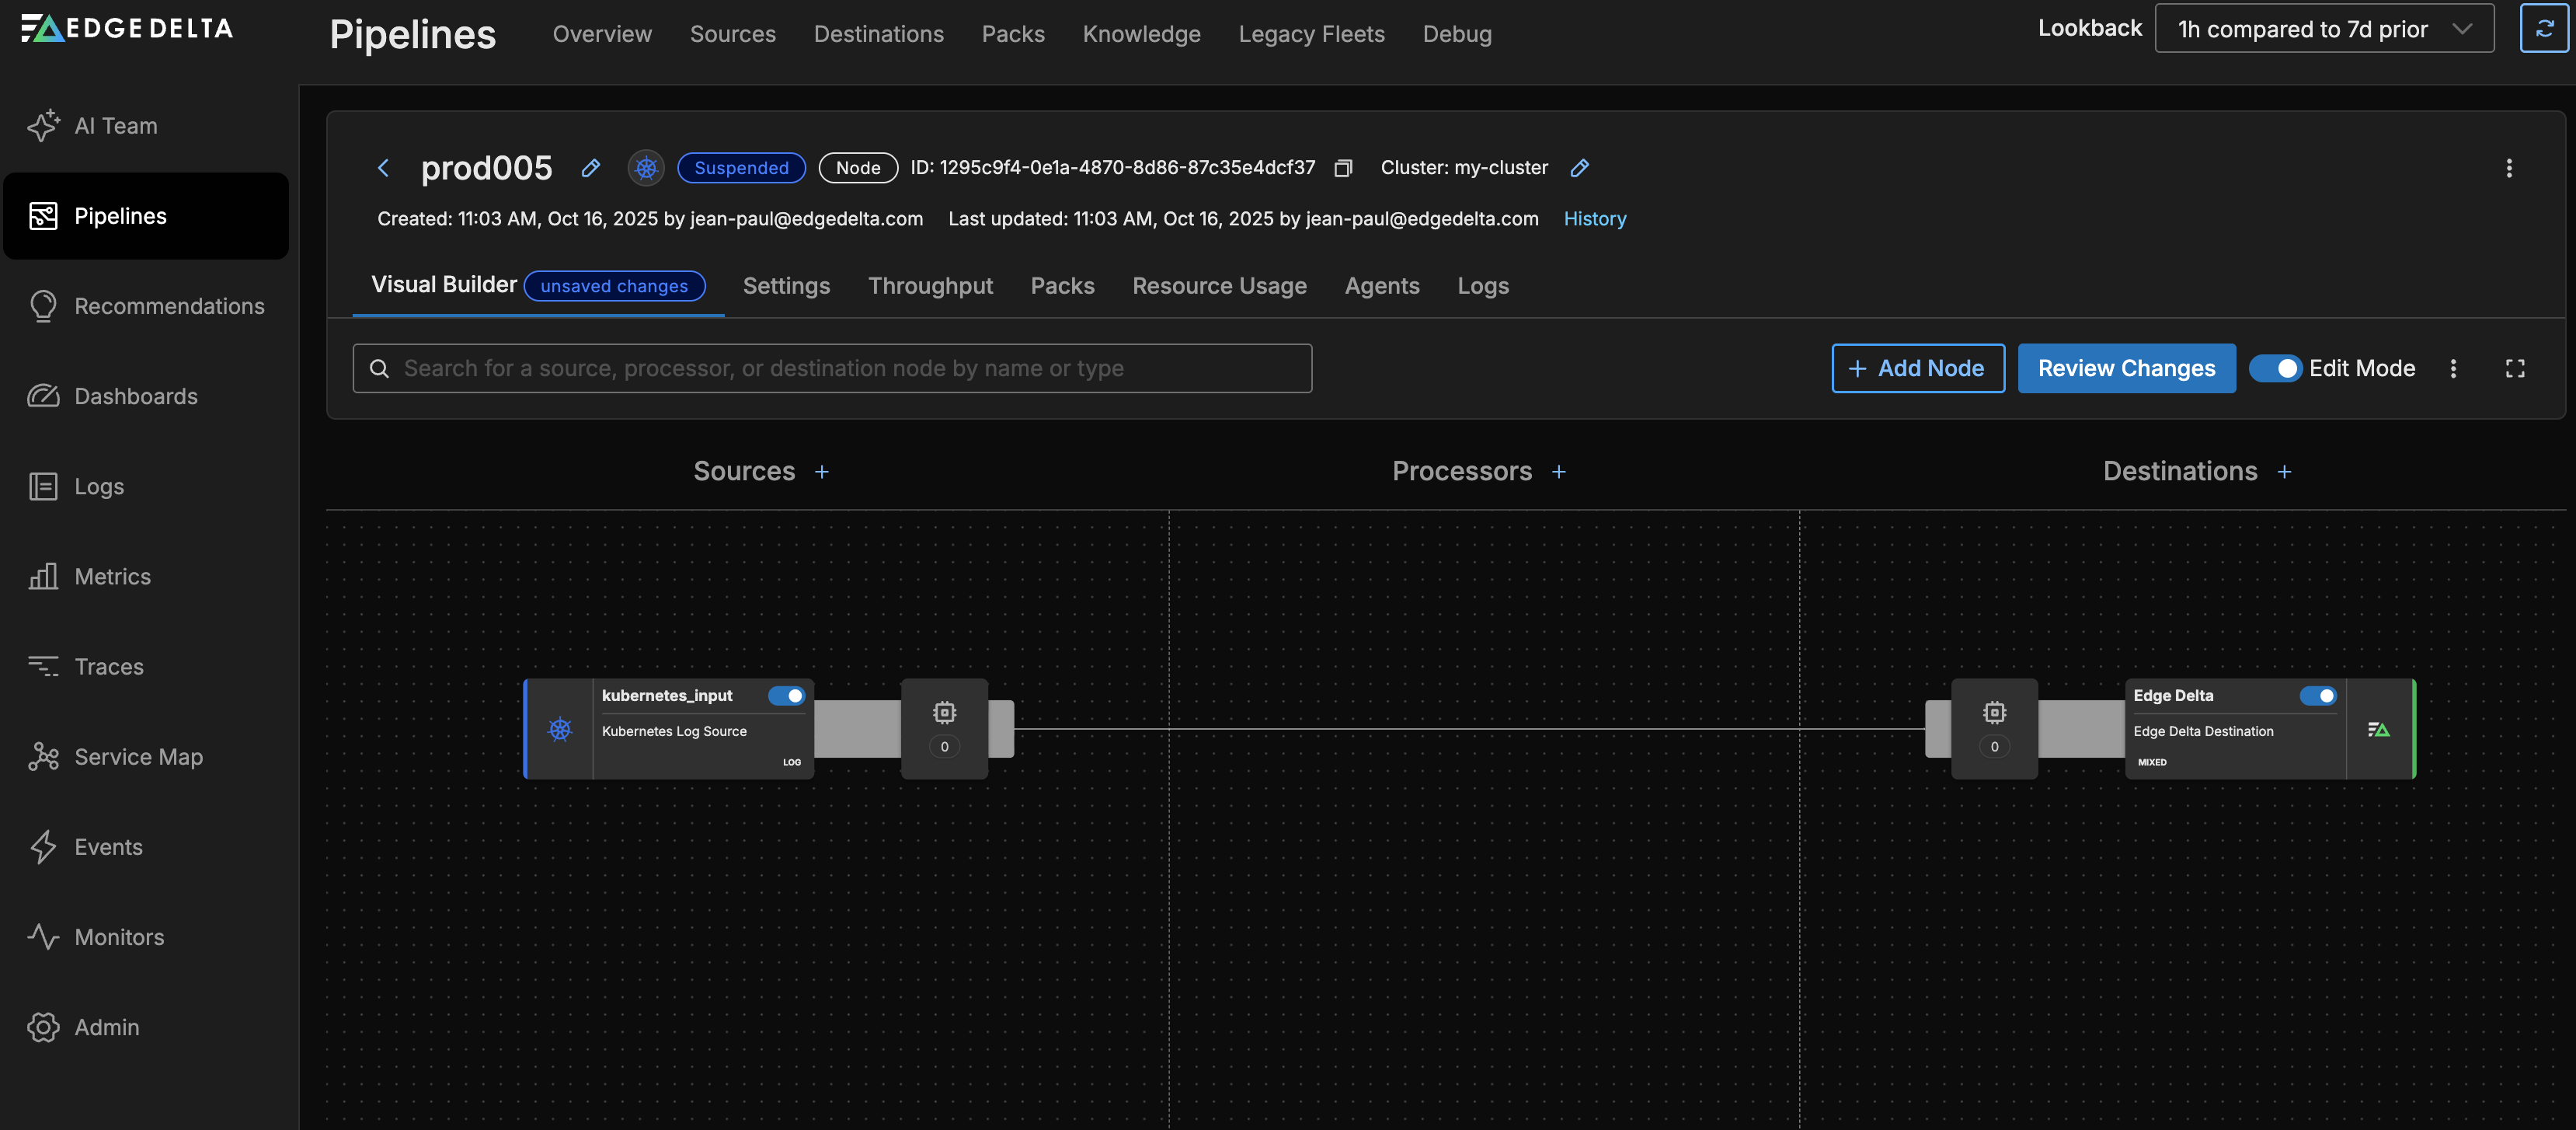
Click Edit Mode to make further changes to your pipeline.