Pipeline Quickstart Overview
2 minute read
Overview
This Quick Start Guide illustrates some common pipeline configuration tasks. While a default pipeline will transmit data out of the box, you can configure it to do some optimization. This demonstration will use the Telemetry Generator, which generates dummy traffic.
This quick start will show you how to:
- Add a Telemetry Generator Node.
- Reduce noise and volume by dropping lower‑value severities (debug, info, trace, notice).
- Turn an unstructured log line into structured attributes so later processors can work with discrete fields.
- Remove unnecessary attributes.
- Normalize disparate severity words so dashboards and alerts can rely on a consistent set.
- Use the log timestamp as the ingestion timestamp.
- Save and Deploy the Changes.
Before You Begin
Deploy an Edge Delta pipeline. See Quickstart Kubernetes or Quickstart VM.
Note: This quickstart uses live capture to help you explore pipeline configuration with real-time data visibility. To enable live capture, set
ED_DISABLE_SAMPLE_COLLECTOR=0(see environment variables). If you experience UI performance issues with large payloads, you can configure truncation thresholds using theED_CAPTURER_ITEM_MAX_BODY_SIZEandED_CAPTURER_ITEM_TRUNCATION_SIZEenvironment variables to prevent UI freezing.
This demonstration starts after deploying a new pipeline. The Pipeline page is open on the new pipeline, and the pipeline builder interface is open with Edit Mode on.
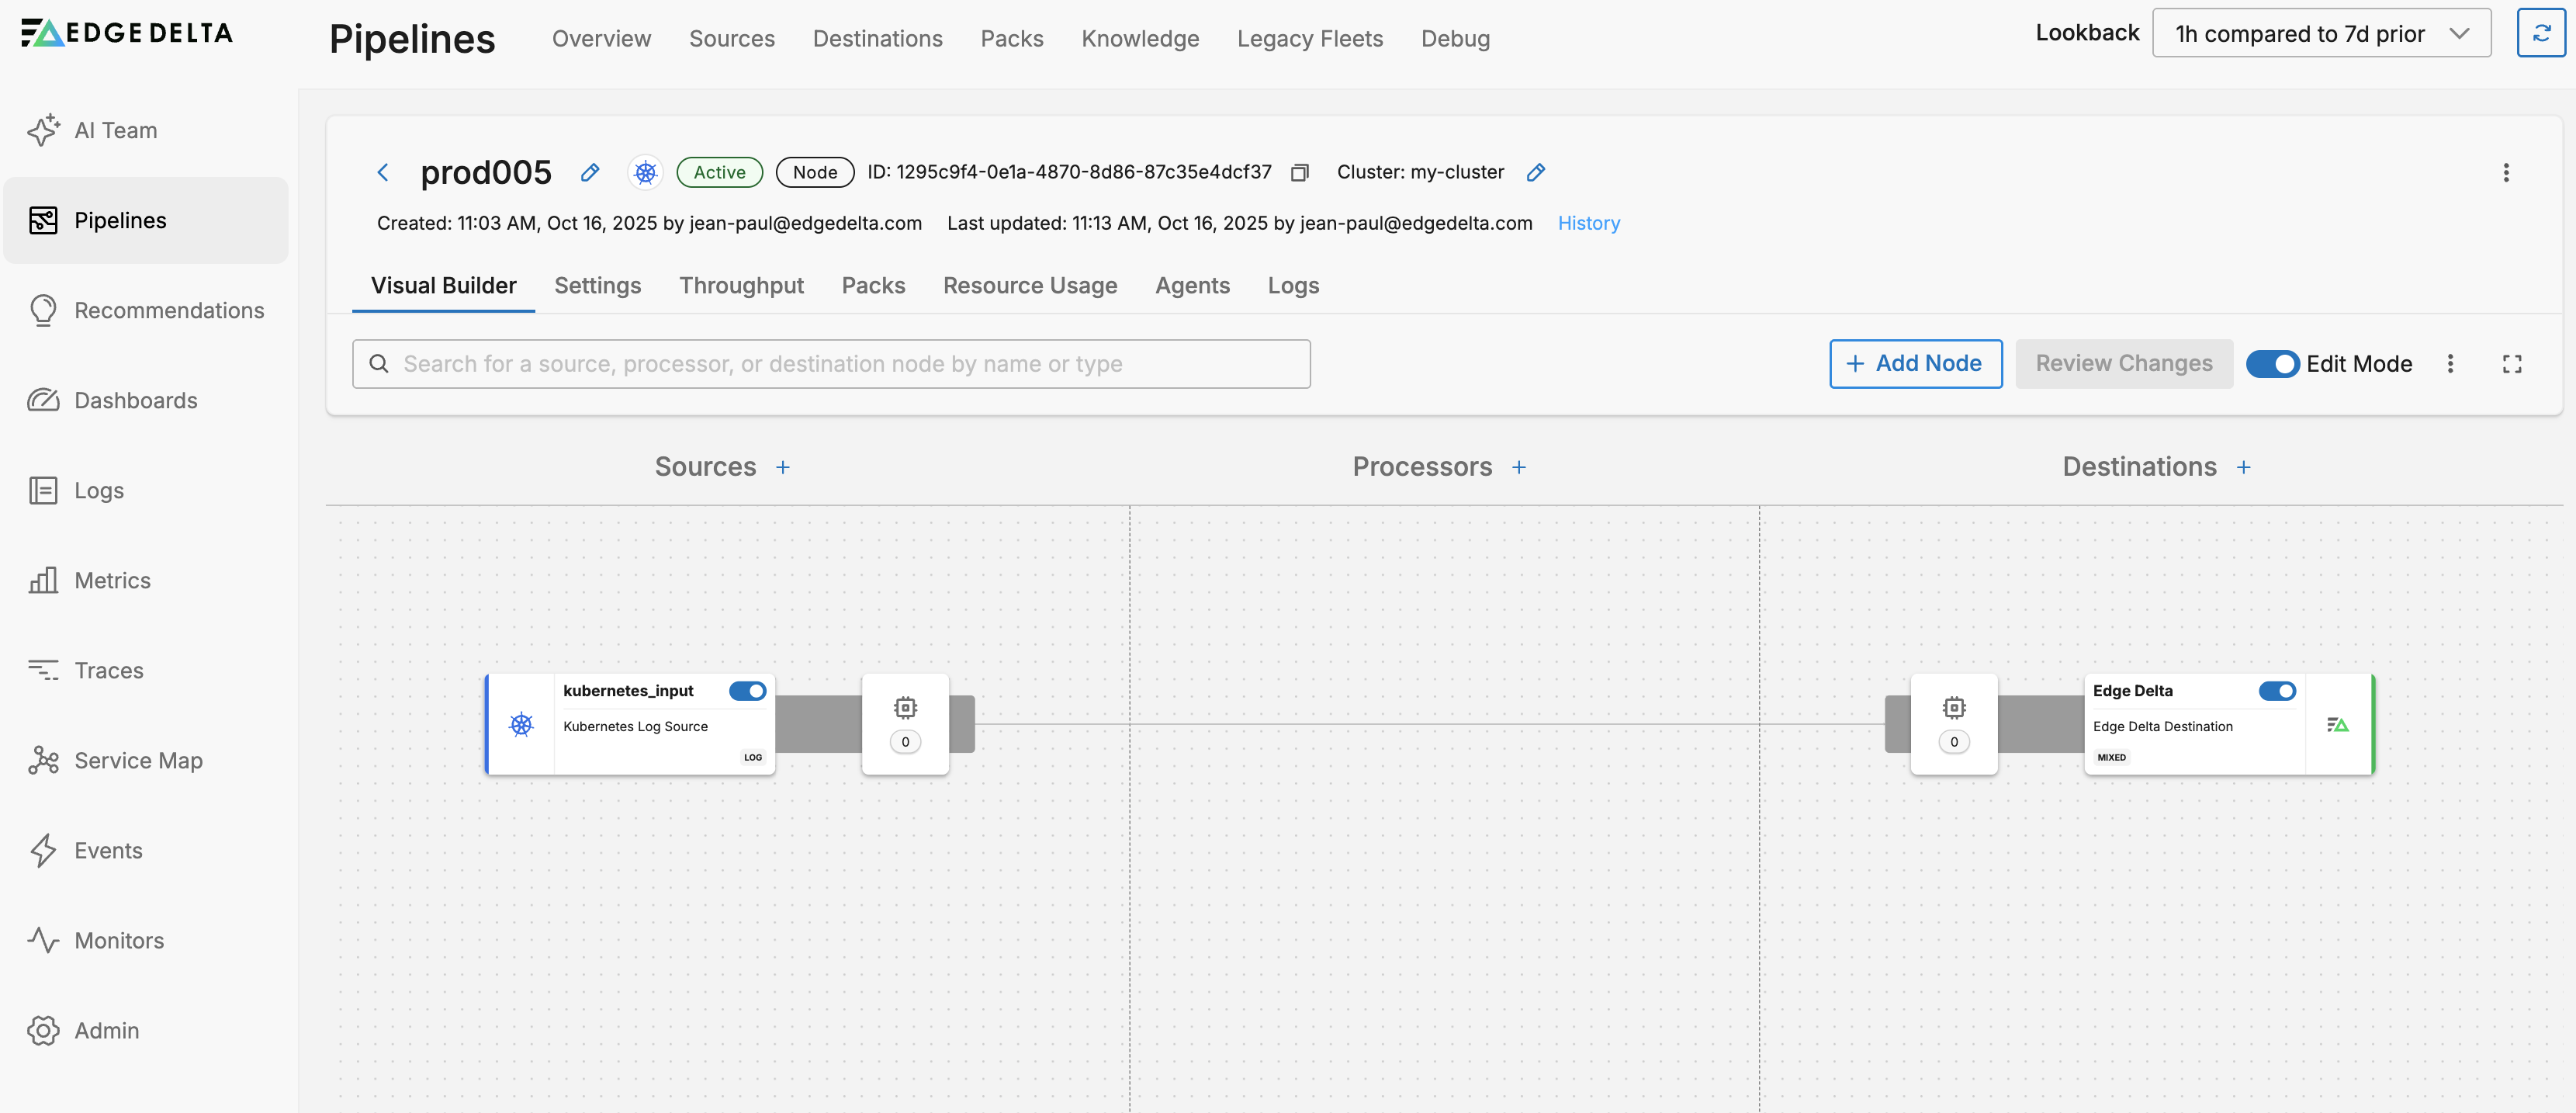
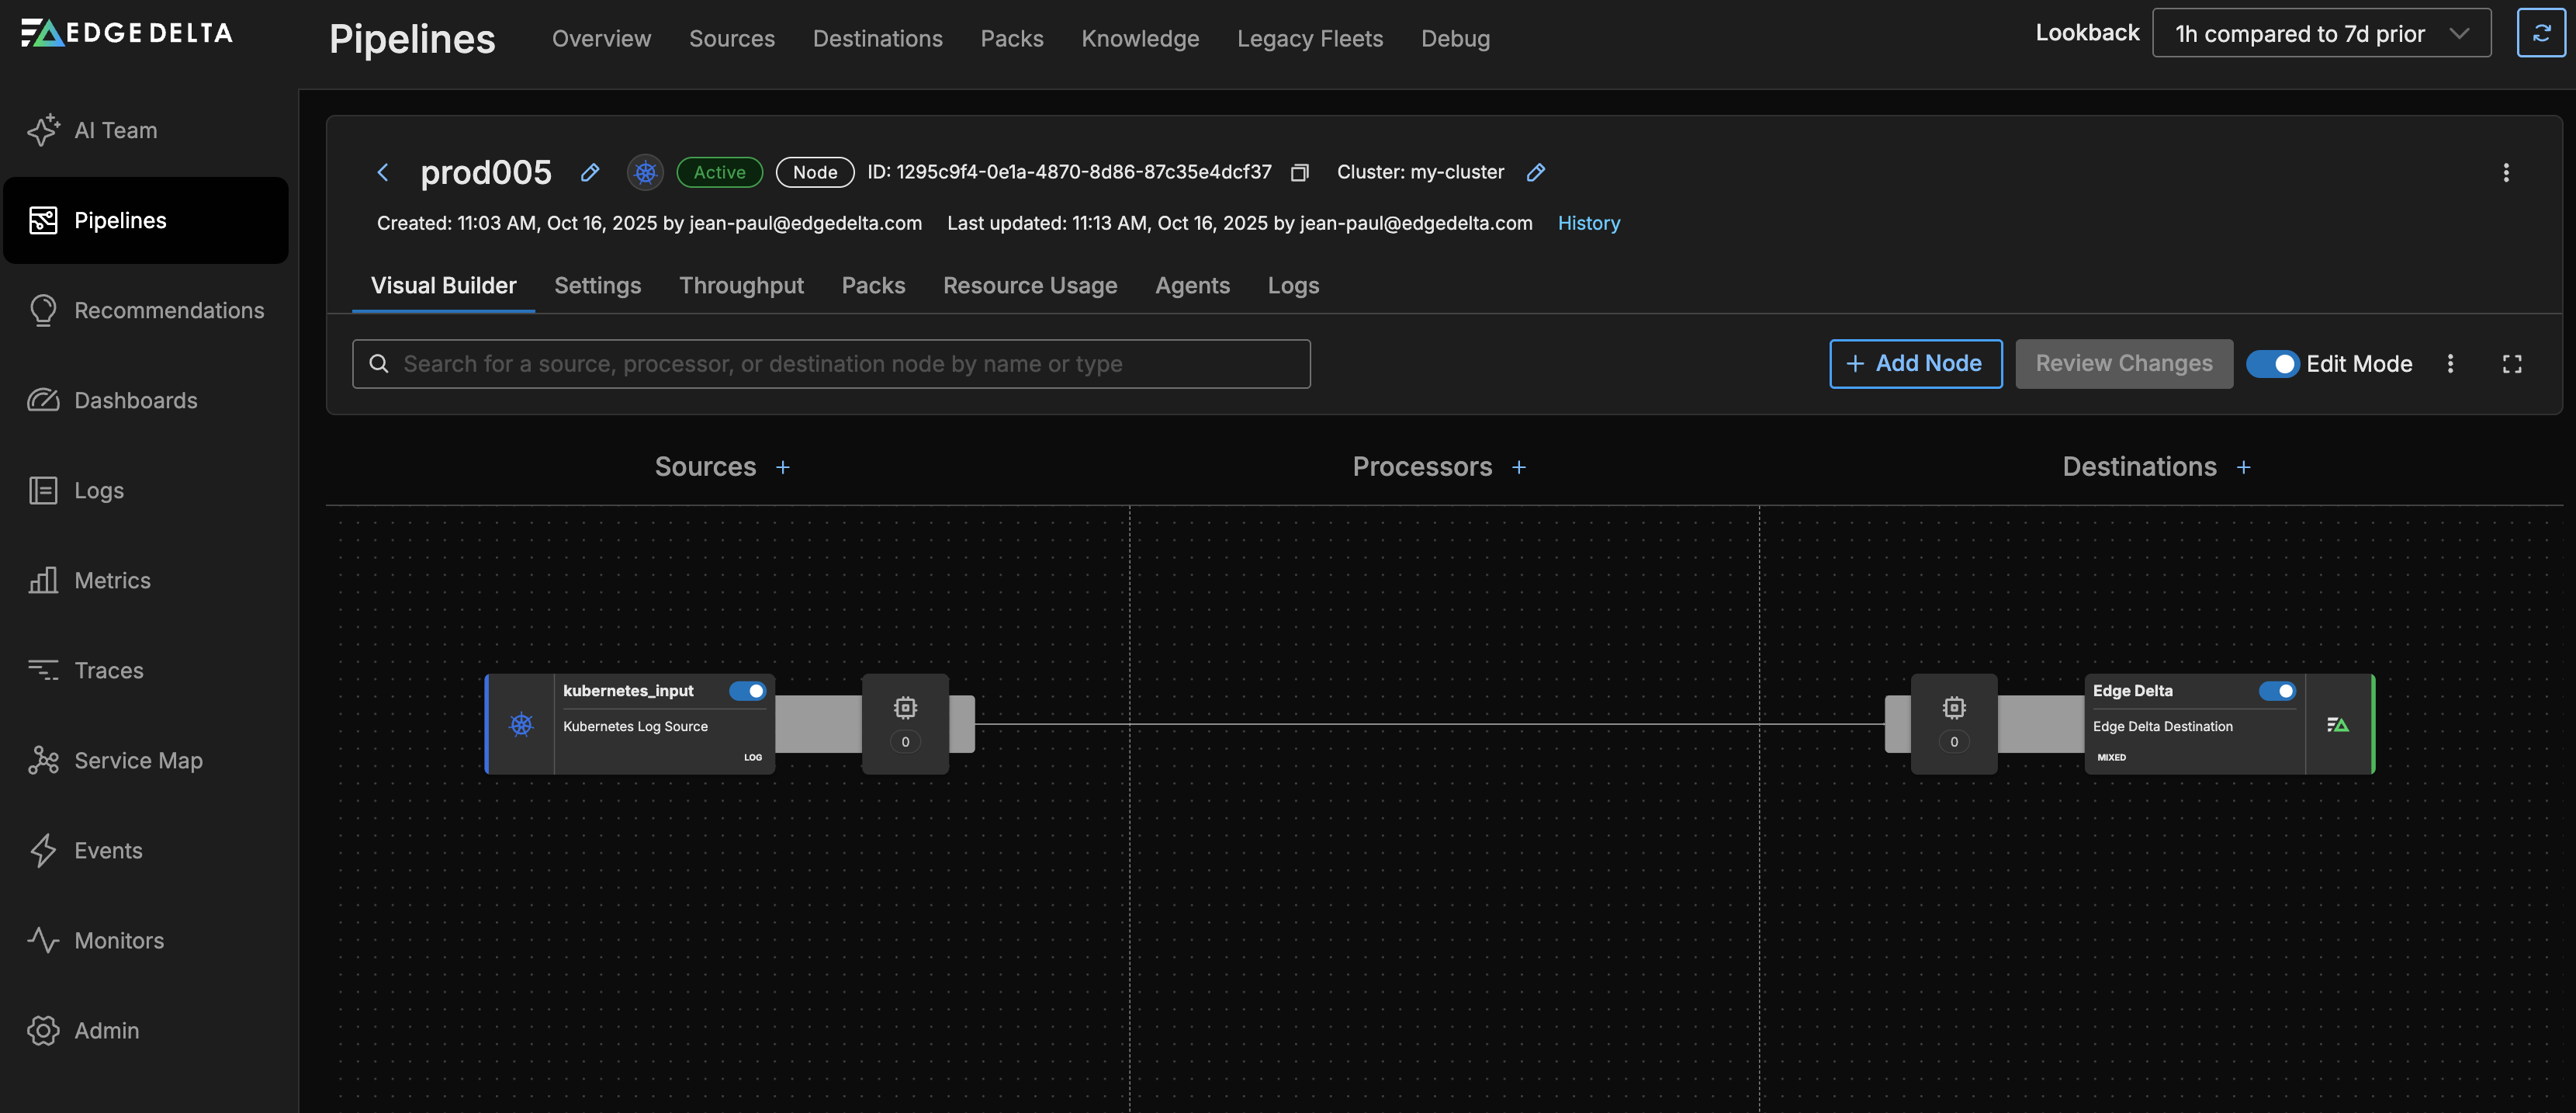
In this example, there is an existing source called Loggen. But we will work with a Telemetry Generator.
To navigate to this point:
- Click Pipelines.
- Select a pipeline.
- Click Edit Mode.